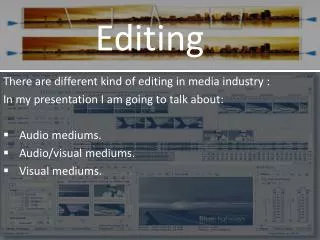

Mastering the Art of Film Editing: Phases, Styles, and Techniques
E N D
Presentation Transcript
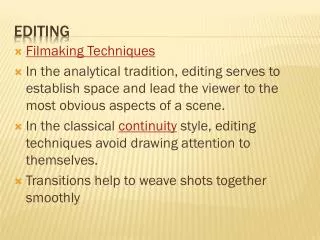
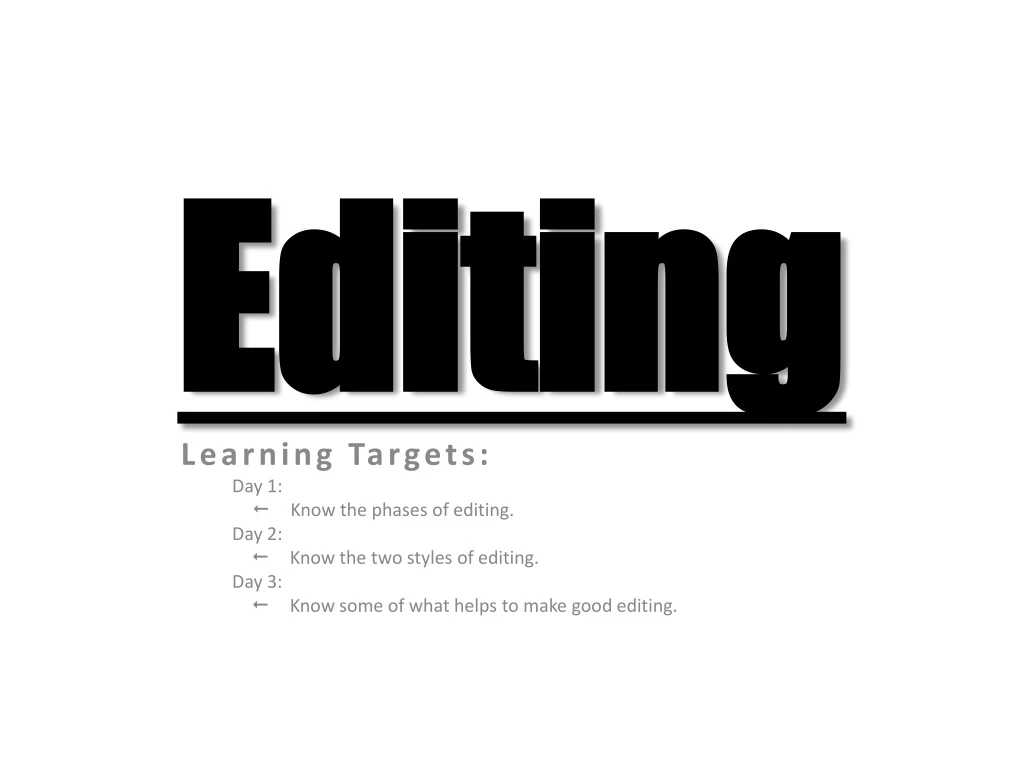
Editing Learning Targets: Day 1: Know the phases of editing. Day 2: Know the two styles of editing. Day 3: Know some of what helps to make good editing.
Think, Pair, ShareList your knowledge about editing. Think Pair Discuss your ideas with anyone beside you. • Put down everything you THINK you know. • Don’t worry about correctness. Share • Compile a list of responses onto large butcher paper.
Phase 1 Review Phase • Log & transfer, log & capture, import, and/or ingest shots. • Review video: • Recap what was shot. • Good vs. Bad takes • Organize shots: • Place into bins.
Phase 2 & 3 Assemble Edit Rough Cut Trim clip out-points and in-points closer. Don’t worry about edit over-lap yet. Review timeline for narrative logic, emotional impact, and pacing. Rearrange clips to achieve desired effect. • Clip out-points and in-points very, very loosely. • Place “takes” into the anticipated/desired order.
Phase 4 & 5 Fine Cut Picture Lock Lock all video and audio clips. Prevents unintended edits from happening. • Cut for precise out-points and in-points. • The edit is smooth • Double check all looks good.
Phase 6 Final Treatment • Application of color correction and/or grading. • Addition/refinement of VFX or SFX. • Complete post production sound work.
Mindstream Preparation: • Work with your shoulder partner. Directions: • Student A summarizes topic for a minute. • Student B listens and encourages student A. • Reverse roles. • Repeat process with a new partner.
Continuity Editing vs. Complexity Editing Styles of Video Editing
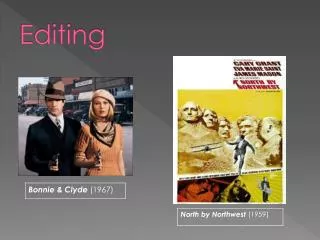
Continuity Editing Defined: The purpose is to emphasizes a smooth transition of time and space and to establish a logical coherence between shots. Example: “The Cutting Edge: The Magic of Movie Editing”. TC: 01:03:48
Complexity Editing Defined: The purpose is to intensify action or juxtapose ideas by intentionally breaking the rules of continuity. Student Example: player.vimeo.com/video/66197359
Jump Cut: Bad for Continuity, OK for Complexity YOU DEFINE IT: ________________________________________________________________________________________________________________________________________________
Flash Frame: Bad for Continuity, OK for Complexity YOU DEFINE IT: ________________________________________________________________________________________________________________________________________________
Magnet Summary Directions: • As a class, list important words about continuity and complexity editing. 2. Choose four words that are most important. • Make a sentence or two that summarizes continuity and complexity editing; use the four words in your sentence(s).
View Sample Watch this Clip: List the “So-Called” Editing Errors: No, we’re not going to replay it. __________________________________________________________________________________________________________________________________________
Some of the “Errors” These screen grabs were taken at the out and in points of the edit. IN OUT EX 1 EX 2 What “errors” do you see?
So-Called Errors Dustin Hoffman doesn’t lean in as far. Hoffman’s head isn’t in the same spot. Chief’s hands are up.
So, What Do We Think We’ve Learned? • With casual viewing, we didn’t notice the errors. • After critical viewing, we did notice the errors. • What does that mean that we didn’t initially notice these errors?
Activity • Everyone read, “When and where to make the cut: inspired by Walter Murch’s In the Blink of an Eye” • Outline the article’s points with a partner. See example. • Write a paragraph that explains what we know now about editing. Reference both the Little Big Man clip AND the article. Do it with your partner.
Editing Learning Targets: Day 1: Know the phases of editing. Day 2: Know the two styles of editing. Day 3: Know some of what helps to make good editing.