Editing
Editing. * Do it ASAP, before collecting more data, if at all possible. * Scrutinize before you edit, check your memory and your field notes before you edit. * Keep a copy of the original unedited file! Pathfinder does not do this for you automatically.

Editing
E N D
Presentation Transcript
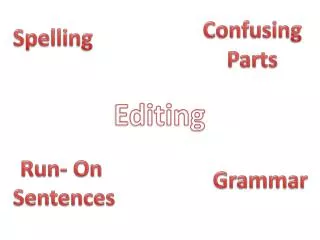
Editing * Do it ASAP, before collecting more data, if at all possible. * Scrutinize before you edit, check your memory and your field notes before you edit. * Keep a copy of the original unedited file! Pathfinder does not do this for you automatically. * Check features, attributes and spatial pattern.
Editing Point Features: Location Is the point misplaced relative to other features or an expected pattern? Check the corrected positions that the point is based on. Check field notes for constellation jumps, PDOP spikes. Point Features: Theme Is the feature correct? Are the attributes correct?
Editing Line and Area Features: Location Are features in the right location relative to each other? Are straight lines straight? Are curves and corners fully spatially defined with enough vertices? Are there too many vertices? Do any arcs cross? Line and Area Features: Themes Is the feature correct? Are the attributes correct?
Export to GIS Format Pathfinder Office: Utilities: Export Select file (browse) Select output folder (browse to GIS data location) Select export set-up (click on “new set-up”and give a name like “CACO AV set-up”) From here, set the CACO specific export set-up. This will probably be something like what is given below for each of the tabs: Format Tab: format: ArcView shapefile export: all features System Tab: DOS files Attribute Tab: Attribute value (or one of the code values, see the .ddf) may also include attributes such as PDOP, date, etc. see list Position Filter Tab: filter by: position info: 3D maximum PDOP: 4 (5) include: diff corr positions Coordinate System Tab: Select “Export Coordinate System”, then specify: UTM; Zone 19 north; NAD 1983 (CONUS) Units Tab: Select “Export Units”, then specify: meters