Introduction to the Microscope
Introduction to the Microscope. History Care Parts Focusing. History of Microscopes. Timeline of lens and microscope inventions. Microscope Parts. Eyepiece. Body Tube. Revolving Nosepiece. Arm. Objective Lens. Stage. Stage Clips. Coarse Adjustment Knob. Diaphragm.

Introduction to the Microscope
E N D
Presentation Transcript
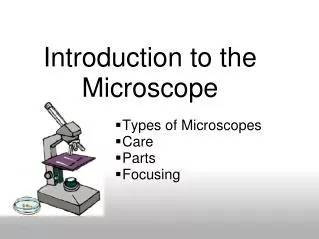
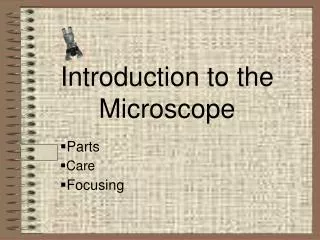
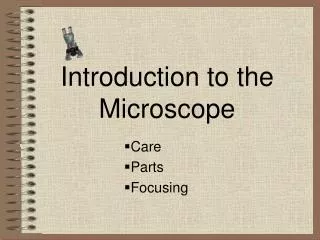
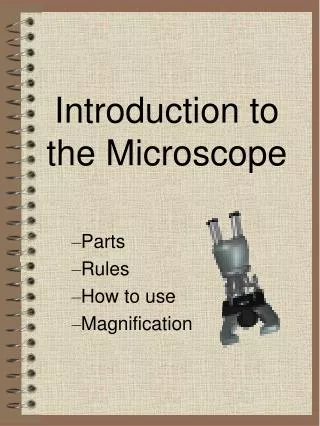
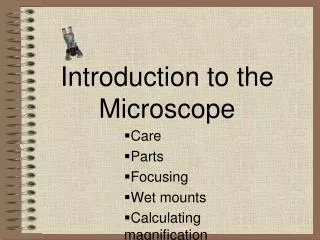
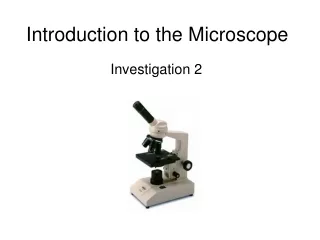
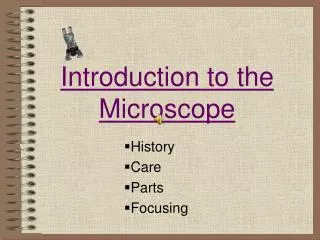
Introduction to the Microscope History Care Parts Focusing
History of Microscopes • Timeline of lens and microscope inventions
Microscope Parts Eyepiece BodyTube RevolvingNosepiece Arm ObjectiveLens Stage StageClips CoarseAdjustment Knob Diaphragm FineAdjustment Knob Light Base
Microscope Care 1. Always carry with 2 hands. 2. Only use lens paper for cleaning. 3. Do not force knobs. 4. Always store covered. 5. Keep objects clear of desk and cords.
Using the Microscope 6. Place the slide on the microscope. 7. Use stage clips to hold specimen down. 8. Click nosepiece to the lowest (shortest knob) setting. 9. Look into the Eyepiece/Ocular. 10. Use the Coarse Adjustment Knob to see the specimen and use the Fine Adjustment Knob to fine tune the image.
Using High Power • Follow steps to focus using low power • Click the nosepiece to the longest objective • Do NOTuse the Coarse Adjustment Knob • Use the Fine Adjustment Knob to bring the slide into focus What can you find on your slide?
Making a Wet Mount Slide 1. Place a few drops of liquid (water or dye) in the middle of the slide. 2. Place or smear your specimen into liquid. 3. Place cover slip on top of specimen at a 45 degree angle. 4. Gently tap out any air bubbles.
Calculating the Total Magnification • Formula Ocular (eyepiece) x Objective lens = Total Magnification
Stereomicroscope (Dissecting microscope) • allows for binocular (two eyes) viewing of larger specimens. • used to study the surfaces of solid specimens or to carry out close work such as sorting, and dissection.
Scanning Electron Microscope • allow scientists to view a universe too small to be seen with a light microscope. SEMs don’t use light waves; they use electrons (negatively charged electrical particles) to magnify objects up to100,000 times. • provides 3-d images of the specimen
Transmission Electron Microscopes • uses electrons, but instead of scanning the surface (as with SEM's) electrons are passed through very thin specimens. • allows for good resolution (detail) • magnifies up to 200,000 times
Cells Alive! & Others • Cell structure is related to function • Cells in my back yard • SEM of red blood cell • Cell gallery • More SEMs • Even more SEMs • TEMs • More TEMs