Mastering Camera Control in Alice: A Comprehensive Tutorial
130 likes | 237 Views
This tutorial guides you through various techniques for controlling the camera in Alice, including changing and saving camera positions. You will learn to utilize dummy objects to mark your camera's position and how to move the camera to different views. Follow along with the provided starting world to practice these skills effectively. You'll discover how to rename dummy objects for better organization and master the camera controls to enhance your storytelling and animation experience in Alice.

Mastering Camera Control in Alice: A Comprehensive Tutorial
E N D
Presentation Transcript
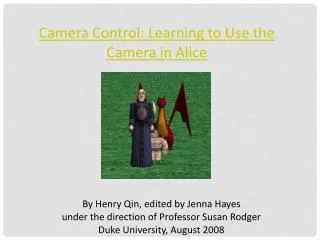
Camera Control: Learning to Use the Camera in Alice By Henry Qin, edited by Jenna Hayes under the direction of Professor Susan Rodger Duke University, August 2008
Camera Controls This tutorial will go through different ways of using the camera in Alice, such as changing and saving camera positions. Download and open the starting world that goes with this tutorial, and we will get started. These characters will be in the downloaded world.
Going to the “Add Objects” Screen First, click on the green add objects button in the upper left area of your screen. This will bring us to the add objects screen, where certain things can be done to the camera.
The “Add Objects” Screen This is the add objects screen. There are buttons that are used to move objects in different ways on the right-hand side, and at the bottom you can see folders that contain all of the possible objects you can add to an Alice world. Object-controlling buttons Folders of objects
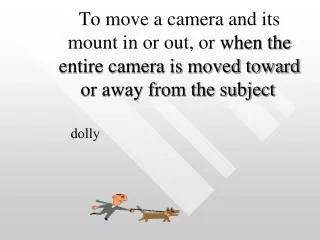
Saving a Camera Position To save a camera position in Alice, you use something called a dummy object, which is just an invisible object that is placed at your camera's exact position, and stays there even if you move your camera around. To drop a dummy object, first click on the more controls button on the right hand side of your screen, under the object-controlling buttons.
Saving a Camera Position • More controls should appear on the screen. Click the drop dummy at camera button. • This will make a new folder appear on your object tree, called Dummy Objects. Click on the plus sign next to the folder to see your new object, named Dummy.
Using the Dummy Object Now try moving your camera to a different position using the blue arrows under the viewing screen. We will then show you how to get your camera back to its original position. Use these arrows to move your camera to a new position, such as this.
Using the Dummy Object There are two ways to put the camera back to its original position. The first way is to right click on camera in the object tree, and then select methods, then set point of view to, then dummy objects, then dummy.
Using the Dummy Object The second way to re-set the camera is to simply click on the move camera to dummy button on the right-hand side of the screen, and then select dummy. However, this is only available if you are on the add objects screen.
Renaming Your Dummy Whenever you create a dummy object in Alice, it is automatically named Dummy. To remember which position each dummy holds, you should re-name them to something more meaningful. Right click on Dummy in your object tree and select rename to do this. We'll rename ours original position.
Using the Blue Arrows Now we want to use these arrows to get an overhead view of our four characters, so we can place them in a diamond shape. Try to get your camera view to look like this: Use this up arrow to get your camera high in the sky. Use this forward arrow to tilt your camera down towards the characters. Use this forward arrow to position your camera over the characters.
Positioning the Characters First, drop a dummy object at your camera. Name it something like overhead view. Then, using your object positioning buttons, arrange your characters in the shape of a diamond, like this:
Finishing Up Now set your camera back to original position to check out what your characters look like from the front. Use the techniques you have learned in this tutorial to position objects and save camera positions in your future Alice worlds!