Download

1 / 2
20 likes | 28 Views
As there are many uses for sandstone around the home (including flooring, wall cladding, fireplaces, and countertops) it is sometimes necessary to bond the stone to many different surfaces. Depending on the surface that you are bonding the pavers to and the agent that you want to use for the process, you will need to follow a number of different steps to ensure that the sandstone remains adhered to the surface well into the future.

E N D
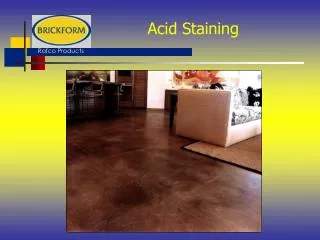
Techniques For Bonding Sandstone As there are many uses for sandstone around the home (including flooring, wall cladding, fireplaces, and countertops) it is sometimes necessary to bond the stone to many different surfaces. Depending on the surface that you are bonding the pavers to and the agent that you want to use for the process, you will need to follow a number of different steps to ensure that the sandstone remains adhered to the surface well into the future. Cement and Mortar Step 1: Give the surface of each stone a thorough clean to remove oils, dust and other dirt. Begin by brushing the sandstone down with a wire or plastic brush, then give it a wipe with a de-greasing solution and water using an old rag. Finish by soaking the sandstone in water to ensure that their pores are sealed. Step 2: Mix together a cement mixture acid staining raleigh by combining one part cement with three parts sand and adding water. Spread this mixture onto the area where you will be laying the pavers, using a screed to make sure that the surface is even. As a side note, do not use lime cement when working with sandstone, as it can be damaging.
Step 3: Lay down the sandstone pavers in your desired pattern, using plastic separators to define the gaps (if you want any). Once you've finished, use a trowel to fill in these gaps with some extra cement and to wipe any excess mixture away. Epoxy, Acrylic and Polyester Adhesives Step 1: Use a metal brush to rough up the back of the sandstone cladding or pavers, as this will increase its adhesive strength. Then, give the stone a thorough clean to remove any oils, dust and dirt that may have accumulated using the same process as the above method. Step 2: Prepare the adhesive according to the instructions of the particular type you are using. Epoxies are made by mixing an epoxy resin with a hardening agent, then spreading the solution onto the back of the sandstone. You can then push the paver into place. Acrylic and polyester adhesives are loaded into a caulking gun, applied to the back of the sandstone and pushed into position. Step 3: After you have applied the sandstone paver to its designated spot, make sure that you hold it in place according to the time specifications provided by the manufacturer. This will ensure a strong and lasting bond.