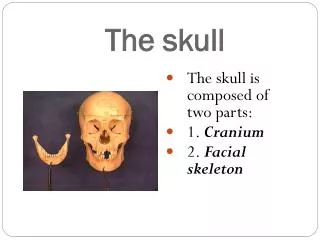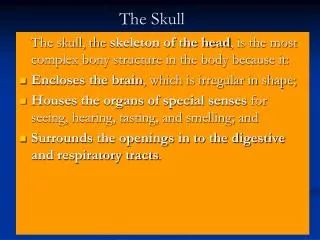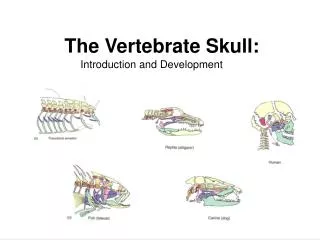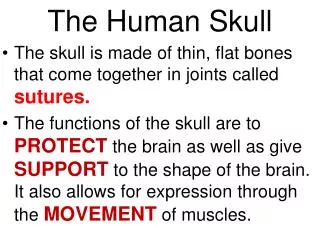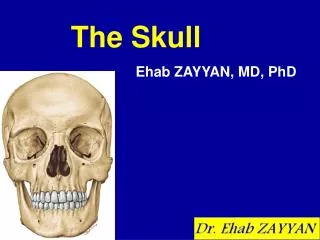
The Skull
The Skull. Things to know. 3 views AP AP axial Lateral. AP. 10 X 12 lengthwise 80 @ 18 Shield Marker Hold breath. Positioning. Patient Supine on table Flex neck until the OML is perpendicular to IR Mid line to Mid line No rotation or tilt. CR perpendicular. Enter at Glabella.


The Skull
E N D
Presentation Transcript
Things to know • 3 views • AP • AP axial • Lateral
AP • 10 X 12 lengthwise • 80 @ 18 • Shield • Marker • Hold breath
Positioning • Patient Supine on table • Flex neck until the OML is perpendicular to IR • Mid line to Mid line • No rotation or tilt
CR perpendicular Enter at Glabella SID 40 Collimate to outer skull
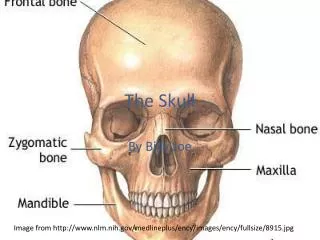
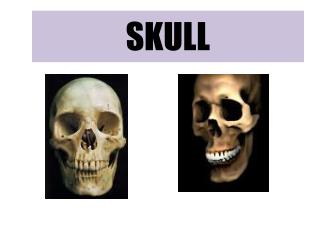
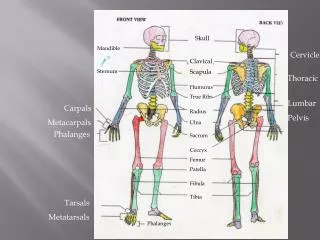
Seen on Film • Frontal bone
AP Towne • 10 X 12 lengthwise • 80 @ 20 • Shield • Marker • Hold breath
Positioning • Patient supine on table • Mid line to midline • Depress chin until OML is perpendicular to IR • No rotation or titling • Ensure vertex of skull in light field
CR 30 Degrees caudad 2 1/1 inches above the glabella SID 40
Seen on film Occipital bone
Lateral • 10 x 12 Crosswise • 80 @ 10 • Shield • Marker • Hold breath • Collimate to skull margins
Positioning • Patient is prone on table • Turn head with side of interest near the IR • Interpupillary line perpendicular to IR • Mid-line to Mid-line • No rotation or tilt • Make sure the external occipital protuberance and the nasion or glabella is equal distance from table
CR perpendicular to IR 2 inches above the EAM SID 40
Seen on film • Lateral cranium nearest IR • Sella turcica in profile