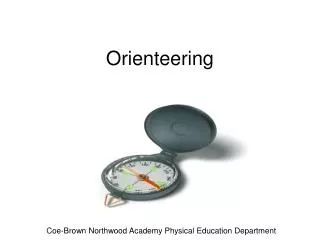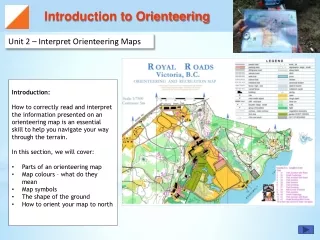
Orienteering
Orienteering. ALERT Cadet Alpha 3 rd California. Jason Kim September 2006. Orienteering Using Nature. ALERT Cadet Alpha 3 rd California. Jason Kim September 2006. Using the Sun. The sun always rises in the east and sets in the west, but not exactly due east or due west.

Orienteering
E N D
Presentation Transcript
Orienteering ALERT Cadet Alpha 3rd California Jason Kim September 2006
Orienteering Using Nature ALERT Cadet Alpha 3rd California Jason Kim September 2006
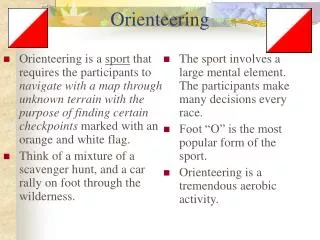
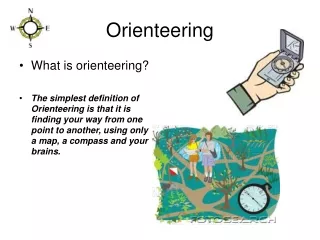
Using the Sun • The sun always rises in the east and sets in the west, but not exactly due east or due west. • In the northern hemisphere, the sun will be due south when at its highest point in the sky (noon), or when an object casts no appreciable shadow (shadows will move clockwise). • In the southern hemisphere, the sun will mark due north at noon (shadows will move counterclockwise).
Using Shadows • Step 1. Place the stick or branch into the ground at a level spot where it will cast a distinctive shadow. Mark the shadow's tip with a stone, twig, or other means. This first shadow mark is always west--everywhere on earth. • Step 2. Wait 10 to 15 minutes until the shadow tip moves a few centimeters. Mark the shadow tip's new position in the same way as the first. • Step 3. Draw a straight line through the two marks to obtain an approximate east-west line. • Step 4. Stand with the first mark (west) to your left and the second mark to your right--you are now facing north. This fact is true everywhere on earth.
Using the Moon • If the moon rises before the sunset, the illuminated side will be West. • If the moon rises after midnight, the illuminated side will be East. • Because the moon has no light of its own, we can only see it when it reflects the sun's light. This provides us with a rough east-west reference during the night.
Using the Stars (the Northern Sky) • The North Star forms part of the Little Dipper handle and can be confused with the Big Dipper. • Prevent confusion by using both the Big Dipper and Cassiopeia together. • The Big Dipper is a seven-star constellation in the shape of a dipper. • The two stars forming the outer lip of this dipper are "pointer stars" because they point to the North Star. Cassiopeia has five stars that form a shape like a "W" on its side. The North Star is straight out from Cassiopeia's center star.
Using the Stars (the Southern Sky) • Because there is no star bright enough to be easily recognized near the south celestial pole, a constellation known as the Southern Cross is used as a signpost to point South • The Southern Cross or Crux has five stars • The two stars that make up the cross's long axis are "pointer stars". • To determine south, imagine a distance five times the distance between these stars. The point where this 5x imaginary line ends is in the general direction of south 5x down from the Southern Cross pointing stars is "South Point"
Using Your Watch • In the northern hemisphere, hold the watch horizontal and point the hour hand at the sun. Bisect the angle between the hour hand and the 12 o'clock mark to get the north-south line Note: If your watch is set on Daylight Savings Time, use the midway point between the hour hand and 1 o'clock to determine the north-south line. • In the southern hemisphere, point the watch's 12 o'clock mark toward the sun and find a midpoint halfway between 12:00 and the hour hand; it will give you the north-south line
Orienteering Using a Compass ALERT Cadet Alpha 3rd California Jason Kim September 2006
Nature of Compass Headings • True North (TN) • Magnetic North (MN) • Grid North (GN) Magnetic North (MN) is about 800 miles south of True North (TN) the North Pole. The angle of difference is called magnetic declination (variation) which varies from place to place. San Jose, CAis 14.952o easterly declination
Compensating for Declination • When using a compass and map, you must train yourself to compensate for declination using one of these options: • Add (westerly) or subtract (easterly) the degrees of magnetic declination provided on the map. • Extend the MN line of declination diagram in the map margin. Draw lines parallel to the extension line. Using these lines, the map and compass now reference the MN. • Purchase a compass with Geared Declination Correction that allows you to set and leave your degree setting. San Jose, CA14.952o eastly decl. Topographic maps include diagrams which indicate the angle of difference between True North and Magnetic North.
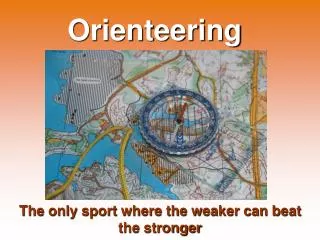
1. Align Compass Direction • Orient your map to face North (usually Up). • Point the base plate from your source to your destination • Place your compass on the map with the edge (as shown) along the desired line of travel. Mag. Needle (Red=North) Heading Index Direction Arrow Compass Dial Base Plate
2. Dial-in Magnetic Headings Map North • Position your compass direction • Turn the compass dial until “N” points North - usually along the vertical axis of a map. • Compensate for magnetic declination by aligning the orienting lines on the base of capsule to the magnetic north on your map. • Read your Magnetic Heading at the Index Line on the compass dial in degrees. Magnetic Heading System: use MN Orienting Lines (with declination)Map Heading System: use TN Orienting Lines (without declination)
3. Follow your Magnetic Heading • Verify your current location by checking at least two distinct reference points on your Map. • Dial-in your Magnetic Heading. • Hold the compass level so the Magnetic Needle is free to turn. • Turn your body until the red end of the needle aligns with the red Orienting Arrow on the dial (“N”). • Sight a distant landmark and move specified distance toward it using the Direction of Travel Arrow. • Repeat this process until you reach your destination. San Jose, CA14.952o eastly decl. (TN for San Jose area: Rotate 15o clockwise or subtract 15o from Map Heading)
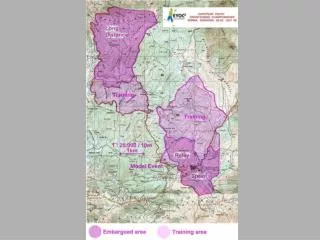
Orienteering Exercise ALERT Cadet Alpha 3rd California Jason Kim September 2006
Orienteering Exercise • Find your current location based on two distinct reference points on the map. (verify with 3rd) • Determine your pace distance and scale of the map based on two distinct reference points on the map. (verify with 3rd) • Mark three vertices to hide your treasure.(from A: to B: to C: to treasure) {MH/Distance} • Find other's treasure from their coordinates.(confirm with C: to A: coordinates)