Download

1 / 20
200 likes | 323 Views
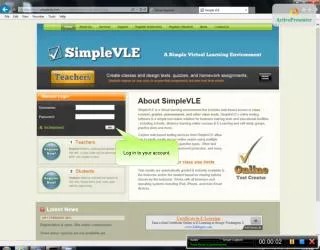
Log in to your Cougar Net. Once in your Cougarnet, click on the Staff Tab. Scroll down to where you see the “ENTER HERE” for eQuest Click on “Enter Here”. The eQuest log in page will appear Type in your User ID and Password (the same login name and password for CougarNet).

E N D
Scroll down to where you see the “ENTER HERE” for eQuest Click on “Enter Here”
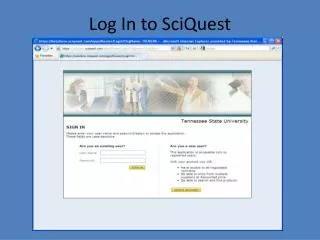
The eQuest log in page will appear Type in your User ID and Password (the same login name and password for CougarNet)
Your eQuest home page will appear after you are logged in To submit a new request, Click on Submit on the left menu bar, or on the Submit Request icon
Type in a short summary of your request, (Example: broken door, Concert Set up Jan 1st). This is not where you type in a detailed explanation of your request. This is just a short description.
Scroll down to the request information. This is where you will choose information Pertaining to your request.
From the choices listed, choose the closest type of service you need. Click on the arrow to pull the menu down Click on your choice
Click on the arrow to pull the Impact menu down Click on the appropriate Impact This is where you will choose is impacted by either the problem or request.
Click on the arrow to pull the severity menu down. Choose which severity bests fits your request.
Click on the arrow to pull down the campus menu Click on the Campus that is affected by your request
Type in the room number If you are entering a request for someone else, click yes in the “Service for Someone else” menu. If not, do not click anything, your answer will stay no.
If you are entering a request for someone else, a pop up menu appears after you Click on yes.
Click on the arrow to pull down the menu, choose the correct criteria for the person Type in their name and phone number
Input your account information (requests for signs, events and some equipment Require this)
In the description box, type in all details pertaining to your request.
Scroll down to the bottom. If you have a file that you want attached to your request This is where you will attach it. If you would like the eQuest information to go to another person, type in their email Address here.
Click on Save Your workorder will not be submitted if you do not save it.
Once your request has been saved and submitted, you will receive a confirmation And the eQuest number.
If you would like to check any of the workorders you have submitted, simply Click on the “View Mine” option under Requests