Download
1 / 9
90 likes | 312 Views
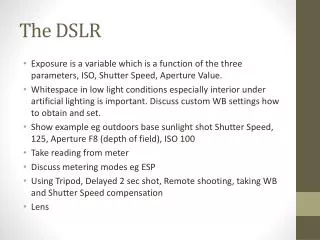
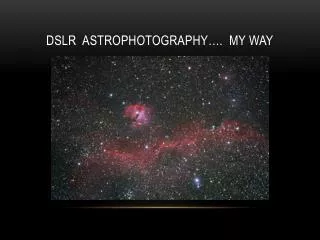
Introduction to DSLR Astrophotography. Relatively simple and inexpensive. No guiding required. Using consumer Canon DSLR’s. Home use camera: Canon t3i, 18 MP No field laptop required. ISO up to 6400, 30 sec or bulb exposures, swivel screen, zoom live focussing

E N D
Introduction to DSLR Astrophotography • Relatively simple and inexpensive. • No guiding required. Using consumer Canon DSLR’s. • Home use camera: Canon t3i, 18 MP • No field laptop required. • ISO up to 6400, 30 sec or bulb exposures, swivel screen, zoom live focussing • Sensitivity diminishes in the red “Ha” emission wavelength. • Fast Reflector vs APO • Larger aperature, faster f/#, no chromatic aberration, dewing takes longer, affordable. • Stack of multiple shorter exposures vs single long exposure • No guiding required (no AG mount, separate guide scope & camera, or laptop) • Freeware “Deep Sky Stacker”, process images on a cloudy or rainy night • Polar Aligned Equatorial Mount • Decent unguided 60-90 second exposures at 800 mm using Celestron CGEM • “Local” Dark Sky sites • Blackbird SP, Tuckahoe SP, Cherry Springs SP, Cape Hatteras NC Cal Estrada
Imaging Setup, 8” f/4 on Celestron CGEM To Polaris Astro-Tech $ 450 8” f/4, 800mm fl Polar alignment scope with offset Hand Controller with 40,000 object Go To Data Base. Celestron CGEM mount with Go-To and Autoguider $1500 new Cal Estrada
Camera Setup and LPR Filter Transmission 2” Baader MPCC 2” Hutech LPR Filter Swiveling Live Focus Screen Programmable shutter timer. Bulb Mode. N x 90 secs UV and IR Blocking with notch filtering of Orange Street lights and transmission of Ha light T Adapter Cal Estrada
On Primary Center Mark Step by Step Procedures: Setting Up Scope “Centered” on secondary • Laser collimate Telescope at Temperature • Level Telescope Tripod. • Balance DEC and RA Axis with camera attached (counterweights and dovetail) • Polar Align and center 2 or 3 alignment stars. No drift alignment needed Returns to laser aperature Cal Estrada
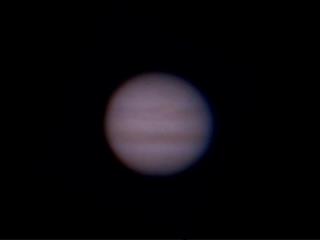
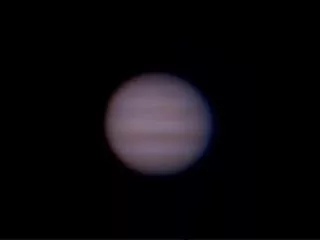
Imaging Procedures • Camera Setup • Manual Mode, 90 sec exp, 1600 - 6400 ISO, RAW Mode for stacking. • Focus on bright star or Jupiter using “Live Zoom” feature • If not “go to” equipped, find what object you’re looking for • Star Maps and TelRad or finder scope. Start with easier, brighter objects. • Take lots and lots of “light” frames, many will be unacceptable for stacking 1 x 75 seconds @ ISO 6400. Note lots of noise in raw images Cal Estrada
Screenshots from Deep Sky Stacker. M3 Cluster Stacked Image, no post processing 8 x 75 secs @ 6400 ISO Light Frames Only. No flats or darks. Best images without trails or periodic error. Cal Estrada
Using Deep Sky Stackerhttp://deepskystacker.free.fr/english/index.html 9 x 75 sec light frame stack @ ISO 1600 using modified DSLR PS adjust levels, contrast, sharpen, vibrance Single 75 sec light frame Cal Estrada
Objects imaged with light frames only (no flats, darks, or bias frames) Unguided stacks @ 1600 ISO. Levels adjusted and sharpened using Photoshop. Cal Estrada
Miscellaneous and other details • Maximize “SNR” or Signal to Noise Ratio • Signal: Photons you want to keep • Good focused images long exposure images • Noise: Artifacts you don’t want • Light pollution (orange street lights). • Use LPR filter • High ISO noise (most common) • Take lots of light frames and stack • Dark Signal (removed by dark frames) • Vignetting, dust or smudges (removed by flat frames) • Dew. Newtonians better than SCT’s • Optional Accessories: Many available at AstroMart (http://www.astromart.com) • Coma corrector for fast Newtonians • http://www.optcorp.com/product.aspx?pid=10026 • LPR Filters (especially in light polluted “orange” skies) • http://www.optcorp.com/product.aspx?pid=105-156-840-1155-850-4172 Next Talk: More Advanced Astrophotography Techniques: Autoguiding, Flats Fields, Dark Frames and Dithering Cal Estrada