Download
1 / 25
250 likes | 356 Views
Geology 510 Computer Aided Subsurface Interpretation Fall 2013. Topic 9- Geomodeling. Geomodeling. To get 4 tabs side by side press MB3 and select 2 rows by 4 columns. Then close unnecessary tabs and /or drag tabs to a desired position.

E N D
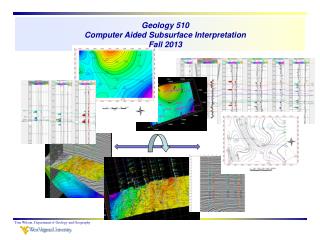
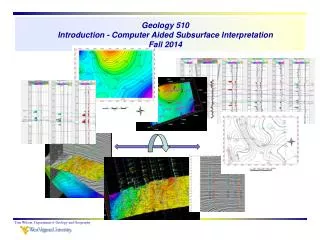
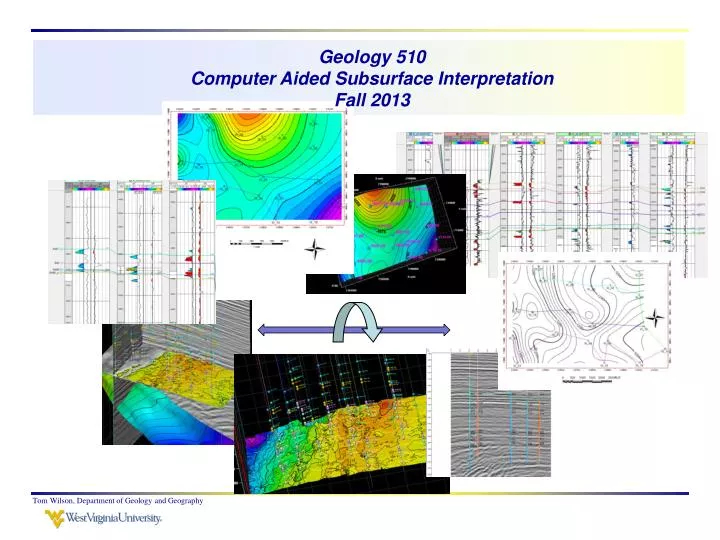
Geology 510Computer Aided Subsurface InterpretationFall 2013 Tom Wilson, Department of Geology and Geography
Topic 9- Geomodeling Tom Wilson, Department of Geology and Geography
Geomodeling Tom Wilson, Department of Geology and Geography
To get 4 tabs side by side press MB3 and select 2 rows by 4 columns. Then close unnecessary tabs and /or drag tabs to a desired position Tom Wilson, Department of Geology and Geography
ctrl alt fn prnt screen to get the active window ( little more difficult) Tom Wilson, Department of Geology and Geography
2 x 3 display window Tom Wilson, Department of Geology and Geography
Bring up a cross line Tom Wilson, Department of Geology and Geography
Slide over and use the magnify option to zoom in. Tom Wilson, Department of Geology and Geography
In line … Inline 590 - just a sliver Tom Wilson, Department of Geology and Geography
Full lines start at inline #100 Tom Wilson, Department of Geology and Geography
File > Select Session data window comes up Tom Wilson, Department of Geology and Geography
Data selection > type > select data arrow> 3D surveys > Fusion > Seismic Tom Wilson, Department of Geology and Geography
Structure cube: time slice and structure view Tom Wilson, Department of Geology and Geography
Need to illustrate pages 9-9 to 9-22 Tom Wilson, Department of Geology and Geography
Topic 10- Earth Modeling Tom Wilson, Department of Geology and Geography
EM_GM_Demo Turn on Fangst base and top Turn off surface picks and GeoModeled faults Leave surface fault intersections on Tom Wilson, Department of Geology and Geography
Start modeling > Grid geometry Tom Wilson, Department of Geology and Geography
Work with bounding box to exclude the large fault offset to the east Tom Wilson, Department of Geology and Geography
Cut out the steeper part of the fault to the northeast and square off the area to be gridded Tom Wilson, Department of Geology and Geography
Gridding in the Earth Modeling section • Set bounding box limits • If you need to adjust later, return to Earth modeling and regrid. • View the grid in cube view and turn off the GeoModel • Toggle on wire frame toggle on annotate • Select display properties • And change color bar to spectrum invert • Switch between interval and K1 Layer Tom Wilson, Department of Geology and Geography
Layer view Tom Wilson, Department of Geology and Geography
Grid view Tom Wilson, Department of Geology and Geography
Wireframe view Tom Wilson, Department of Geology and Geography
Need to illustrate pages 9-9 to 9-22 Tom Wilson, Department of Geology and Geography