Download
1 / 8
100 likes | 250 Views
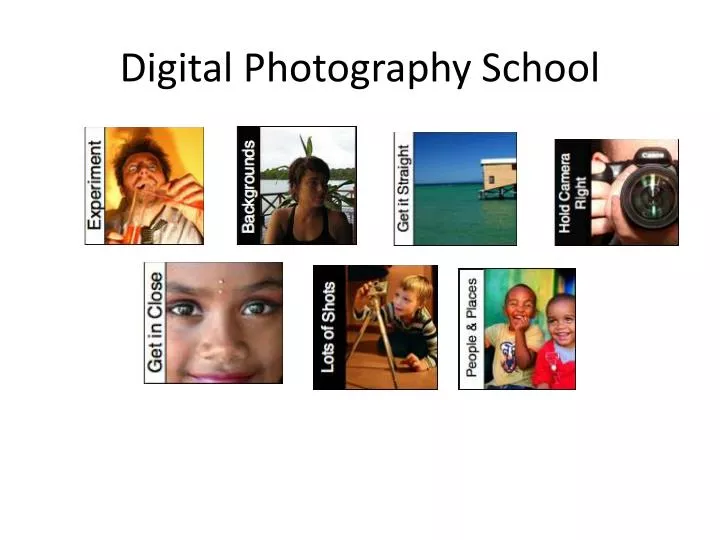
Digital Photography School. Experiment. Vary your shots by: shooting from different perspectives – up high , down low etc getting in close – stepping back for a wider angle shot moving around your subject to shoot from different sides

E N D
Experiment • Vary your shots by: • shooting from different perspectives – up high, down low etc • getting in close – stepping back for a wider angle shot • moving around your subject to shoot from different sides • experimenting with different settings (teaching them about different exposure modes)
Check Your Backgrounds • A very simple concept that can enhance an image is to check out the background of a shot to check for clutter or distraction. • Scan the background (and the foreground) of an image quickly and change their framing if there’s too many distractions – otherwise their shots will end up like mine used to with all kinds of objects growing out of the heads of those I was photographing. • Read more about How to Get Backgrounds Right
Hold the Camera Straight • The other obvious problem with many of my first images is that they rarely lined up straight. In fact after viewing my first album for a few minutes I began to feel quite dizzy! • While shots that are not straight can be quite effective • Check the framing of their shot before hitting the shutter. • Read more on Getting Horizons Horizontal and Getting Images Straight
How to Hold a Camera • Tripods are the best way to stop camera shake because they have three sturdy legs that keep things very still onto it with two hands. • Shoot with two hands to increase your stillness (like three legs on a tripod being better than one). • Using the LCD? Make sure you don’t hold your camera too far away from you. Tuck your elbows into your sides and lean the camera out a little from your face (around 30cm) • Add extra stability by leaning against a solid object like a wall or a tree or by sitting or kneeling down. If you have to stand and don’t have anything to lean on for extra support put your feet shoulder width apart to give yourself a steady stance. The stiller you can keep your body the stiller the camera will be.
Get in Close • Use your Optical Zoom • Use your Legs – most photographers have a built in zoom in the form of their legs. Don’t just rely upon your cameras zoom but actually position yourself effectively for close in shots.
Take Lots of Shots • Do not take 100 shots of exactly the same thing –Experiment with lots of different shots over time
Photograph People, Things, and Places • Take pictures of people • Take pictures of things • Take pictures of places • Take pictures of the same amount of people, places, and things.