Download
1 / 10
230 likes | 766 Views
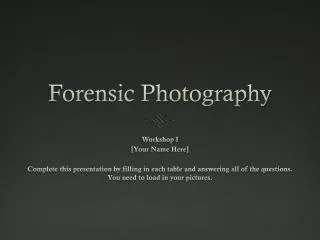
Forensic Photography. Part 1. Find something in this room and take a picture of it using your cell phone. Take the picture how YOU think a CSI would take the picture while analyzing the crime scene. If you feel that you need extra materials, please ask.

E N D
Part 1 • Find something in this room and take a picture of it using your cell phone. • Take the picture how YOU think a CSI would take the picture while analyzing the crime scene. • If you feel that you need extra materials, please ask. • When you are finished come back to your seat.
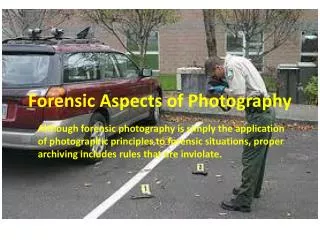
How’d It Go? • There is very specific protocol for taking pictures as a Forensic Scientist. If pictures aren’t taken according to this protocol they WILL be thrown out of court. • Look at your picture of determine if you did each of the following:
Number of Shots • You should have taken at least 4 pictures • Overall view: Photo of the overall view of the crime scene • Medium view: Picture of where the piece of evidence is in reference to other items • Close-up view: A picture of only the object
Angle • ALL pictures must be taken from a 90 degree angle in order to be admitted into a court of law.
Ruler and Evidence Number • An L-shaped ruler must be visible in all pictures. Most Forensic Scientists recommend taking the exact same picture with and without the ruler. • An evidence number must also be visible. This number should correspond to the number seen in the medium view picture. • Note: Some evidence numbers have rulers on them and others do not
Part 2 • Now that you’ve gain Forensic Photographer knowledge, let’s try this again. • Using the SAME object you did before, take pictures according to the protocol we just learned. • Return to your seat when you are done • Note: You will be using these techniques throughout the rest of the semester. So, if you have questions, ask NOW!
Part 3 Go through this check list with a partner and see how you did. • Overall View • Medium View • Close-up View • 90 degree angle • Ruler • Evidence Number