Download
1 / 26
1.84k likes | 6.38k Views
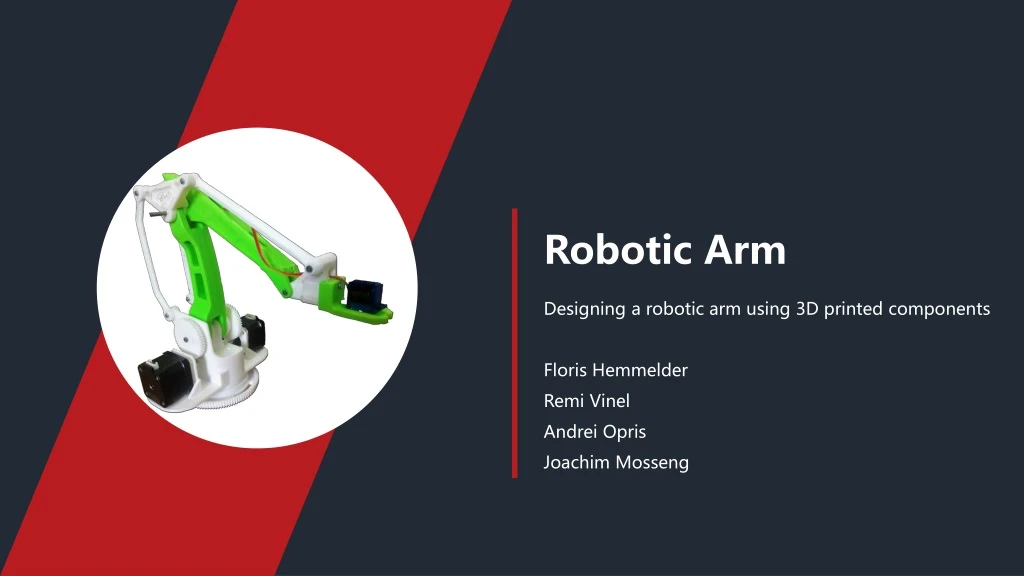
Robotic Arm. Designing a robotic arm using 3D printed components Floris Hemmelder Remi Vinel Andrei Opris Joachim Mosseng. Conclusions. Research. Actuation & Control. The process. Assignment. 1. PART ONE: ASSIGNMENT. ORDER AND INSERT MOTORS. CREATE A 3D-PRINTED ARM.

E N D
Robotic Arm Designing a robotic arm using 3D printed components Floris Hemmelder Remi Vinel Andrei Opris Joachim Mosseng
Conclusions Research Actuation & Control The process Assignment
1 PART ONE: ASSIGNMENT
ORDER AND INSERT MOTORS CREATE A 3D-PRINTED ARM INTEGRATE ARDUINO AND POWER SUPPLY
2 PART TWO RESEARCH
UP DOF YAW BACK LEFT PITCH DEGREES OF FREEDOM (DOF) 3 MAIN DOF 1 EXTRA DOF ROLL RIGHT FORWARD DOWN
1 2 • 4 DOF • Gripper • Plastic & aluminum Finding a suitable robot • 4 DOF • Gripper • Plastic only • 4 DOF • Gripper • Plastic & aluminum Needs 4 DOF Fully 3D-printable Must fit on printer bed • 4 DOF • Gripper • Plastic & aluminum 3 4
3 PART THREE The process: assembly & printing
Printing process… …the result
The bearing system in the base gives the robot the ability to rotate.
The assembly of the bearing base, allowing rotation of the robot
Strucutal Adjustments From a CADIA document to a heavy base-support
4 PART FOUR Actuation and controll
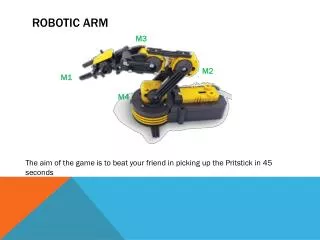
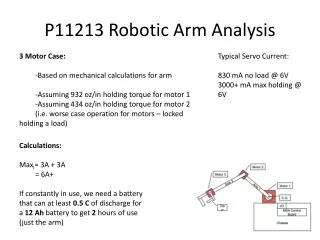
Actuation and Control Hardware : 3 x Stepper motors NEMA 17 1 x Servo motor SG90 1 x Power Supply 12 V 15 a 1 x Arduino Mega2560 board or UNO 1 x CNC Arduino Shield Wires Software : ARDUINO IDE coding software Universal G-code Sender
ARDUINO - 2 setups - Classic build – Arduino UNO New build – Arduino Mega2560 Solved compatibility issue between Mega2560 and CNC shield
Internet of Things capabilities • 3 sensors • ArduinoWeMos D1R1 • Blynk app
IoT –> BLYNK SMARTPHONE SENSORS DHT 22 SW-420 HC-SR04 Internet of Things
Contribution to IoT development * IoT case study conducted by ThingWorx ~50 billion devices 2020 2018 ~20 billion devices
5 PART FIVE Conclusions