Macro & Close-up Photography - Part Two
50 likes | 139 Views
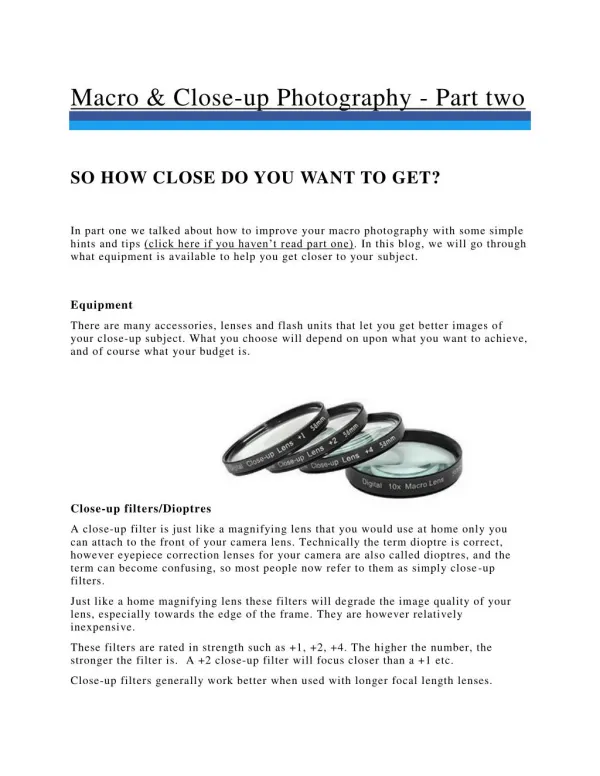
In part one we talked about how to improve your macro photography with some simple hints and tips (click here if you haven’t read part one). In this blog, we will go through what equipment is available to help you get closer to your subject.<br>

Macro & Close-up Photography - Part Two
E N D
Presentation Transcript
Macro & Close-up Photography - Part two SO HOW CLOSE DO YOU WANT TO GET? In part one we talked about how to improve your macro photography with some simple hints and tips (click here if you haven’t read part one). In this blog, we will go through what equipment is available to help you get closer to your subject. Equipment There are many accessories, lenses and flash units that let you get better images of your close-up subject. What you choose will depend on upon what you want to achieve, and of course what your budget is. Close-up filters/Dioptres A close-up filter is just like a magnifying lens that you would use at home only you can attach to the front of your camera lens. Technically the term dioptre is correct, however eyepiece correction lenses for your camera are also called dioptres, and the term can become confusing, so most people now refer to them as simply close-up filters. Just like a home magnifying lens these filters will degrade the image quality of your lens, especially towards the edge of the frame. They are however relatively inexpensive. These filters are rated in strength such as +1, +2, +4. The higher the number, the stronger the filter is. A +2 close-up filter will focus closer than a +1 etc. Close-up filters generally work better when used with longer focal length lenses.
Extension tubes These are hollow rings of metal with your camera bayonet on each end. You put them between your camera body and lens allowing your lens to focus closer than it usually can. Extension tubes are a better solution than filters as you are still using the optical quality from the lens that you paid so much money for! On the downside, you will lose up to two stops of light when using them. As with filters, extension tubes tend to give better results on telephoto lenses rather than a wide angle, but unlike filters, you do not need to have different sizes to fit different lenses. Always look for tubes that have an electrical connection to transfer exposure details to the camera and lens as this will allow you to keep using your camera's metering and exposure modes. Tele converters While generally not associated with macro photography, teleconverters can be quite helpful.
Teleconverters increase image magnification by increasing the focal length of the lens, so, for instance, a 2X teleconverter on a 200mm lenses turns the lens into a 400mm lens. The great thing about teleconverters is that they keep the minimum focusing distance the same, so are in effect getting much closer to your subject. Teleconverters are a good idea for people who do a lot of nature or sports photography and like the idea of using longer focal length lenses and would also like to be able to do some occasional close-up photography. Teleconverters are generally available in 1.4x & 2x magnification, and you will lose either 1.4 or 2 stops of light by using these converters. Macro Lenses Macro lenses are dedicated lenses designed for close-up and macro photography allowing you to focus down to 1:1 magnification. These lenses are available in various focal lengths, with 60mm and 100mm being the most common. Apart from use on copy stands, the longer the focal lengths are generally more versatile, giving a greater distance between you and the subject, and allowing room for light to reach the subject. Many macro lenses now have image stabilization/vibration reduction, which is a terrific feature for macro photography. Tripods When looking at buying a tripod, I like to go for something that is sturdy rather than something that is light weight. For macro photography, a tripod that allows you to get close to the ground will be a real benefit. Also, a center column that can move horizontally will give you flexibility in composing your image.
I’m a fan of using tripods for most of my photography and close-up photography is no exception, in fact, it often makes taking an image much easier, and you get better results. Remote releases A remote shutter release allows you to fire the shutter without having to actually touch the camera. This will not only help reduce camera shake and image blur, but a remote release also gives you a bit more freedom in viewing the subject from a distance rather than through the camera's viewfinder, often making composition, especially when photographing insects, far easier. Alternatively, setting the camera to a 5 or 10 second self-timer mode can also help to minimize camera shake, Adding light One of the big problems with macro photography is lighting the subject. Using small apertures for depth of field as well as fast shutter speed to stop movement all adds up to needing lots of light. You can also find that the camera is so close to the subject that it can cast its own shadow over the object you are trying to photograph. Changing your shooting position may help in getting more light to the subject, but often you will need to find ways to add extra light. Flash Portable flash is the obvious choice to add extra light to a scene, but will it work?
Hot-shoe type flashes will certainly work for macro and close-up photography, and in fact, can work very well. However, to get the most out of them, you really need to be able to take them off the camera. When left on the camera the light can be very strong and also you may find that the lens causes shadows to fall across the image. Using your flash off-camera is very simple with the use of a cable or, better still, a wireless system and you can still use the flash as though it was still attached to the camera. Once the flash is off the camera, you have control over the direction and intensity of the light giving you the ability to place the light where you want it. Dedicated ring lights are specifically designed for macro photography and will add shadow-less lighting to your subject. Originally designed for scientific use the downside of these units is just that: they provide shadowless lighting. While this may sound great, it has some drawbacks as without shadows you cannot show texture and shape within the subject. Many ring lights will now let you turn one side of the flash off in order to provide some texture and shape within the image. Reflectors Reflectors are an often overlooked item in many types of photography. A reflector is a straightforward and inexpensive way to add light to your subject and can be as simple as a piece of aluminum foil glued to cardboard. Reflectors will let you bounce the available sunlight towards the subject to improve the overall balance of the image. Want more? Interested in knowing about more gadgets and accessories to improve your photography? Then why not visit us or phone us. We’d be more than happy to give you more advice on how you can get better images.