JMP Example 1
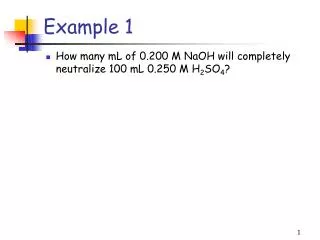
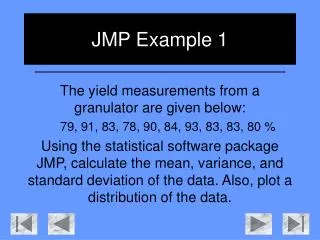
JMP Example 1. The yield measurements from a granulator are given below: 79, 91, 83, 78, 90, 84, 93, 83, 83, 80 % Using the statistical software package JMP, calculate the mean, variance, and standard deviation of the data. Also, plot a distribution of the data.

JMP Example 1
E N D
Presentation Transcript
JMP Example 1 The yield measurements from a granulator are given below: 79, 91, 83, 78, 90, 84, 93, 83, 83, 80 % Using the statistical software package JMP, calculate the mean, variance, and standard deviation of the data. Also, plot a distribution of the data.
JMP is a statistical software package used world-wide for statistical applications: all of your course-work may be completed using JMP. This is version 6.0.2. The shortcut will look something like this.
When you open JMP 6.0.2, A “Tip of the Day” window will automatically appear. Press the X at the upper right hand part of the window to close it. Also, you may disable this activity, by un-checking the box at the lower left-hand part of the window.
The “JMP Starter” Window will also automatically appear when you open JMP. This may also be disabled (or enabled) from the “View” Tab at the top of the JMP window. This is not suggested, however, as we will be using the “JMP Starter” to begin most of our applications. To input the yield data as requested for this Example, press the “New Data Table” button in the “JMP Starter” window
The “Untitled” window will appear for an input of data. To save this window, perform a “File => Save As” sequence as you would in any other program. You can now exit out of the “JMP Starter” window for this example.
To add a series of data, you will need to add rows or columns. Left-click on the Red arrow on the left for access to controls on rows, and the one on the right for access to controls on columns. Columns Rows For this example, we will be adding rows to the first column, so we left-click on the red arrow on the left.
As you can see, there are a series of commands to be performed on Rows. For this example, we will want to add rows.
Type in the number of rows you need to add. For this example, we will need 10.
Press OK to continue. Note: this is the same type of sequence you will need to undergo to add columns.
To input the data, double left click on the first box Note: You can also copy and paste a column of data from Microsoft Excel.
Type in the value required (in this case, 79), and press enter to jump to the next column. Repeat until all data boxes are filled.
Type in the value required (in this case, 91), and press enter to jump to the next column. Repeat until all data boxes are filled.
Type in the value required (in this case, 83), and press enter to jump to the next column. Repeat until all data boxes are filled.
Type in the value required (in this case, 90), and press enter to jump to the next column. Repeat until all data boxes are filled.
Type in the value required (in this case, 79), and press enter to jump to the next column. Repeat until all data boxes are filled.
Type in the value required (in this case, 84), and press enter to jump to the next column. Repeat until all data boxes are filled.
Type in the value required (in this case, 93), and press enter to jump to the next column. Repeat until all data boxes are filled.
Type in the value required (in this case, 83), and press enter to jump to the next column. Repeat until all data boxes are filled.
Type in the value required (in this case, 83), and press enter to jump to the next column. Repeat until all data boxes are filled.
Type in the value required (in this case, 80), and press enter to jump to the next column. Repeat until all data boxes are filled.
Now to change the title of the column values, double left click on the box entitled Column 1.
This will enable you to type in the new title- in this case, the yield.
Now, to complete the example’s objectives, we will look at JMP’s toolbar.
Click on the Distribution button, typically located on the far left side of the toolbar.
The “Report: Distribution” window will appear. Select the Yield, and press the “Y, Columns” button to add it to the required box.
A Distributions window will pop up like this. To close a series of data that you may not need (for example, the “Quantiles” Section), just left click on the blue arrow to the left of the title. To reverse this process, repeat this step.
To adjust the distribution plot, double left click on the axis.
This window will allow you to change the range of the plot and the increments of the frequencies, among other things.
This window will allow you to change the range of the plot and the increments of the frequencies, among other things.
This window will allow you to change the range of the plot and the increments of the frequencies, among other things.
This window will allow you to change the range of the plot and the increments of the frequencies, among other things.
So the answer to this example involves a distribution plot, the mean (84.4), and the standard deviation (5.211). The variance is not given; but recall that the variance is equal to the square of the standard deviation (27.155).