Download

1 / 17
180 likes | 196 Views
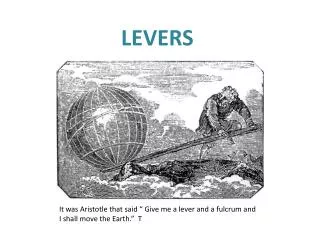
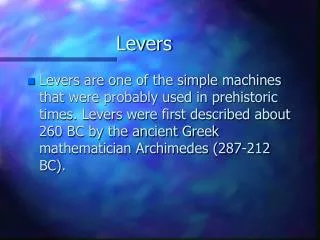
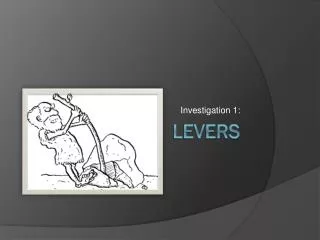
Learn about levers, fulcrums, and torque in this engaging investigation. Understand how levers work, their classes, and practical examples. Discover the principles of torque and see the benefits of using levers in various situations.

E N D
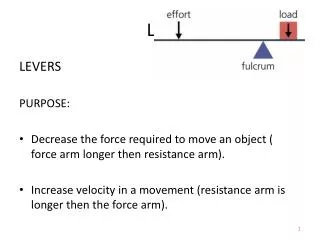
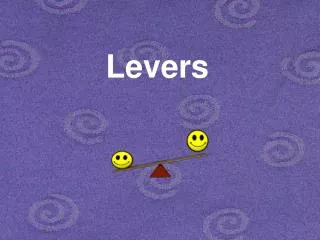
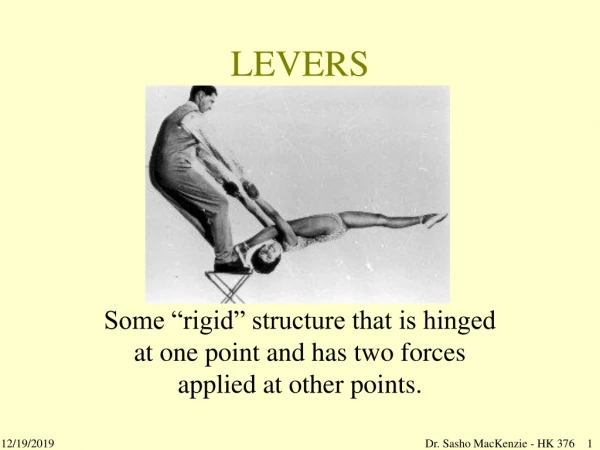
Vocab • Lever- a lever is a simple machine that people use to gain a mechanical advantage, such as making work easier • Fulcrum- The point where the lever arm pivots • Lever Arm- A stick or beam free to pivot at a point
Load- The mass lifted or the resistance overcome by a lever • Effort- the force needed to move a load or overcome resistance. Measured in Newtons
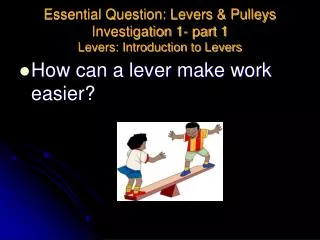
Content • A lever can make a load easier to lift, it can move loads, and it reduces effort. • The farther the effort is from the fulcrum, the easier it is to lift the load. • The closer the load is to the fulcrum the easier it is to lift the load
Parts of a lever • The four parts of a lever are: lever arm, fulcrum, load, and effort Advantage- a benefit obtained by using a lever (or other simple machine)
Measuring with Spring Scales • Always zero the scales before starting the day’s activity. • Always use the scale right side up, never upside down. • Pull until the lever arm is level, then read the effort. • Stop before the scale goes past 10 N limit.
Two-coordinate graph • Two coordinate graph- shows the relationship between two variables • A two-coordinate graph is helpful for understanding relationships and making predictions. The x-axis on the bottom describes what you changed during the experiment.
Classes of Levers • F 1 • L 2 • E 3 • Or FLE- 1-2-3 • Levers can be set up in three basic ways. They are called class 1, class 2, and class 3.
Class 1 levers- have the fulcrum in the middle and the load and effort on the ends • Class 2 levers- have the load in the middle and the fulcrum and the effort at the ends • Class 3 levers- have the effort in the middle and the fulcrum and the load at the ends
The arrows on the load and the effort point in the direction they are pushing or pulling.
Diagram • A diagram is a drawing that describes the relationship of all the parts of a system. • A diagram uses a system of symbols and conventions to communicate information about lever designs.
* • Many common tools use levers: scissors, pliers, bottle openers, hammers, wheelbarrows, and brooms to name a few. • Effort is reduced as the load moves closer to the fulcrum.
Advantages • Class 1 lever- advantage is effort or distance • Class 2 lever- advantage is effort • Class 3 lever- advantage is distance and speed
Principle of torque • In any lever system the force of the effort and the force of the load are always working in the opposite direction. • Need to know formula! • Force of the load x Distance of the load = Force of the effort x Distance of the effort
Levers Examples • Class 1 Examples- see saw, crowbar, scissors • Class 2 Examples- Wheelbarrow, crab leg cracker, bottle opener • Class 3 Examples- baseball bat, golf club, fishing pole