Download
1 / 15
190 likes | 440 Views
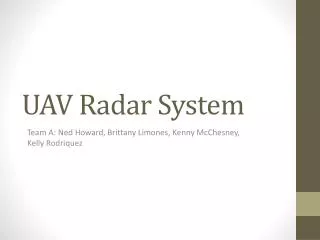
UAV Radar Project Preliminary Design Review T eam B. Team Lead Kelly Rodriguez Design Lead Brittany Limones Construction Lead Kenneth McChesney Test Lead Ned Howard. Level 0 Block Diagram. Level 1 Block Diagram. Level 2 Block Diagram. Transmitter. Receiver. Test Procedure.

E N D
UAV Radar ProjectPreliminary Design ReviewTeam B • Team Lead Kelly Rodriguez • Design Lead Brittany Limones • Construction Lead Kenneth McChesney • Test Lead Ned Howard
Test Procedure • Phase I: Component Confirmation • Phase II: Interface Evaluation Boards • Phase III: Final Transceiver Testing
Phase I • Phase I: Component Confirmation • Order/Create Evaluation Boards to validate each component • 20 mil trace thickness on Rodgers board material • Create boards in Eagle and send out for manufacturing • Individually test each component to ensure anticipated operation • Measure S21 to find and confirm intrinsic loss and operating range • Measure S11 to confirm impedance matching(~-20dB) over operating range • Determine the amount of current drawn given operating voltage
Example of S-parameter comparisonBand Pass Filter: SAW B9496 S-21 from Network Analyzer S-21 from datasheet
Phase II • Phase II: Interface Evaluation Boards • Connect test boards together using SMA cables and test system for: • power levels (stay away from saturation). • noise (make sure SNR requirements are met). • Replicate one receiver chain then apply LO signal for mixing and echo reply at receiver port • Connect various components and confirm power loss and impedance matching.
Phase III • Phase III: Final Transceiver Testing • Confirm correct footprints, vias, and soldering • High speed oscilloscope available for probing high frequency circuit • Test board by connecting the transmitter port to the receiver port with a fiber optic delay line • 2.4 GHz input and MHz output depending on length of delay line • Interface board with waveform generator • Interface board with entire system and cross fingers….