Download
1 / 37
370 likes | 593 Views
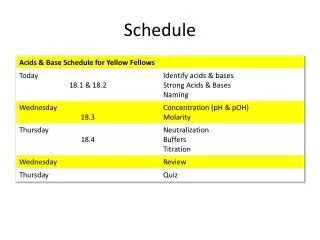
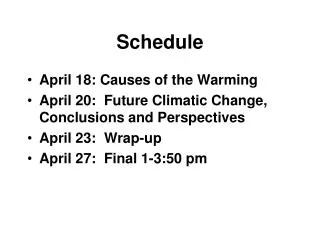
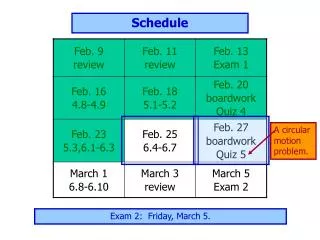
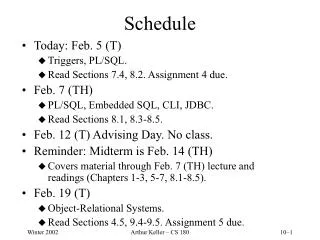
Schedule Updates. Design Artifacts for Group Project Tuesday, April 22 Artifacts: objective tree, function diagram(s), specs., morphology chart Grading: how extensive/complete are your artifacts? Breadth of the objectives, functions, specs., designs Depth of ideas, where appropriate

E N D
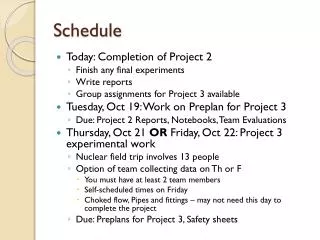
Schedule Updates Design Artifacts for Group Project Tuesday, April 22 Artifacts: objective tree, function diagram(s), specs., morphology chart Grading: how extensive/complete are your artifacts? Breadth of the objectives, functions, specs., designs Depth of ideas, where appropriate Evidence of integration across your process. Quality of presentation in the documents Group Design Project Demonstrations Thursday, April 24, in class
Grading Updates You can retrieve your posters from the shop. Three teams did not have team member names on poster. El Secreto Del Volcano Hawai’ian Roller Coaster Hell and Heaven
Generating and Evaluating Concepts Brainstorming, Morphology Charts, Weighted Design Matrices
Design Process Recognition of a Need Problem Definition Solution Generation Analysis & Evaluaton
Common Features • Problem definition stage • Concept generation and evaluation stage • Preliminary design stage • Detailed design stage • Feedback and iteration between stages • Documentation and reviews along the way
Design Process Recognition of a Need Clarify Objectives Establish Functions Problem Definition Generate Concepts Set Specifications Evaluate Concepts Solution Generation Embodiment
Design Spaces and Concepts • Design Space • A design space is an abstract space that bounds all the possible solutions to a design problem. The size of the space reflects the freedom available to the designer to solve the problem. • The problem definition defines the boundary of the design space. • Design Concept • A design concept an idea (potential solution) that is sufficiently developed to evaluate the physical principles that govern its behavior
Quantity Leads to Quality • There is a tendency to derive a solution immediately based on intuition, and then refine it until it works. • THIS IS A POOR WAY TO DO DESIGN • Studies and experience have shown that the more ideas you explore, the better solutions you derive • 1 in 10 ideas is a good idea • 1 in 100 ideas is a great idea • The pathway to great ideas is to generate lots of them • Our objective is to explore as many concepts as possible (divergence) and then select the best few for more detailed evaluations (convergence).
Generating Concepts • Objective • To develop as many partial or end-to end potential solutions to the design problem as possible • To describe features and principles in words and sketches • To understand (flesh out) the relationship between the specifications (functions and constraints) and potential solutions (form, physical realizations) • Explore, explore, explore • Basic Techniques • Creative Thinking (individuals) • Brainstorming (groups) • Morphology charts
Free Your Mind… • Creativity and Problem Solving • Develop a creative attitude and an open mind • Unlock your imagination (think outside the box) • Be persistent • Suspend your judgment • Ask yourself: • How can I solve the problem? • How ELSE can I solve the problem? • What are the assumptions? • Are the assumptions valid?
Start with what you know • Sources of design information • Experience • Observation (be curious about how things work) • Reverse engineering • Trade magazines • Machine components distributors (McMaster-Carr) • Source books • Patents • Experts
Brainstorm for new ideas • Procedure • State the problem • Come up with as many ideas as possible • Rules • Record all ideas • “Think Different” - wild and crazy ideas are welcome and encouraged • Build on previous ideas • Do NOT judge, criticize, evaluate, berate, chastise, belittle...
Explore Extremes and Inverses • Transform current concepts into others by taking them to extremes or inverses (look at them from a different perspective and challenge assumptions) • Suggestions • Make one dimensions very short or very long • Take the current order of things and switch them around • Try taking what is the inside of something and making it the outside or vise versa • Make something that is rigid, flexible or flexible,rigid • Take a motion that is linear and see if it can be accomplished by almost linear motion • Take something that is assumed straight and make it curved
Try the SCAMPER Checklist • Substitute • Combine • Adapt • Modify, Magnify, Minify • Put to other uses • Eliminate • Rearrange, Reverse
Can Crusher • What is the first thing you think of when you see/hear the words Can-Crusher? • Is your first impression to draw up the basic, well-established slider-crank design? • Let’s brainstorm on how we might implement and improve on the basic design.
Morphological Charts • Procedure • List the features or functions that are essential to the product • For each feature or function, list the means by which it might be achieved (in words or sketches) • Draw up a chart containing all the possible sub-solutions • Identify feasible combinations of sub-solutions
Can-Crusher Redux • Break the can crusher up into its three primary sub-functions • Hold can • Crush can (or dimple can, then crush can) • Release can • Let’s create a morphology chart based on achieving these functions…
Design Process Recognition of a Need Clarify Objectives Establish Functions Problem Definition Generate Concepts Set Specifications Evaluate Concepts Solution Generation Embodiment
Selecting Concepts for Evaluation • The concept generation phase ideally produces numerous potential solutions to design problems and sub-problems • The first step in converging to a final solution is to prune the concepts based on feasibility and technology readiness, and go/no-go screening.
Initial Concept Screening • Is the concept feasible, infeasible, or need further work? • Is it complete (end-to-end) • Is it physically possible and practical • Is the technology required to realize the concept ready for implementation? • Does the concept seem like it has the potential to satisfy the requirements?
Initial Concept Representation • In practice we try to select 3-5 concepts for further evaluation • At this stage the concepts should be roughly the same level of abstraction or detail • Concepts are ideally presented as a single sketch which captures the conceptual layout and functionality of the solution. • An effective way to do this is to provide a perspective sketch with key components and features labeled • The goal of this stage is to more closely compare the concepts and evaluate them with respect to the requirements
Weighted Objectives Method • This method provides a way to systematically evaluate and compare concepts • Procedure • List the design objectives • Rank-order the list of objectives • Assign relative weightings to the objectives • Evaluate and compare the relative utility values of the alternative designs
Ranking and Weighting Objectives • This part of the process is highly subjective • Ranking can be done using a pair-wise comparison • This becomes more cumbersome with more objectives • Weighting can be done based on the ranking • This is even more subjective • A simple way to perform these steps is to examine the objective tree and weight each level and sub-level. • The ranking and weighting will drop out of this examination
Putting it all together • Choose the criteria for comparison (leaves of the objective tree) • Develop relative importance weighting (ranking and weighting based on objective tree) • Select the alternatives to be compared (from pruning the initial concepts) • Evaluate alternatives (relative comparison +,–,0) • Pick one to be the datum or baseline concept, and compare all designs to that one • Compute the satisfaction (add ‘em up)
References • D. Ullman • The Mechanical Design Process, Third Edition • McGraw-Hill, San Francisco, 2003 • C. Dym and P. Little • Engineering Design: A project based introduction, second edition • John Wilely & Sons, New York, 2004 • G. Deiter • Engineering Design: A Materials and Process Approach, 3rd Edition • McGraw-Hill, San Francisco, 2000 • N. Cross • Engineering Design Methods: Strategies for Product Design, Second, Ed • John Wiley & Sons, New York, 2000