Sketching Multi-view Drawings
190 likes | 350 Views
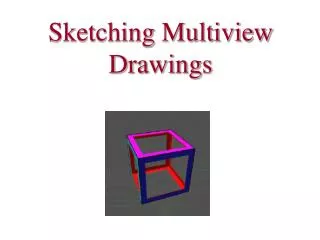
Sketching Multi-view Drawings. Design Proces s STEP #7. Orthographic Projections. Big Picture. A multiview drawing is one that shows two or more two-dimensional views of a three-dimensional object. A Troubled Image. At your Tables, try drawing 3 views of the object on the left.

Sketching Multi-view Drawings
E N D
Presentation Transcript
Sketching Multi-view Drawings Design Process STEP #7 Orthographic Projections
Big Picture A multiview drawing is one that shows two or more two-dimensional views of a three-dimensional object
A Troubled Image At your Tables, try drawing 3 views of the object on the left. Draw the top, the side-view, and the front view.
3 Dimensions Width is associated is side-to-side Height is top-to-bottom. Depth is front-to-back.
Orthographic Projection Take this “Pane” of Glass. Orthographic Projection is a drawing method that allows objects to be projected onto an imaginary plane.
Orthographic Projection Place your object behind the pane of glass. Before you draw, you must chose your first view.
Orthographic Projection First chose the front view. When choosing the front view, take the following; • The view with the longest dimension. • The view with the simplest shape. A B C
Orthographic Projection 1. Draw the front view (the areas that are shaded). Once that is done, move to the side view.
Orthographic Projection 2. This time, draw the side view (note the shade areas are different).
Orthographic Projection 3. Note that on the side view, there is a lower part of the object behind the part shown, draw a dotted “hidden” line to show that lower spot.
Orthographic Projection 4. Finally draw the last view, the Top (again, note the shaded area is different).
Orthographic Projection Now we can see our multiview drawing. The Top, Front, and Side Views.
Orthographic Projection We can fold our glass pane views together to form our orthographic projection ( “the glass box” )
Width Top View/Plan Depth Right Side View Front View Height Setting up Orthographic Projections
A Question Each of the blocks at right has the same overall dimensions and color. What else do they have in common?
The Answer They all have identical top views!
To the Drafting Table Complete the Multi-view sketches worksheet on the class website. Use graph or printer paper to submit them!