Download
1 / 2
20 likes | 57 Views
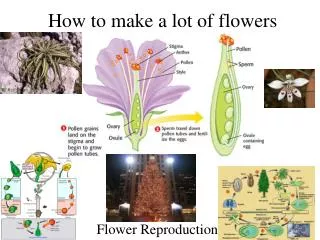
This is a tutorial site for making origami flowers and roses.

E N D
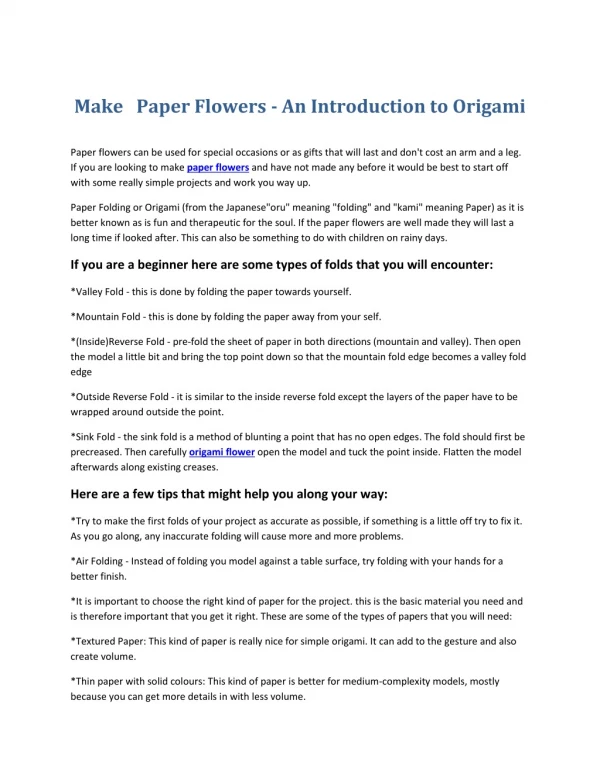
Make Paper Flowers - An Introduction to Origami Paper flowers can be used for special occasions or as gifts that will last and don't cost an arm and a leg. If you are looking to make paper flowers and have not made any before it would be best to start off with some really simple projects and work you way up. Paper Folding or Origami (from the Japanese"oru" meaning "folding" and "kami" meaning Paper) as it is better known as is fun and therapeutic for the soul. If the paper flowers are well made they will last a long time if looked after. This can also be something to do with children on rainy days. If you are a beginner here are some types of folds that you will encounter: *Valley Fold - this is done by folding the paper towards yourself. *Mountain Fold - this is done by folding the paper away from your self. *(Inside)Reverse Fold - pre-fold the sheet of paper in both directions (mountain and valley). Then open the model a little bit and bring the top point down so that the mountain fold edge becomes a valley fold edge *Outside Reverse Fold - it is similar to the inside reverse fold except the layers of the paper have to be wrapped around outside the point. *Sink Fold - the sink fold is a method of blunting a point that has no open edges. The fold should first be precreased. Then carefully origami flower open the model and tuck the point inside. Flatten the model afterwards along existing creases. Here are a few tips that might help you along your way: *Try to make the first folds of your project as accurate as possible, if something is a little off try to fix it. As you go along, any inaccurate folding will cause more and more problems. *Air Folding - Instead of folding you model against a table surface, try folding with your hands for a better finish. *It is important to choose the right kind of paper for the project. this is the basic material you need and is therefore important that you get it right. These are some of the types of papers that you will need: *Textured Paper: This kind of paper is really nice for simple origami. It can add to the gesture and also create volume. *Thin paper with solid colours: This kind of paper is better for medium-complexity models, mostly because you can get more details in with less volume.
*Foil-backed paper: This is paper that is made of a layer of thin foil bonded to regular paper. You can buy it at most origami paper stores. It will take and hold a sharp crease very well and will compress so that places in the model that have a lot of layers won't be so thick. This paper is for more experienced people as there is no room for mistakes. Take you time and enjoy- creating something is always rewarding, pay attention to what you are doing and you may even find that you will find a way that works better for you then those given in the instructions. the more that you put into creating your models the greater will be the reward.