A Comprehensive Guide to Graphing Basics for Data Representation
This guide provides a thorough overview of graphing essentials, including the necessary tools like graph paper, a ruler, and a pencil for neat presentation. Learn how to set up a graph correctly by placing the dependent variable (Y-axis) and the independent variable (X-axis), labeling each axis appropriately, and formulating a descriptive title. Explore different types of graphs such as line graphs for changes over time, bar graphs for comparing groups, and pie charts for depicting parts of a whole. Gain insight into graph planning and how to create predictive lines for data trends.

A Comprehensive Guide to Graphing Basics for Data Representation
E N D
Presentation Transcript
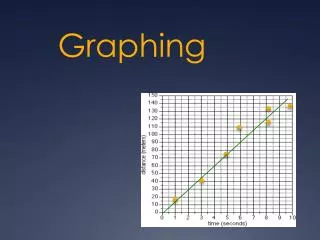
Graphing basics • Use: graph paper a ruler a pencil (be neat) • Connect data points; use a line of best fit
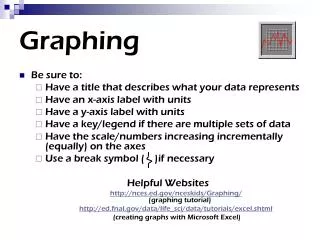
Setting up a graph • DRY • Dependent or Resultant variable on the Y-axis • MIX • Manipulated or Independent variable on the X-axis
Labeling graphs • X and Y axis - what was measured & (unit of measurement) • First data point - on, or close to the y-axis • Descriptive title - states what is on both axes • You can use “dependent variable vs. independent variable”
Plan intervals • Space equally • Determine total range of numbers – divide by the number of lines on your axis, then round up to the closest number that is easy to work with
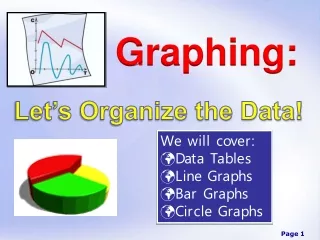
Types of graphs • Line graph: graphing change over time • Bar graph: comparing data of different groups • Pie chart: comparing parts of a whole (% that add to 100)
Set up a graph for each and include ALL graphing requirements.If appropriate, add a line that predicts what the data would look like. • Average monthly temperature in RI over 12 months • Types of birds at a bird feeder in December – chickadee (35%), mourning dove (10%), blue jay (40%), nuthatch (5%), cardinal (10%) • Polar bear population over the past 20 years