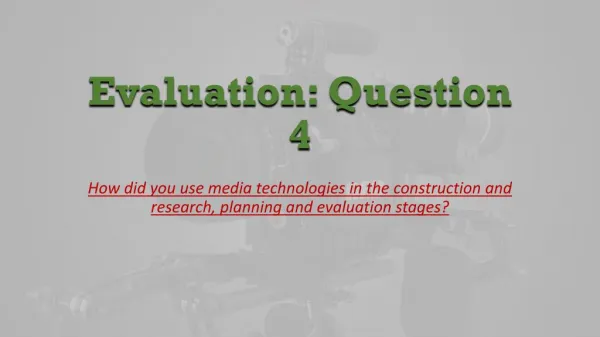
Evaluation Question 4 - Documentary Construction
Media

Evaluation Question 4 - Documentary Construction
E N D
Presentation Transcript
How did you use media technologies in the construction and research, planning and evaluation stages? Construction: of our Documentary:
During Filming During filming to help construct our documentary we used the camera to change the focus on some shots to give a more professional out look. This was usually on an establishing shot to interest the audience when setting the scene We also used a variety of shots such as medium shots, medium close ups and close ups. Also we used the microphone and headphones to record voice over's that we could then include in our documentary (See what I learnt when filming – equipment - near the beginning on blogger) Blurred focus shot: Medium shot:
First we had to get to grips with the basic layout of final cut express: We could view our footage on the left window and edit it on the right window. For example we could enlarge the footage to ensure there were no unwanted edges within the frame. It was great for framing interviews: This is where our clips would appear once they had been imported: Time: Editing tools: Visual clips: This is where we could drag our clips to, to edit them: Audio clips: We could use this scroll tool to scroll through our clips but also to zoom into them/enlarge them to make editing easier and to make sure there were no gaps between the clips:
Each day once we had finished filming, we uploaded our footage from the camera and onto the Mac. All we had to do was connect the device and then drag the footage off the camera onto our media area: Files within our area: To then include this footage within our documentary we had to open final cut express, click on file and then log and transfer. It then gave us the option to choose the clip we wanted. They took a little while to be imported but once they were we could drag them onto the area where they could be edited:
We then started to edit some of the clips: We used the razor blade tool to cut clips at a certain stage if we did not want to use part of the clip. This tool was also useful for if we wanted to edited sections of a clip separately: We then typed text into this dialogue box and placed the text above a clip so that when this clip played the text would appear on the clip:
Next we added transitions: And this was the effect. We chose the cross dissolve because we wanted it to be subtle as we had two different cuts of the same clip that we wanted to place next to each other: We selected a transition from here: Then dragged it and placed it between the clips we wanted: We also layered up imported images one above the other on our timeline, so this effect would be created in our documentary: We also imported a media logo that we had created and included it within our documentary (see how it was created earlier on, on blogger):
Now we added sounds/music: We started off importing the baby crying sound into our documentary similar to the way we imported it to our radio trail. We first converted it from a wav file to an mp3 file and saved it to our area. Now it was different. We went to final cut express and the same way we imported clips, we went to file, log and transfer, selected the file and dragged to our time line to edit. We also imported our voice over using the log and transfer method :
Importing the music was slightly different to the importing of the sound effect. This was because we wanted to use the same music ‘secret agent guitar’ as in our radio trail and so the music needed to be imported into final cut express from garage band. In order to do this we exported the ‘secret agent guitar’ to an mp3 format , saved it in our area and then used the log and transfer method to import it into our documentary. Lastly, we had to change the sound levels of all of our audio to make sure they were suitable. In order to do this we selected this pen tool which if clicked on a certain place on the red line, it created a dot, if then clicked somewhere else along the same line it created another dot and so we were able to fade the music out to create professionalism. If we didn’t want to fade the music out we simply just had to use this tool to move the red line up and down. This adjusted to sound level so all of our voice over clips were equal and the music was lower so speech could be heard above it.
You tube: • Finally, we exported the finished Documentary product to a quick time movie and then to You tube so that it could be uploaded to our blog: • &