Download
1 / 6
60 likes | 68 Views
<br><br> <br>Before you go into the more sophisticated stuff, have a look at your amplifier's condition. A highly dirty jack or cable will often prohibit connectors from flowing power between them, causing your amplifier to stop working. So firstly, clean your amplifier.

E N D
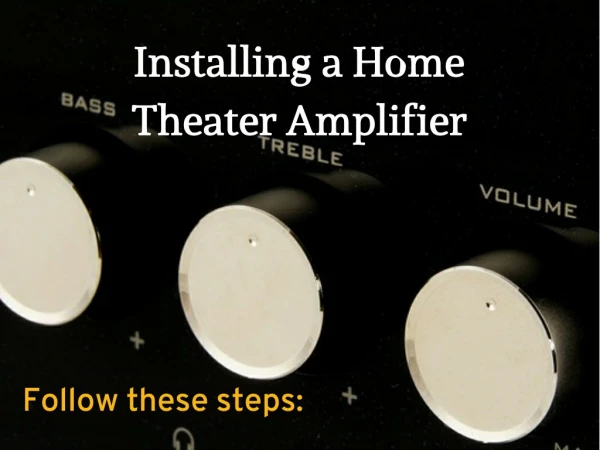
How to Repair a Faulty Home Audio Amplifier?
The fundamentals: Before you go into the more sophisticated stuff, have a look at your amplifier's condition. A highly dirty jack or cable will often prohibit connectors from flowing power between them, causing your amplifier to stop working. So firstly, clean your amplifier. Clean the jacks using a dry cloth or duster. Dust should be wiped away, and stains should be removed with a specialised electrical products cleaner or compressed air. After cleaning all of the visible parts, plug the amplifier back into the socket and try it out again.
More advanced: If the back and sides of your amplifier are still not working, you may need to consider removing them. Start by unplugging any music players and pulling the electrical cord from the wall. Remove screws on the back and sides of the amplifier with your screwdriver until you see the electrical components within. Separate the pieces of the chassis until the lower frame is visible. Examine the cord's ends for fraying or damage.
Examine the fuse: Locate the fuses and inspect them to see whether they have burned out or become corroded after fixing the connections. Remove any fuses that are no longer functional and replace them with new ones. Check the electrical current of the cords and the fuse using the multimeter. Clean up the components with the compressed air once again. You can also vacuum around the electronic components using a light vacuum cleaner. If none of these measures succeeds in resolving the issue, you should take your device to the amplifier repair shop.
Check the output transformer: The output transformer must be tested as the final stage. Connect the metre leads to the transformer winding and power up the amplifier. When the metre reads 0, the transformer coil has been shorted. An abnormally high measurement indicates that the transformer is leaking. In both circumstances, the transformer must be replaced.
Contact Us For amplifier repair services in Sydney get in touch with us. Phone: 02 9797 1800 Email: info@speakerhospital.com.au www.speakerhospital.com.au Disclaimer : This is a generic Information & post; content about the services can be changed from time to time as per your requirements and contract. To get the latest and updated information, contact us today or visit our website.