Download
1 / 11
110 likes | 230 Views
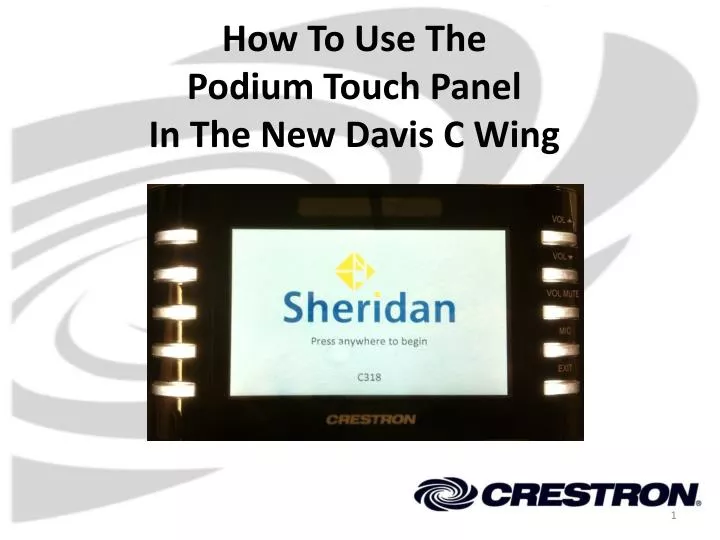
How To Use The Podium Touch Panel In The New Davis C Wing. Volume Up. Volume Down. Volume Mute. Microphone On/Off. Exit. The touch panel can operate by touching anywhere on the screen, or by pressing one of the ‘push buttons’ located on the right-hand side of the screen.

E N D
Volume Up Volume Down Volume Mute Microphone On/Off Exit The touch panel can operate by touching anywhere on the screen, or by pressing one of the ‘push buttons’ located on the right-hand side of the screen.
This is the main menu on the touch panel system. It allows you to select the source you wish to display. For example, if you want to use your laptop with the projectors, connect your laptop and then press the “Laptop” icon on the screen. Note that you can control the projectors (hide & power off) and lighting as well.
Projectors in the classroom are separated into 2 groups: Group A and Group B. The projectors are labeled with a sticker that states “A” or “B” You have the option to display two input sources at the same time by configuring the first input source and assigning it to one group, then return to the main screen to select a second input source and assign it to the second group. (e.g.: Laptop on “Group A”, Desktop on “Group B”). You can also choose to have all projectors display the same source.
Upon choosing the projector group(s), the system will take a few moments to route the input signal and turn on the projectors if necessary. This screen depicts the timer bar while the system is busy. You can not control the system again until after the commands complete.
Volume Up Volume Down Volume Mute Microphone On/Off Exit The options on the right-hand side of the touch screen allows you to control volume, microphone, and the system power. You have the choice to use the touch screen, or the physical push buttons to control these features. *NOTE: The microphone volume cannot be raised or lowered with the volume controls. The microphone can only be turned on or off.
Projector Hide allows you to hide the information you are presenting. This allows you to “black-out” the screens when you don’t want to project without having to turn off all the projectors. Selecting this icon will take you to the projectors screen where you can choose the projector groups that you wish to hide. This is not to be used as a Shutdown method. The projectors will still remain running.
The lighting control screen allows you to control the two lighting zones in each classroom.(perimeter lights and interior lights). If you are using the projectors it is recommended that you turn off perimeter lighting.
Split Classroom Control Classrooms that can be split into two rooms by deploying the dividing wall have a unique control system that allows one podium in the two rooms to be used as the master control for the ‘combined’ room (i.e. when the wall is not deployed). In the example above, you can choose to control either room C271 or the combined classrooms C271 and C272.
Split Classroom Control This controller is not being used (while the other controller has control of the combined room). If the rooms have been split into two separate rooms you can press and hold the cancel icon to take back control of this individual room.
Shutting Down To turn off the projectors and the touch panel system, please press the “Exit” button OR the red power icon Power Off / Exit Press the “Shut Down” icon to turn everything off. Press the “Cancel” if you want to go back to the main screen.