Download
1 / 15
160 likes | 242 Views
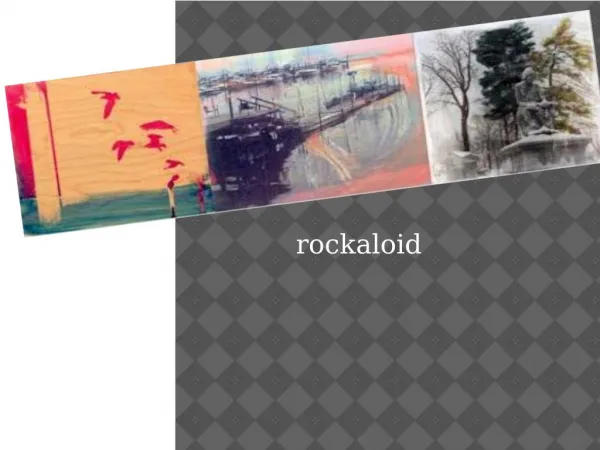
Adding Light To A Photo. Step 1 : First we need a background, I use this beautiful back-and-white photo, which has inspired me a lot:. Go to Image > Adjustments > Color Balance or press Ctrl-B to bring up the Color Balance box, adjust only Midtones settings to bring our photo a little color.

E N D
Adding Light To A Photo Step 1: First we need a background, I use this beautiful back-and-white photo, which has inspired me a lot:
Go to Image > Adjustments > Color Balance or press Ctrl-B to bring up the Color Balance box, adjust only Midtones settings to bring our photo a little color
Step 2: Reset your foreground and background colors by pressing D. Create a new layer and go to Filter > Render > Clouds to create some clouds
Go to Filter > Render > Difference Clouds and repeat this effect some times (by pressing Ctrl-F) until you get an image like this Notice that we should have some white clouds on the left because they will transfer into light in a next few steps
Step 3: Go to Image > Adjustments > Brightness / Contrast and use the following settings:
Increase the black and white areas by going to Image > Adjustments > Levels (Ctrl-L), move the black and white points to the center
Step 4: Go to Filter > Blur > Motion Blur and use these settings:
If the light is still too sharp, go to Filter > Blur > Gaussian Blur, adjust it to make the light blur enough
Step 5: In this step, we will make the light more realistic. Create a vector mask on the current layer (by pressing the Add vector mask at the bottom of Layers tab) and use the Gradient tool with White to Black and Radial Gradient options to draw a line from the top-right to the bottom-left corner
Now our light had the gradient effect! Press Ctrl-J to duplicate this layer, our light will become brighter.
Step 6: Bring a little color to our light! We can't apply color directly to the white light we has created with Hue/Saturation or Color Balance so we will use a little trick here. Create a new layer and use the Brush tool with a soft brush and orange foreground (#ffa800). Now paint your photo like this: