Download
1 / 23
240 likes | 390 Views
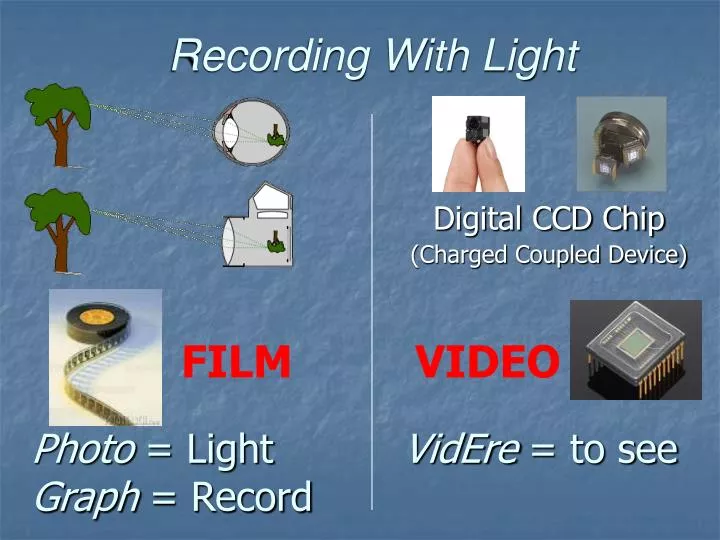
Recording With Light. Photo = Light Graph = Record. Digital CCD Chip (Charged Coupled Device). FILM. VIDEO. VidEre = to see. Lighting Basics. The LIGHT effects the audience in 2 ways:. Where you look . Our eyes are drawn to the bright spots in the frame.

E N D
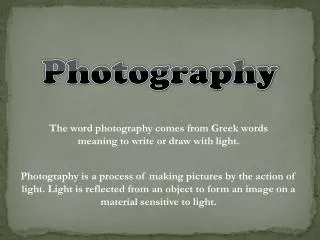
Recording With Light Photo = Light Graph = Record Digital CCD Chip (Charged Coupled Device) FILM VIDEO VidEre = to see
Lighting Basics The LIGHT effects the audience in 2 ways: • Where you look. • Our eyes are drawn to the bright spots in the frame. • 2) How you feel. • Lighting effects our mood, and can heighten or relax our emotions.
Color Temperature • Light comes in different colors (measured in degrees Kelvin) • Our eyes adjust without thinking but cameras have difficulty changing from one light source to another.
Hard Light • Hard Light is harsh and creates a great contrast between light and dark areas on the screen. • It also highlights texture and shape so we see more detail.
Soft Light • Soft Light is more evenly distributed • Shapes appear softer and we see less detail. • Creates a somber and relaxed atmosphere.
Basic Types of Lights Softlight Focusing Quartz Broad
Focusing Quartz • Focus ranges from “spot” to “flood” • Put out a HARD/DIRECT light and often needs to be diffused or bounced. • Outfitted with BARN DOORS
Broads • Not able of focus • Supply a flat even pattern of light • The HARD/DIRECT pattern must also be diffused or bounced.
Soft light • A Soft light is a permanent portable bounce light. • It’s light bounces off a curved inner surface and out toward the subject.
The SUN • The most powerful and common source of light. • Use it when possible • TIPS: Beware of high angles and generally keep the sun behind you unless you are using a second light.
3 Point Lighting • The Key Light, Fill Light, and Back Light, are employed to achieve the “classic” lighting scheme called three-point lighting.
Lighting Set-up Start in Darkness. When you add your first light, there should be none or very little other light in the scene.
Key Light Add your Key Light. The Key Light is the subject’s main illumination. It defines the most visible light and shadows. Your Key Light represents the dominant light source, such as the sun, a window etc.
Setting up the Key Light • Position: Offset the Key Light 15 to 45 degrees to the side (to the left or right) of the camera. From a side view, raise the Key Light above the camera, so that it hits your subject from about 15 to 45 degrees higher than the camera angle. Create a spot light to serve as the Key.
Fill Light(s) Next add your Fill Light(s). The Fill Light softens and extends the key and makes more of the subject visible. A common Key : Fill ratio is 3:1
Fill Light(s) • From the top view, a Fill Light should come from a generally opposite angle than the Key - if the Key is on the left, the Fill should be on the right - but don't make all of your lighting 100% symmetrical! The Fill can be raised to the subject's height, but should be lower than the Key.
Back Light or “Rim” Light • The Back Light creates a "defining edge" • Helps visually separate the subject from the background.
Setting up the Back Light • From the top view, add a spot light, and position it behind your subject, opposite from the camera. From the right view, position the Back Light above your subject. • Adjust the Back Light until it gives you a nice "rim" of light, that highlights the top or side edge for your subject.
3 Point Lighting • 3-Point Lighting is a versatile and popular starting-point for lighting. • Be creative and have fun!
What about other lights? • Set Lights may also be employed to light large studio shots... (4 point lighting) • These lights illuminate the rear part of a scene, to add depth to the setting.
Tips for FVP 12 • Look for well lit areas in the school. • Look for creative ways to use natural light from the windows. • Be aware of the camera exposure settings to best control the available lighting. • Don’t try and use extra lighting for every shot but try it at some point in the video. • Try not to MIX many different light sources. • Have your actor wear clothes that contrast the main settings that your video takes place. • Guidelines are NOT rules…but they are “time tested” and worth a look. Be creative and have fun.