Download
1 / 14
140 likes | 152 Views
How to Create a Participant Work Book. WFP Logistics, We Deliver. Overall Layout. 1. Decide what you want the front cover to look like. 4. If time is limited or design capacity is not available, you can have just a front cover and display the agenda and the lessons. 2. 3.

E N D
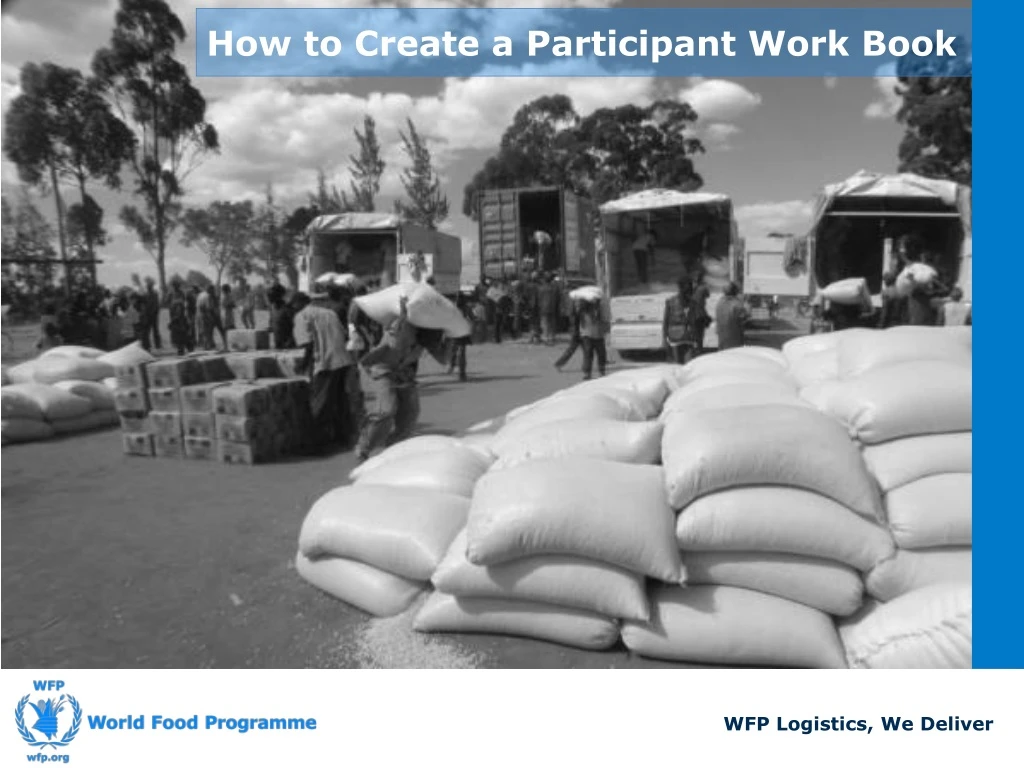
How to Create a Participant Work Book WFP Logistics, We Deliver
Overall Layout 1 Decide what you want the front cover to look like 4 If time is limited or design capacity is not available, you can have just a front cover and display the agenda and the lessons 2 3 Decide if you want a table of contents. This will take some design work, is nice to have but it is by no means essential Decide if you want some background information (something like this can be easily adapted from the facilitators guide in the first chapter)
Converting Lessons to PDF: Hiding Slides 2 1 Check the presentation to identify any slides that need to be hidden from the participant workbook
Printing 2 Slides 1 In the “Print” menu, select the “2 Slides” option
Printing 2 slides & Printing Hidden Slides You will notice that the hidden slide is still displayed 1
Printing Hidden Slides 2 After this action this slide will no longer be displayed 1 In “Print All Slides” uncheck the “Print Hidden Slides”
Changing the Header & Footer 2 The “Header” automatically displays todays date. 1 After the last action you will notice now the slide that was to be hidden is now not displayed.
Changing the Header & Footer 2 Check the “Date and Time” box Then select the “Fixed” option 3 To change the header and footer with the lesson name select the “Edit Header & Footer” 1
Changing the Header & Footer 3 Now the name is displayed on the top right hand corner of all the pages Type in the name of the lesson 1 Select “Apply to All” 2
Printing to PDF 1 To convert the file to a PDF, select the “CutePDF Writer” printer or other PDF printers (Adobe PDF etc.) installed on your system and print as normal. You will now have 1 PDF file for this lesson.
One Chapter of the Participant Work Book You PDF will look like this, showing the name of the lesson in the top right hand corner of all the pages, the page numbers of this lesson in the bottom right hand corner. You will have to perform all of these functions to all the lessons. If you do not have software to combine multiple PDF files into one, you can give each PDF to the printer and have them print them all into one booklet. Be sure to remember to name each PDF lesson in a way that the printer can compile them in the order they flow in the agenda. 1 3 You will notice on some slides that when converted to PDF in the “2 Slides” option, appear quite small and the detail cannot easily be read. All exercise information and answers should not be printed in the Participant Workbook. Similar to the lesson plan (slide 3) you must hide the slide so that is it not displayed in the workbook. All exercise instructions are easily identified as they are black font on a large grey square, all marked the same, however the slide the follows might be the answer or information which will elude to the answer, so be careful to check that all slides related to the exercise are hidden and do not appear in the workbook 2
Printing Full Pages 1 Some slides have been marked with side icons to suggest that these should be printed full page
Printing a Full Page (1 slide) 1 For these slides, in the “Print” menu, select “Print Current Slide” 2 Then select “Full Page Slide” then go through the earlier process of printing the slide to PDF. You will now have a single page PDF of only the selected slide.
One Chapter of the Participant Work Book 1 With this single full page PDF, you will need to save the file in a name that helps to guide the printer to make sure it is inserted after the “2 slides” page that has the smaller version of this slide (see below). If you have software to combine multiple files, make sure you insert this full page PDF in at the right place, right after the page that has the smaller version.