Download
1 / 23
230 likes | 239 Views
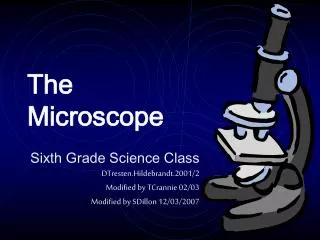
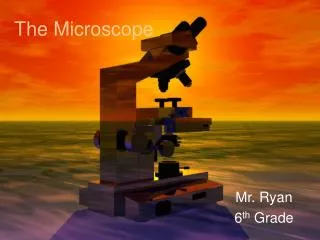
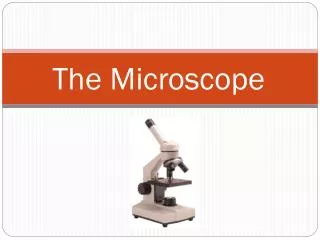
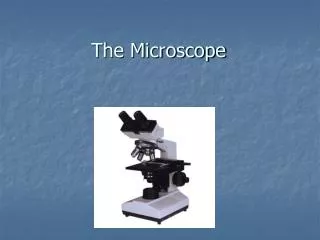
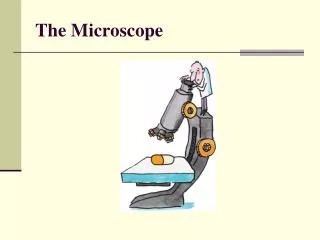
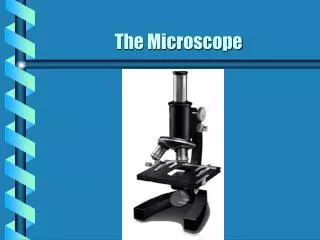
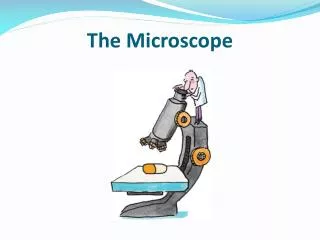
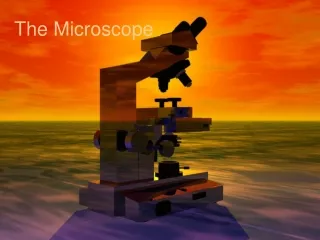
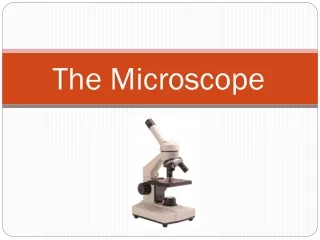
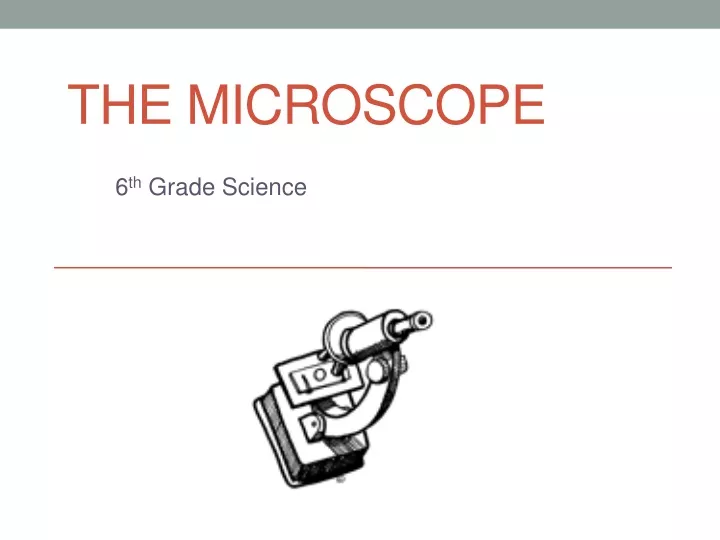
The Microscope. 6 th Grade Science. Microscope. A microscope is an instrument for viewing objects that are too small to be seen easily by the naked eye. Micro - means very small . Scope - is a device to look at something .

E N D
The Microscope 6th Grade Science
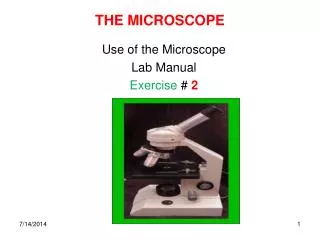
Microscope • A microscope is an instrument for viewing objects that are too small to be seen easily by the naked eye. • Micro - means very small. • Scope - is a device to look at something. • Uses more than one lens - the image magnified by one lens can be further magnified by another.
Microscope Terms • Magnify • To make an object look bigger • Reflect • To throw back light rays that strike a surface • Refraction • The bending of light rays as they pass through one substance to another
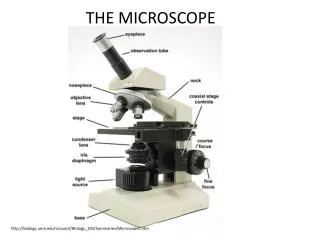
1. Eyepiece • Contains the lens you look through. • Top part of the microscope.
2. Coarse Adjustment Knob • Knob used to move the objective lenses toward or away from the specimen being viewed. • BIG Adjustments
3. Fine Adjustment Knob • Knob used to sharpen the image after first using the coarse adjustment knob. • SMALL Adjustments
4. Body Tube • Connects the eyepiece and the objective lenses. • Allows the light of the image to travel up from the objective lenses to the eyepiece.
5. Rotating Nosepiece • Holds the objective lenses and rotates to change the magnification.
6. Objective lenses • Attached to the nosepiece, vary in size. • Shortest is the least powerful, longest most powerful.
7. Stage • Supports the microscope slide being viewed. • Large flat area directly under the objective lense, has a hole in the middle of it.
8. Stage Clips • Hold the microscope slide in place on the stage.
9. Diaphragm • Generally a five-holed disc under the stage. • Used to control the amount of light passing through the aperture.
10. Mirror or Lamp • Used to send light up through the aperture, the object, and the lenses. • Located directly under the aperture between the legs of the base.
11. Arm • Holds the upper portion of the microscope above the stage. • Grasp the microscope from the arm anytime you decide to move it.
12. Base • Supports the microscope and is used to carry it. • Bottom part of the microscope.
No fingers on the Lens: • Never touch the lens with your fingers • Clean the lens with lens paper • Fibers from paper towels or tissue may scratch the lens
Low Power and Raise Stage: • When done rotate the nose piece to the lowest objective • Raise the stage so its as close as possible to the objective lens
On Arm and Under Base: • Use two hands to support the microscope • One hand holds the arm and the other holds the base • Never swing the microscope
Dust Cover: • Place the microscope back where you got it • Cover it with a dust cover
Clean: • Clean all slides, materials and work area when done
Using the Microscope • Place the smallest objective lens over the hole in the stage • Place the slide on the stage and fasten with the clips. • Look into the eyepiece lens. • Turn the coarse focus knob to make the objective lens as close to the stage as possible without touching the slide. • Turn the fine focus knob until what you see is clear.