Download
1 / 15
150 likes | 239 Views
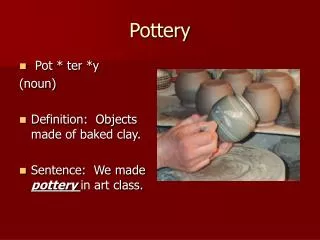
POTTERY 2 Carved Surface Treatment Project. Assignment:.

E N D
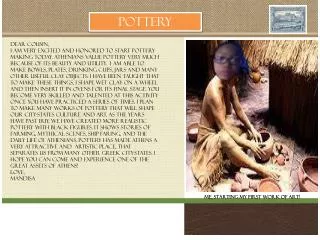
Assignment: You will construct a closed form such as a vase, rounded bowl, or pitcher. The form may be hand built or thrown on the wheel. It must have walls of a uniform thickness adaptable to your planned surface treatment. At least 50% of the outer surface must be treated with a carved pattern of your own design. Symmetry should be carefully measured, and asymmetry must reveal successful informal balance. This should be a functional piece. The surface must be a Glaze!
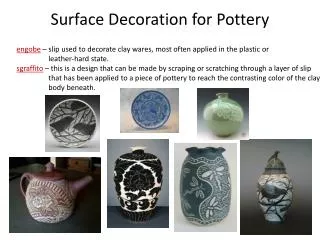
Steps • Step 1. Sketch your planned form several times, and draw several options for a carved surface treatment. • Step 2. When you have decided on a carved design, proceed with the making of your form. When the form is completed, keep it moist under a plastic bag while you make patterns for your carving. Be sure to place the design on the form in a way that enhances the overall appearance of your piece. Consider the following when matching a pattern to a form: • Types of line – curved or straight, soft or angular • Thickness of line – all the same, repeated variation, random. • Placement on the form – weight of the design vs. the form, symmetry vs. asymmetry
Steps Step 4. Use your paper pattern to visually sight the design on your form. If guidelines are needed, draw them lightly with a needle tool on the clay. Step 5. Keep the clay piece covered and moist until you have finished carving.
Grading: Form that complies well with carving requirements Uniform thickness of walls, appropriate to carving depth Well designed pattern (symmetrical or asymmetrical) that suits the form Concise and deliberate carving technique Overall balance of the finished form / pattern combination Sits well on a flat surface Class time well spent Showing good design and proper craftsmanship