Download

1 / 7
70 likes | 200 Views
How to create JPEG picture files from PowerPoint slides. Overview. Potential Use

E N D
Overview Potential Use The Green Bay Atrium LCD TV is connected to a laptop computer to allow it to act as an information & photo sharing display. The computer connected to the LCD atrium TV runs a program that displays a slideshow of image files in the JPEG (.JPG) format, commonly used to store digital photographs. These instructions demonstrate how to convert PowerPoint slides containing text and/or graphics into JPEG files which could be inserted into the slideshow alongside photographs to insert informational slides Procedure Overview • Create or load a previously created PowerPoint presentation • Save As… JPEG • Check the images
Create or Load a PowerPoint Presentation • Decide what PowerPoint slides you want to have converted into images. • Load an existing PowerPoint -or- • Create a new one with the information you need. • Navigate to one of the slides you would like to save as a JPEG picture.
Save As… JPEG • Activate File -> Save As… • From the Save as Type drop-down menu, selectJPEG File Interchange Format ( *.jpg)
Save As… JPEG (continued) • Navigate to the location where you would like the images stored. • Activate Save • Activate Every Slide if you want an entire set of slides to be saved as JPEG images. • Activate Current Slide Only if you only want the slide you are currently viewing saved as a JPEG.
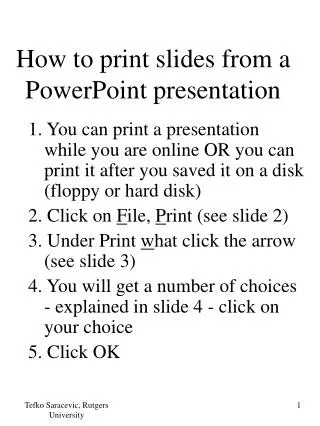
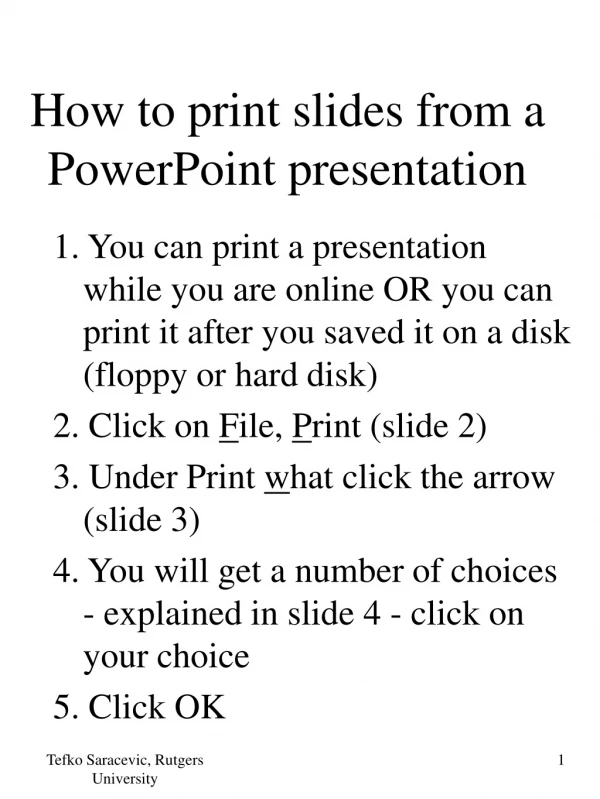
Check the Images • In Windows Explorer, navigate to the location where you saved the JPEG versions of the slides. • Open them to make sure they look correct. (They should open with your default picture viewing software, not PowerPoint.) An Image of this slide…
The End! • Still have a question? Contact the IT Service Center for further assistance: • E-mail: IT.Support@LFCDS.org • Call: 847-615-6222