Download

1 / 10
100 likes | 205 Views
Learn how to capture and convert video footage to digital files on your computer. Follow step-by-step instructions for logging, capturing, and batch processing video clips. Understand audio settings and preview options for seamless video editing.

E N D
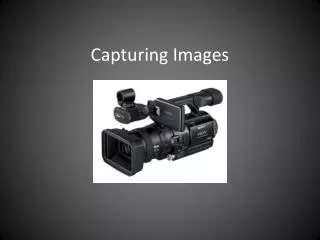
Capturing Footage • Is bringing video into computer, converting the video from tape to something the computer can read. • Converting digital tape to digital computer file (versus digitizing which converts analog signal to digital signal).
Import • To bring something into a project that is already readable on computer ( i.e. photoshop file, audio file, etc.
Export • Send out as a computer readable file
Output Send out in other than computer readable format.
Log and Capture Window • Access by using the Command + 8 keys on keyboard. • 4 possible messages: • No communication (no deck/camera hooked up) • VTR OK • VTR not threaded (need tape in deck) • VTR in local
Log and Capture Steps • Enter tape name into Reel ID box (10 characters or less --F0701PSA01) NEVER, EVER HAVE 2 TAPES WITH THE SAME NAME IN A PROJECT! • Enter the description, scene, etc. to create a name for the clip. Make sure it makes sense with what is on tape
Log and Capture Steps • Set an in and an out for the clip. Be sure get a few seconds more on each end than you need, but do not get useless video. • Log clip (F2) • You will then have all clips in your bin/browser with a red line through the icon. • Once done logging, batch capture video logged.
Log and Capture Steps • Set an in and an out for the clip. Be sure get a few seconds more on each end than you need, but do not get useless video. • Log clip (F2) • You will then have all clips in your bin/browser with a red line through the icon. • Once done logging, batch capture video logged.
Notes on Audio • Select both channel 1 and channel 2 for audio • Cassette determins if stero or dual channel mono. • Preview button allows you to hear audio through computer while capturing.