Download
1 / 14
140 likes | 178 Views
Our team built a 3-axis arm with a pivoting base, raising/lowering arm, and pinch mechanism, aiming to program it to function with the Vex controller. Learn how we overcame challenges and optimized the design.

E N D
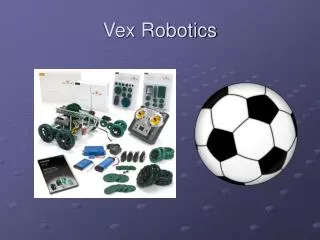
Robotc Vex Arm (Surgical robotic 3-axis arm) By: Maxim, Andrew, Paul
Purpose This challenge asks for our team members to design, build and test a 3-axis robotic arm and program it to perform all functions from the Vex controller. The purpose is to teach us to create individualized code and perform functions with multiple sources of inputs. The system must have the following: -Base that pivots -arm that raises and lowers -pinch mechanism Overall this helps us learn to problem solve and work together as a team to find a solution to a problem.
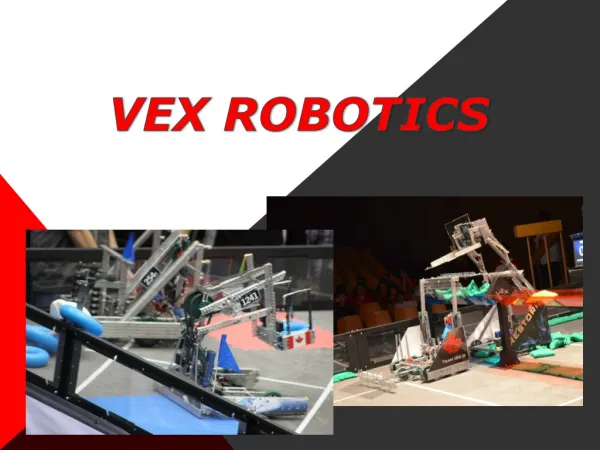
Solutions The solution on the right has the proper arrangement for the robotic arm yet it does not have a movable base. The image on the right is a better solution to the problem because it fits the criteria and is simple. The final solution will stand on a large base and will have the robotic arm located on top of a large gear that will be able to turn relative to the bottom base plate. The top of the robotic arm will have a motor that controls the up and down movement of the claw and with that we have 3-axis of freedom.
Sketches/ potential solutions The image on the first is dated from 3/10/14 and on the right 3/13/14. Both sketches incorporate all the constraints and requirements of the assignment. Maxim Shershnev
Potential program solutions Our potential solutions: 1-one of our solutions to the program is to program the joystick to control the arm. 2-another solution was to program a series of buttons to power and control the arm.
Final solution We chose this to be our final solution because it was more simple and seemed to work the best to solve our problem. The image was dated on 3/10/14.
Code #pragma config(Motor, port2, claw, tmotorVex269, openLoop) #pragma config(Motor, port3, vertical, tmotorServoStandard, openLoop) #pragma config(Motor, port4, horizontal, tmotorVex269, openLoop) task main() { while(true) //Program begins, code runs until ended { //float i=0; //was going to be a stop mechanism if(vexRT[Btn5D] == 1) // if button 5D is pressed, { // startMotor(claw); //open claw } if(vexRT[Btn6D] == 1) // if button 5D is pressed, { //
Code continued startMotor(claw,-127); //close claw } if(vexRT[Btn6D] == 0) //if button 6D is released, { // stopMotor(claw); //stop closing claw } if(vexRT[Btn5D] == 0) //if button 5D is released, { // stopMotor(claw); //stop opening claw } if(vexRT[Btn7U] == 1) //if button 7U is pressed, { // startMotor(vertical,100+); //raise arm } if(vexRT[Btn7D] == 1) //if button 7D is pressed, { // startMotor(vertical,-100); //lower arm } if(vexRT[Btn7U] == 0) //if button 7U is released, { // stopMotor(vertical); //stop raising arm
More code startMotor(vertical,-20); //start raising arm (keep arm up against the force of gravirty) } if(vexRT[Btn7D] == 0) //if button 7D is pressed, { // stopMotor(vertical); //stop lowering arm startMotor(vertical,-20); //start raising arm (keep arm up against the force of gravirty) } if(vexRT[Btn8L] == 1) // if button L8 is pressed, { // startMotor(horizontal,127); //rotate arm to the right } if(vexRT[Btn8R] == 1) // if button R8 is pressed, { // startMotor(horizontal,-127); //rotate arm to the left } if(vexRT[Btn8L] == 0) //if button L8 is released, { // stopMotor(horizontal); //stop rotating arm } if(vexRT[Btn8R] == 0) //if button R8 is released, { // stopMotor(horizontal); //stop rotating arm } } }
What we modified and improved We had an issue with the stability of the robot and in order to prevent this we added several colors and washers also we had an issue with the axle of the rotatable base plate because it was in the way of the base laying flat so we added stands in order to fix this problem.
Conclusion 1. What was the most difficult part of the problem? The most difficult part of our problem was learning how to program the controller. We had to research online to find a solution. Eventually we figured it out and it was actually pretty simple. Another issue we came upon was finding a way to stabilize our robot arm, we finally added additional colors and washers and it worked much better. 2. List and describe two features that were not part of the design problem that could be added to improve your design. We could have added another degree of rotation to our robotic arm in order to have a more human like robot. Also we could of had a stabilizer for the arm so it was not so jumpy when going up and down, to add on to the stabilizing solution we already found.