Download
1 / 17
180 likes | 217 Views
Learn how to proofread and edit effectively using standard proofreaders’ marks, correcting errors, deleting, changing, transposing, punctuation adjustments, capitalization, number usage, abbreviations, paragraphs, italics, and bold. Improve your editing skills today!

E N D
Proofreaders’ Marks Basic Tools for Proofreading and Editing
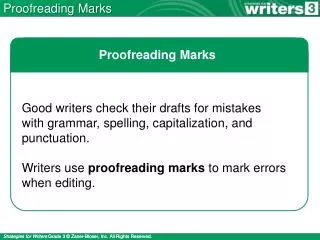
Editing Printed Documents • Use a pen with contrasting-colored ink. • Use standard proofreaders’ marks to show corrections. • Mark all corrections clearly.
Correcting General Errors • Use a caret () to show an insertion. • Place a diagonal (/) through an unwanted letter. • Change a letter by placing a diagonal throughit and writing the correct letter above it.
Deleting and Changing • Delete words and phrases by running a horizontal line through them. • Change text by first deleting it and then writing the correction above the deletion.
Transposing Use the transposition symbol to indicate a reversal of keystrokes, words, phrases, and even sentences.
Closing Up and Inserting Spaces • Close up an extra space with loops above and below the space. • Show where a space is needed by using the insertion caret and placing the number sign directly above the caret.
Just a few more proofreaders’ marks . . .
Changing Internal Punctuation • To add internal punctuation, place the comma, semicolon,or colon inside a caret at the point of insertion. • To delete internal punctuation, place a diagonal throughthe mark. • To change internal punctuation, delete the incorrect mark and insert the correct one.
Changing Closing Punctuation • To add closing punctuation, write periods, question marks, and exclamation marks—and circle them. • To delete closing punctuation, place a diagonal through the mark. • To change closing punctuation, delete the incorrect mark and add the correct one; circle the new mark.
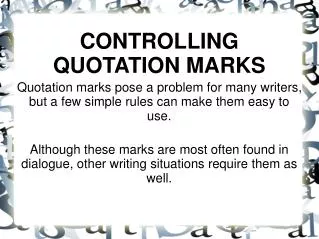
Other Punctuation • Add quotation marks or an apostrophe by placing the mark in an inverted insertion mark (). • Add a hyphen by using the insertion mark () at the point of entry and placing an equal sign (=) directly above the caret.
Capitalizing Words • To show that a single letter should be capitalized, place three short lines under it. • To show that entire words should be capitalized, underline the word or word group three times.
Correcting Capitalized Words • Place a diagonal ( / ) through a capital letter that should appear in lowercase form. • Use a diagonal and a straight line to show which letters should not be capitalized in words appearing in all capital letters.
Number Usage • If a figure should be written in words, circle the figure. • If a number written in word form should be in figures, draw a horizontal line through it and write the correct figure or figures above it.
Abbreviations • If an abbreviation should be spelled out, circle the abbreviation. • If a word or words should be abbreviated, draw a horizontal line through the word or words and write the abbreviation above the lined-out text.
Paragraphs • To insert a new paragraph, place a paragraph mark (¶) at the point of insertion. • To delete a new paragraph beginning, write No ¶ where the paragraphs are to be combined.
11th Italics and Bold • Underline any words that should appearin italics. • Place a wavy line under any words that should be bolded.
Template courtesy of PresentersUniversity.com, sponsored by InFocus Corporation. OUT The Finished Document