Download
1 / 2
20 likes | 43 Views
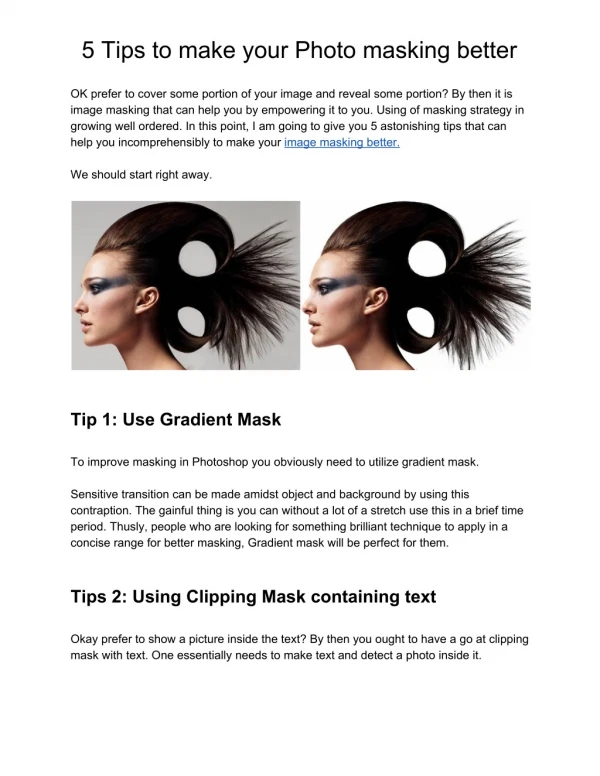
Photo Retouching means the elimination of all the imperfections from a photo, which usually includes colour and tone correction, blemishes and under-eye circles removal, change of brightness, contrast and saturation.<br>

E N D
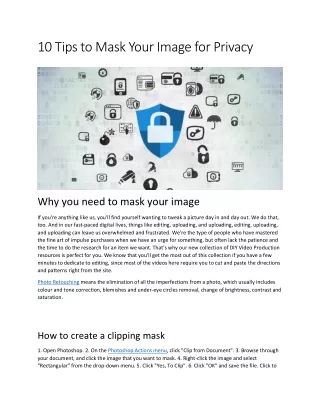
10 Tips to Mask Your Image for Privacy Why you need to mask your image If you're anything like us, you'll find yourself wanting to tweak a picture day in and day out. We do that, too. And in our fast-paced digital lives, things like editing, uploading, and uploading, editing, uploading, and uploading can leave us overwhelmed and frustrated. We're the type of people who have mastered the fine art of impulse purchases when we have an urge for something, but often lack the patience and the time to do the research for an item we want. That's why our new collection of DIY Video Production resources is perfect for you. We know that you'll get the most out of this collection if you have a few minutes to dedicate to editing, since most of the videos here require you to cut and paste the directions and patterns right from the site. Photo Retouching means the elimination of all the imperfections from a photo, which usually includes colour and tone correction, blemishes and under-eye circles removal, change of brightness, contrast and saturation. How to create a clipping mask 1. Open Photoshop. 2. On the Photoshop Actions menu, click "Clip from Document". 3. Browse through your document, and click the image that you want to mask. 4. Right-click the image and select "Rectangular" from the drop-down menu. 5. Click "Yes, To Clip". 6. Click "OK" and save the file. Click to
zoom Let's break down these steps further: Select the rectangular button (one of those little silver squares) that appears above the selection area, which is in the upper-right hand corner of the canvas. Clicking "Yes, To Clip" will allow you to clip your selected images from the document to the new one you're clipping. The rectangle button is in the upper right hand corner of the canvas. The purple button above the rectangular button controls the direction of the clipping. Masking for editing pictures 1. First thing to do is to take a look at the picture you wish to mask. I usually place my mask on the photo and then use the mask to navigate through the photo to select the part of the photo I want to mask. 2. If you're looking for a specific color, or color shade, simply hover over the colors. Click the black object in the center of the white shape. You will see a drop down menu with suggestions. Click the "Invert" link, then click "Swap". If you're looking for a certain hue (like pink), click the "Invert" link, and then click "Swap". 3. Press "Next". You will see a list of masks that you can choose from. 4. Select the first mask that you see. 5. Click "Done". The mask will now replace the background, or another portion of the photo, so that the foreground can be fully seen. Masking for graphic design Being that I'm a graphics designer, I often find myself creating images in Photoshop and Illustrator. These programs make creating a graphic image, especially one that has a lot of colour, a difficult and frustrating task. (So frustrating that I've mastered Photoshop with ease, but Illustrator is still a work in progress for me.) When you layer multiple images on top of each other, that's what makes creating a great graphic tricky. You'll either have the colours bleed through, or totally change the look of your piece in a very drastic way. Most of the time, when designing images for my clients, I have to mask images because they want to have certain areas of a photo show up. They need to show a portion of a building, or a person's face, for instance. Conclusion We hope this little guide will save you some time in your graphic design work, because once you do a few of these tasks, you’ll find that editing and blending the background of your image to create a composite is super simple and fast. No more lost opportunities! All you’ll have to do is open your editing program of choice, take a screenshot of the image, or take a photo of the screen with your webcam. Then select the “Capture Camera Mode”. Save the images you’ve captured, and begin the process of using a clipping mask to mask your image. It’s easier than you think! By the way, this is a case where you don’t want to use Photoshop. It’s too user-unfriendly and in-depth to learn. Instead, look up a free tool of some kind. And then, boom, bam, you’re all set!