
ARPWAVE devices
E N D
Presentation Transcript
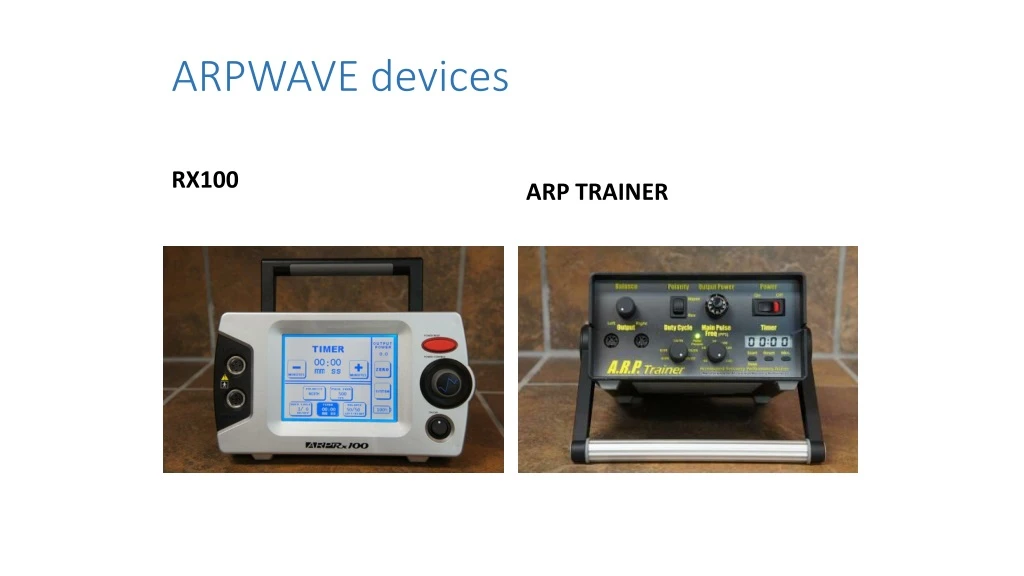
ARPWAVE devices RX100 ARP TRAINER
Output power dialBefore turning on or off the unit or plugging in or unplugging cord, be sure the output power dial is turned down to zero. You must first press the dial (to highlight the power level on the touch screen) before the power level can be changed on the Rx100. Please note the faster your turn the dial, the faster the power level changes. The ARPtrainer must be set to 0 before switching the power on. If the power level is not set to 0 the device will emit a beeping sound and suspend the power as a safety precaution. Switch the power off and turn the power level down before switching it back on to reset this.
PolarityThe polarity controls the flow of the current, Black to red on Normal and red to black on Reverse.
Pulse frequency (PPS)At 500 pulses per second, be sure the dial is all the way to the right; At 40, all the way to the left.
Duty cycleThe duty cycle controls the wave forms being used and how often. ARP Trainer – 20/20 utilizes both waves, 0/20 isolates background (Recovery)RX 100 – 1 on/0 off utilizes both waves, 0 on/1 off isolates background (Recovery)
TimerARP Trainer – The timer is a basic countdown timer. The timer does not affect the use of the device. Add time by hitting the min button, zero out the timer with the reset button, and start and stop the timer with the start and stop button.RX 100 – The timer on the RX 100 needs to be running for the units power control to work. Simply add time with the plus and hit the start button found on the top left of the screen (It shows up when time is added)
Balance controlThe balance control determines which port the power is going to. Center it for both ports.
Power reset buttonThis button is a quick reset. It will zero the power and timer with one push.
Time on the rx100 • Time is provided from ARPwave corporate office. • Click the system button and follow instructions to get more time.
Sticky electrodes(two packs provided) These DO NOT need to be used. They are provided for convenience. Once they are used, the Care Consultant is responsible for purchasing more.