Ultrasonic Testing – Some Basic Information
Inspecting a structure for defects, flaws, and other issues can be challenging without the right equipment, as a visual observation cannot detect flaws that lie beneath the surface of a material (sub-surface).

Ultrasonic Testing – Some Basic Information
E N D
Presentation Transcript
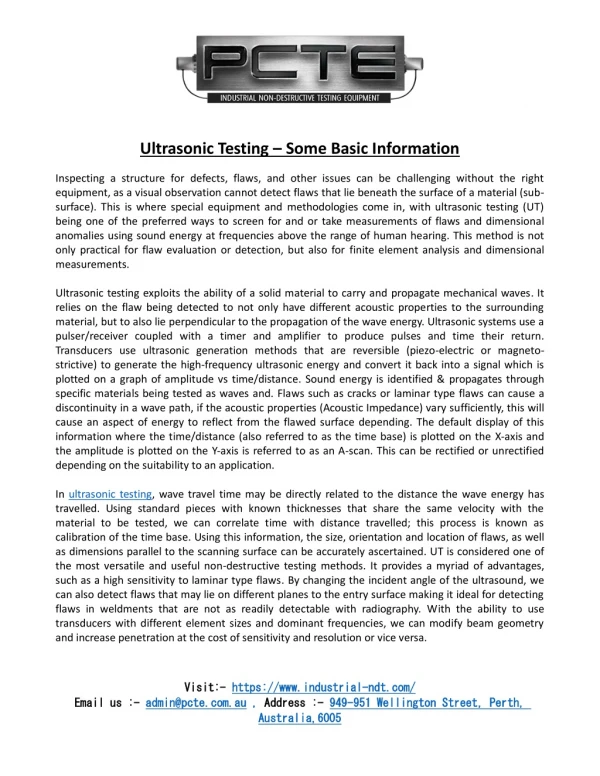
Ultrasonic Testing – Some Basic Information Inspecting a structure for defects, flaws, and other issues can be challenging without the right equipment, as a visual observation cannot detect flaws that lie beneath the surface of a material (sub- surface). This is where special equipment and methodologies come in, with ultrasonic testing (UT) being one of the preferred ways to screen for and or take measurements of flaws and dimensional anomalies using sound energy at frequencies above the range of human hearing. This method is not only practical for flaw evaluation or detection, but also for finite element analysis and dimensional measurements. Ultrasonic testing exploits the ability of a solid material to carry and propagate mechanical waves. It relies on the flaw being detected to not only have different acoustic properties to the surrounding material, but to also lie perpendicular to the propagation of the wave energy. Ultrasonic systems use a pulser/receiver coupled with a timer and amplifier to produce pulses and time their return. Transducers use ultrasonic generation methods that are reversible (piezo-electric or magneto- strictive) to generate the high-frequency ultrasonic energy and convert it back into a signal which is plotted on a graph of amplitude vs time/distance. Sound energy is identified & propagates through specific materials being tested as waves and. Flaws such as cracks or laminar type flaws can cause a discontinuity in a wave path, if the acoustic properties (Acoustic Impedance) vary sufficiently, this will cause an aspect of energy to reflect from the flawed surface depending. The default display of this information where the time/distance (also referred to as the time base) is plotted on the X-axis and the amplitude is plotted on the Y-axis is referred to as an A-scan. This can be rectified or unrectified depending on the suitability to an application. In ultrasonic testing, wave travel time may be directly related to the distance the wave energy has travelled. Using standard pieces with known thicknesses that share the same velocity with the material to be tested, we can correlate time with distance travelled; this process is known as calibration of the time base. Using this information, the size, orientation and location of flaws, as well as dimensions parallel to the scanning surface can be accurately ascertained. UT is considered one of the most versatile and useful non-destructive testing methods. It provides a myriad of advantages, such as a high sensitivity to laminar type flaws. By changing the incident angle of the ultrasound, we can also detect flaws that may lie on different planes to the entry surface making it ideal for detecting flaws in weldments that are not as readily detectable with radiography. With the ability to use transducers with different element sizes and dominant frequencies, we can modify beam geometry and increase penetration at the cost of sensitivity and resolution or vice versa. Visit: Visit:- - https://www.industrial https://www.industrial- -ndt.com/ Email us :- - admin@pcte.com.au admin@pcte.com.au , ndt.com/ 951 Wellington Street, Perth, Email us : , Address : Address :- - 949 Australia,6005 Australia,6005 949- -951 Wellington Street, Perth,
Ultrasonic testing is versatile and certain applications can be done with access to only one surface. The surface will ideally be smooth and clean, and a coupling medium will be needed to transmit ultrasound into the material. Operators will need to be trained and skilled in the operation of the device. It is common for clients to require that the inspection company be compliant with ISO 17025 and the Operator be certified to ISO 9712 or equivalent. To ensure compliance, high-quality ultrasonics equipment with quality components to minimize the signal to noise ratio will be required. UT will deliver highly accurate results, and the electronic equipment can generate near instantaneous results. Ultrasonics is widely used in automated systems due to its adaptable nature. About the author PCTE Industrial is a specialist in the sale and hire of industrial non-destructive testing (NDT) equipment. PCTE INDT is a branch of PCTE, who have been serving in the NDT industry since 2008. We offer a range of INDT equipment that covers the bread and butter applications but also adds some exciting technology. Our range covers devices for Ultrasonic Testing (UT), Eddy Current (ET), Magnetic Particle (MT), Dye Penetrant (DT) and Visual Testing (VT). Visit: Visit:- - https://www.industrial https://www.industrial- -ndt.com/ Email us :- - admin@pcte.com.au admin@pcte.com.au , ndt.com/ 951 Wellington Street, Perth, Email us : , Address : Address :- - 949 Australia,6005 Australia,6005 949- -951 Wellington Street, Perth,
