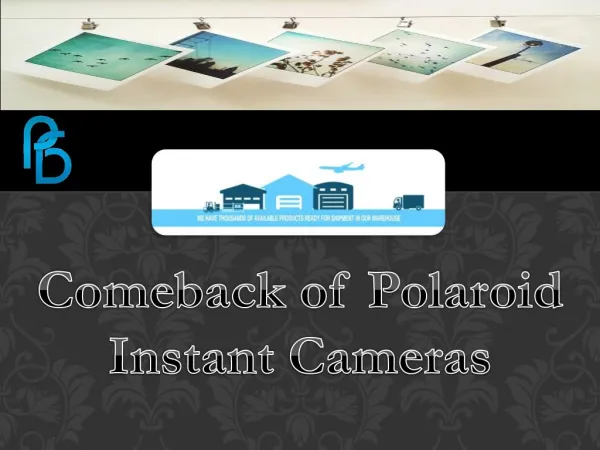
Polaroid Effect
Learn how to create a stylish Polaroid effect using GIMP in this detailed tutorial. Start by opening your image and creating a new layer named "Frame." Use the rectangle tool for the frame, manipulate its sizes, and apply the vignette effect for that classic look. Add a drop shadow to enhance depth, merge layers, and duplicate frames as needed. Finally, manipulate the frames for a unique tilt, fill up your original image, and crop for a polished finish. Perfect for enhancing your photographs with vintage flair!

Polaroid Effect
E N D
Presentation Transcript
Polaroid Effect Gimp Tutorial
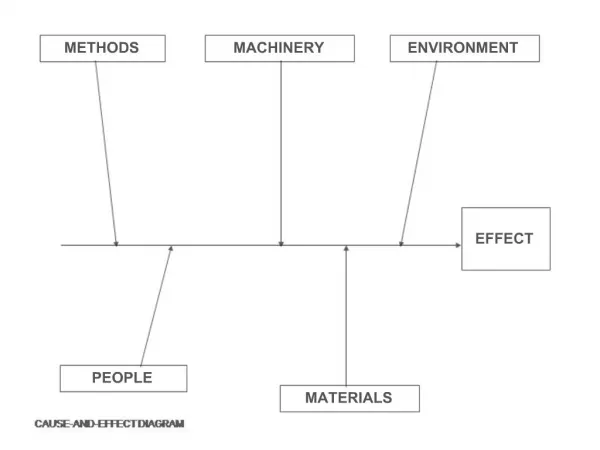
Open an Image 1. Open an image (best if you choose large picture) 2. New Layer>quarter of the size or smaller of the original >Name it “Frame” 3. Select Rectangle Tool>Fill up the entire Frame Layer
Creating the Frame 4. Pull the top, left, and ride sides in about 10 pixels. Pull the bottom up about 20-25 pixels 5. Select>Invert 6. Paint Bucket>Choose White>Click on rectangle
Edit the Frame • 7. Tools>GEGL operation>Choose Vignette • Radius=around 2.34, Softness=around .48 • 8. Filter>Light and Shadow>Drop Shadow • Offset X=18, Offset Y=18, Blur Radius=18, Color=Black, Opacity=70
Combine the Layers • After applying the Drop Shadow it becomes its own layer • Click on your Frame layer: • Right Click>Merge Down • Rename this layer: Frame 1 • Your 1st frame is complete
Next Frames • Now you need to create all the rest of the “pictures” • Right click Frame 1>Duplicate Layer>Rename this Frame 2 • Now let’s tilt the frame: • Click the Rotate Tool in your toolbox • Click on the frame, and rotate to your own liking • Click Rotate • Move the frame so its close to the 1st frame • Keep making new frames and fill up your original image • Final Step: To give more of a finished look, you can use the Rectangle tool and create a selection of a closer look at the original image. • Image>Crop Selection