Download
1 / 5
50 likes | 81 Views
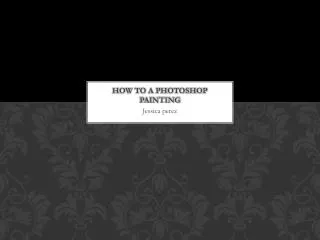
Who doesn't want to do multi-masking? It is mainly used for hiding and revealing any precise part of an image. There are multiple ways to do u200b masking in Photoshopu200b. Very often, it becomes necessary to work with more than one portion. Do you know how to handle these types of editing? Let's know in detail how to do multi-masking in Photoshop. Allow me to show you with this image how can work with two or more masks in an image. https://www.clippingusa.com/image-editing-service/

E N D
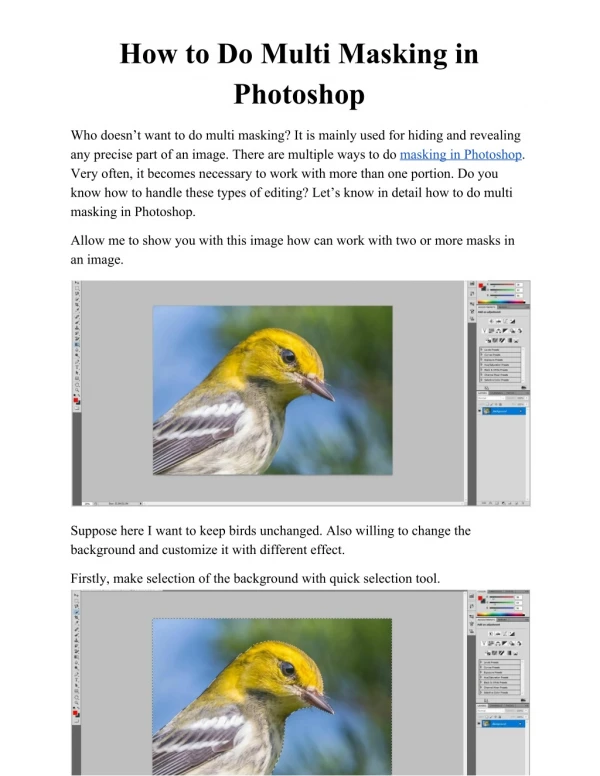
How to Do Multi Masking in Photoshop Who doesn’t want to do multi masking? It is mainly used for hiding and revealing any precise part of an image. There are multiple ways to do masking in Photoshop. Very often, it becomes necessary to work with more than one portion. Do you know how to handle these types of editing? Let’s know in detail how to do multi masking in Photoshop. Allow me to show you with this image how can work with two or more masks in an image. Suppose here I want to keep birds unchanged. Also willing to change the background and customize it with different effect. Firstly, make selection of the background with quick selection tool.
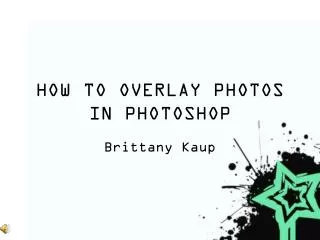
After making the selection, go to create a group from the below icon then create a mask from there. Now look at the Group icon only the background is selected here. If you perform any kind of editing stuff now that will only effect on the background. As we are
going to work with multi mask so it’s better to rename it as “Background” for avoiding confusion. Let’s make some adjustments now with the background layer. I have changed the hue and saturation here. As I said the effect will be only on the background. Now let’s add one more group and mask for multi masking. Repeat the previous procedure as I am going to add gradient here, that's why I have put its name as gradient.
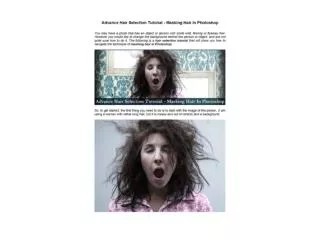
Hit this option from here After this step start adding gradient effect by pressing the left mouse and sliding it up or down. But there will be nothing changes in the image as nothing is available inside the mask. To make this gradient option visible move the background group up in this way.
Then the gradient effect will become noticeable. By repeating the above process you can apply more technique by applying different group. That was the procedure of doing multi masking in Photoshop. Now, you can have lots of fun via altering image in this technique.