Download
1 / 9
90 likes | 272 Views
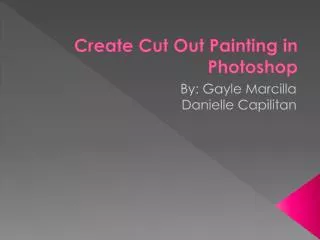
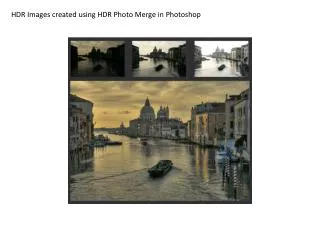
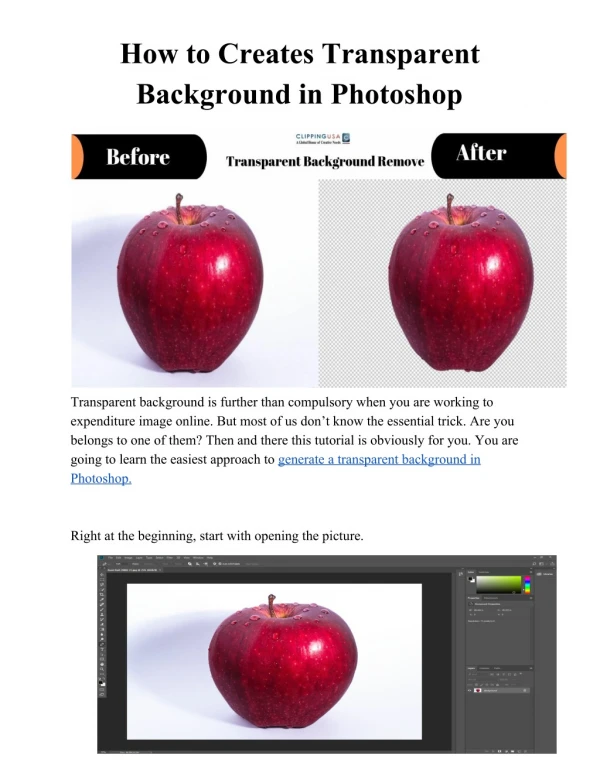
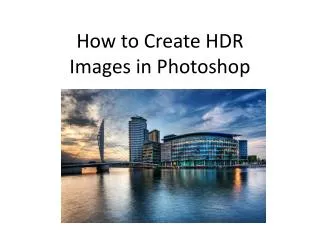
How to Create HDR Images in Photoshop. Working in pairs, you have ten minutes to find out the answers to the following: What does HDR stand for? Research HDR photographs and note down the characteristics you notice. Consider the colours , contrast, saturation and mood the effect creates.

E N D
Working in pairs, you have ten minutes to find out the answers to the following: What does HDR stand for? Research HDR photographs and note down the characteristics you notice. Consider the colours, contrast, saturation and mood the effect creates.
Objectives • Define what HDR photography is, and identify the characteristics of the effect. (P1,P3) • Apply techniques learnt in Photoshop to further images to create a HDR image. (P1, P2,P4) • Evaluate the images produced, and assess the relevance to your project idea. (P4, M1)
So what is a HDR photograph? • High dynamic range in photography refers to the luminance range of the scene that is being photographed. • The dynamic range of a camera sensor is less than that of a human eye. This means that when you take an image, it may not appear as bright as it does in real life. • You can create a HDR image to overcome this problem.
Exposure bracketing • Your camera may have a setting on it called exposure bracketing, or exposure compensation. • You then need to set this to -2 exposure value (EV), correct exposure, and +2 EV. • This setting tells your camera to take three images one after the other, one will be under exposed, one correctly exposed and one over exposed.
If the images are either too dark or too light using -/+ 2 EV, just use -/+ 1 EV instead You will need to use a tripod when you are taking your photographs so that all the images are exactly the same. You will also either need to set the drive mode to continuous shooting and press and hold the shutter button to take the photo, or put the camera onto self-timer and the camera will automatically take the three shots.
This morning… In groups of four or five, you now need to go out and take some photographs using the exposure bracketing we have just looked at. You will need to take at least two sets of images each. You have until break time to do this, and after break we will upload the images to work with them in Photoshop. Make sure you get a tripod from Keith as it is important the camera does not move!
Task • Research and write about HDR photography. Use the discussion we had this morning as a starting point. (minimum 300 words) • Using the process you learnt in Photoshop, create a HDR image using the second set of images you took this morning. • Evaluate both images and you have created, discussing the effect of having a high dynamic range. Do you like the effect it creates? Why?