Download
1 / 37
370 likes | 471 Views
Learn how to design personalized birthday cards using Microsoft Publisher 2007. Follow step-by-step instructions to select templates, add greetings, insert pictures, customize fonts, and print your unique card. Impress your loved ones with a handmade touch!

E N D
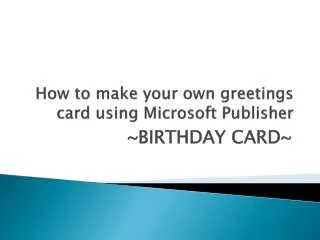
How to make your own greetings card using Microsoft Publisher ~BIRTHDAY CARD~
1. Click "Start". 2. Choose "All Programs".
1. Scroll mouse over the "All programs". 2. Select "Microsoft Office".
1. Choose "Microsoft Office Publisher 2007" and "Double click" it.
1. Find "Greeting Cards" at "popular publication types" and "click".
1. From the list of types, select "Birthday". 2. Scroll and click to select. 3. Example, let’s choose "Birthday 78".
1. Click "change the color scheme" 2. "Scroll" and "click" to select.
1. "Click” outside greeting space, change or add the greeting. 2. Click "change the font scheme". 3. "Scroll" and "click" to select. 4. Click "font color" and select.
1. "Click” number 2 to view the next page. Page 3 will appear together.
1. Click "Insert". 2. Choose "Picture" -> 3) "From File".
1. "Scroll' and "click" to select. 2. Click "Insert".
1. If necessary, "resize" the picture. 2. "Click" the "text boxes" and add text. 3. "Click" the "Font" and select.
1. Click "Font Size" and choose. 2. Click "Bold" screen. 3. Click "Italic" screen. 4. Click the "Font Color" screen and choose.
1. Right-click the photo of the cake and choose "Change Picture" -> "Clip Art"…
1. Type picture name in "Search For" box. 2. Click "Go" button. 3. Choose and "double-click" the picture.
1. If necessary, "resize" the picture. 2. “Click” in the text box, and replace or add the text.
Note: Fold the printed card in half horizontally and then vertically, and you’re done!