Download
1 / 7
130 likes | 1.01k Views
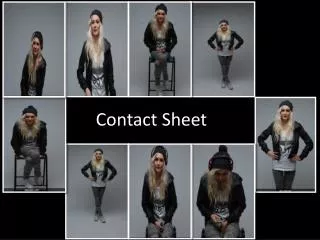
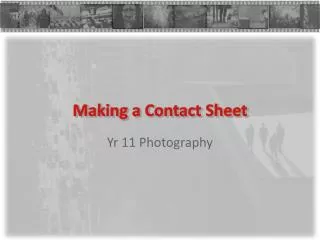
Making a Contact Sheet. Yr 11 Photography. Making a Contact Sheet. Overview Also called a proof sheet Place negatives in holder Use enlarger to process Expose a test strip Develop test strip

E N D
Making a Contact Sheet Yr 11 Photography
Making a Contact Sheet Overview • Also called a proof sheet • Place negatives in holder • Use enlarger to process • Expose a test strip • Develop test strip • Check which test is best and use this exposure time for full contact sheet • Clean up and rinse trays
Making a Contact Sheet The enlarger • Turn on enlarger • Raise and lower enlarger head so that light will cover entire contact print • Set aperture – turn to full light and then turn back 2 or 3 clicks • Focus enlarger – check that light produces ‘crisp’ edge • Turn off enlarger (or use filter over light)
Making a Contact Sheet Making a test strip • Place film in negative sleeve on the enlarger • Take a ‘test strip’ of photographic paper and place this under a good negative strip that you want to test • Make sure all other photo paper is in the box away from light • Cover all negatives with cardboard leaving a 1cm strip exposed • Press timer for 2 seconds exposure. Slide cardboard along 1cm. Set timer for 2 seconds. Repeat until test strip fully exposed.
Making a Contact Sheet Developing test strip & Contact sheet • Chemicals • Developer (120 mlsrodinal : 1080 mls water @ 20°) • Stop bath (water @ 20°) • Fixing agent (120 mls fixer : 1080 mls water @ 20°) • Hypo clearing agent (wash – water @ 20°) • Follow the same process as for developing negatives • Developer – 2 mins – gently agitate • Stop bath – 1 min – gently agitate • Fixer – 2 mins – gently agitate • Wash – as long as you possibly can under running water
Making a Contact Sheet Safety precautions • Avoid contact with skin and eyes • Wash hands after using chemicals • Use tongs to transfer photos between trays • Use red safe light • Light indicator outside darkroom • Don’t eat or drink in darkroom
Making a Contact Sheet Some resources • http://www.youtube.com/watch?v=lw3qM4ABPfk • http://www.artisticnetwork.net/arts/1012/how-to-print-a-contact-sheet-from-negatives-black-and-white-photography-darkroom-skills.html • http://www.ehow.com/how_8232070_make-contact-sheet-enlarger.html • http://www.halfhill.com/proof.html