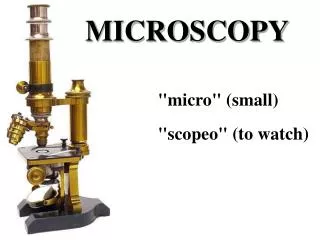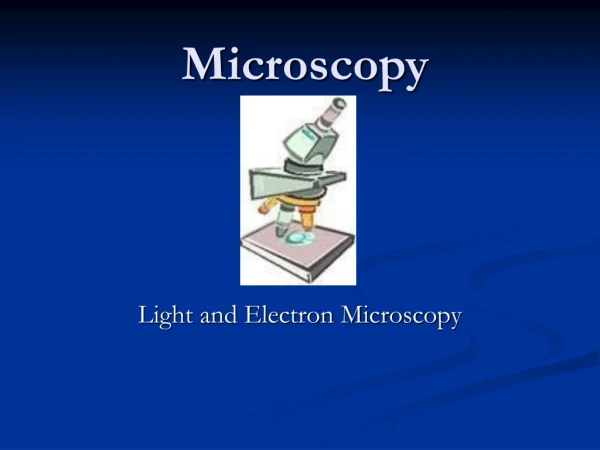
Microscopy
Microscopy. How to Properly Prepare and Use a Microscope. Parts of the Microscope. Eyepiece (ocular) Body tube/Eyepiece tube Revolving nosepiece Objectives (lens) Stage Clips Newer microscopes have mechanical knobs that move the slide Diaphragm Base Light Source Fine Adjust/Focus

Microscopy
E N D
Presentation Transcript
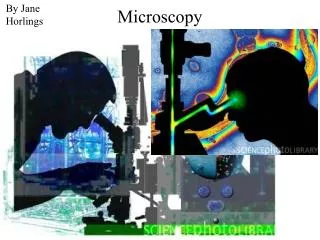
Microscopy How to Properly Prepare and Use a Microscope
Parts of the Microscope Eyepiece (ocular) Body tube/Eyepiece tube Revolving nosepiece Objectives (lens) Stage Clips Newer microscopes have mechanical knobs that move the slide Diaphragm Base Light Source Fine Adjust/Focus Course Adjust/Focus Arm
Always carry with 2 hands—one on the arm and one on the base Set microscope on a table away from the edge Smallest objective should be centered over stage aperture and stage should be in lowest position when beginning and ending work Place slide on stage under clips (or within clip are) Turn on light source How to prepare the Microscope
Viewing the Slide Use the Course adjust very carefully if at all. Do not crush the lens!!!!! You may use the fine adjust here for a more clear image. Center viewing area again and rotate to highest lens power. Use fine adjust only at this level!!! Be careful, you can crush the lens and break the slide !!! You break it, you buy it! • Using Course adjust, raise the stage until you can see an image clearly thru the ocular • Scan the slide to get a general overview by moving it side to side and up and down. • To view on higher power, center the viewing area over a part of the object • Rotate objective to next, higher power
Finishing Details • When finished viewing a slide: • Lower stage to lowest level • Rotate lens to lowest power • Remove slide and return to it to Instructor • Turn off light source • If lab is over for the day, unplug microscope, wrap cord and replace cover over microscope • If I see a microscope not put up correctly, lab partners will lose points!!!
Miscellaneous • For each magnification, draw a sketch of what is seen • Label the sketch and write down the magnification • Use of colored pencils is expected • How to determine the magnification: • Multiply the power of the lens x the power of the objective • For example: • 4x lens has power of 4 and ocular has power of 10, so magnification is 40. This means object is magnified 40 times its actual size.
Youtube is really helpful! • http://www.youtube.com/watch?v=2xdMaeLJ2Mg&NR=1 • http://www.youtube.com/watch?v=jP9HtcAvGDk&feature=related