Microscopes
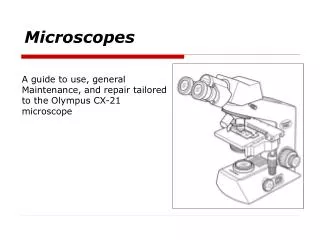
Learn about the fascinating evolution of microscopes from the 1500s to modern electron microscopes, their designs, magnification capabilities, and how they reveal intricate details in specimens. Discover the workings of compound light microscopes and their essential components. Plus, get tips on proper microscope handling and maintenance.

Microscopes
E N D
Presentation Transcript
Light microscopes were first developed in the 1500s. • One of the earliest inventors of microscopes was the Dutch lens grinder Anton van Leeuwenhoek. “Father of Microscopy” • His microscopes were mostly single lens magnifiers with a place to attach a specimen. He is credited with producing over 250 different microscopes.
The first compound light microscope was designed by the Jansens in 1590, even before van Leeuwenhoek. • The compound light microscope design allowed biologists to view specimens through a series of two lenses. This gives a greater amount of magnification. The total magnification possible is a product of the two lenses used.
Electron Microscopes: Light microscopes can only produce sharp images of objects when the objects are larger than 0.2 micrometers (2 ten thousandths of a millimeter), or about 1/50th of the diameter of the typical cell.
Electron microscopes focuses a beam of electrons on specimens, and can form images 1000 times smaller than those visible under the light microscope.
How can Electron microscopes see much smaller objects than light? • Light wave lengths are too large for some very tiny objects and do not reflect from them. • Electron beams have much smaller wavelengths and can reflect back from the smaller objects. (Images cannot be viewed directly as with light microscopes.)
Two Major types of electron microscopes: • TEM – TRANSMISSION ELECTRON MICROSCOPE • An electron beam shines through very thin specimens. It produces a two-dimensional image. It can only be used to view dead specimens. (They can magnify 200,000 times.)
SEM – SCANNING ELECTRON MICROSCOPE • An electron beam scans back and forth across the surface of a specimen to provide a three-dimensional imageof the object’ssurface. (They can magnify 100,000 times.) • Images of the electron microscope can be seen on a monitor, rather than directly, as with the light microscope.
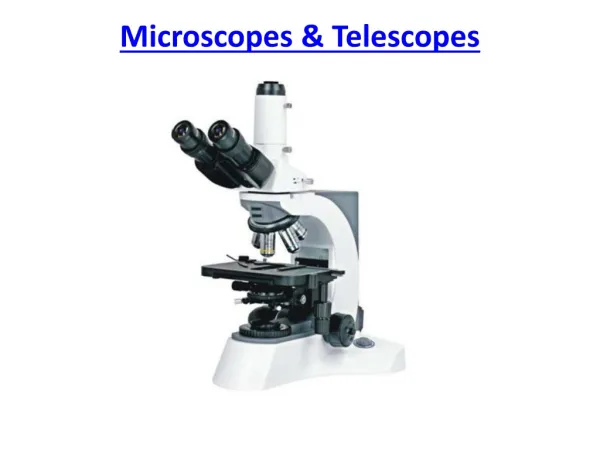
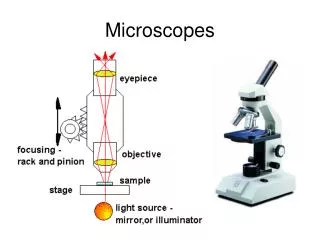
Compound Light Microscope– this microscope uses a beam of light that passes through two lenses to provide an enlarged view of structures that are too small to be seen with the unaided eye. Magnification – this refers to the microscope’s ability to increase an object’s apparent size. Resolution- this refers to the ability of a microscope to show details clearly.
Total Magnification- this is calculated by multiplying the ocular lens x the objective lens over the slide. • scanning lens • (ocular 10x)(objective 4x) = 40x total • low power • (ocular 10x)(objective 10x) = 100x total • high power • (ocular 10x)(objective 40x) = 400x total
Field of View – the area of the specimen that is seen when looking through the ocular lens. As the total magnification increases, the field of view decreases. • Depth of Field – the ability to focus through different depths or “layers” within a specimen. • Parafocal – the characteristic of a microscope that maintains focus when switched to another objective lens
Put away the microscope properly: • 1) Remove your slide • 2) Clean the stage • 3) Lower the stage (Some microscopes only) • 4) Place the lowest power objective in place. • 5) Wrap the cord around the supports on the microscope • 6) Place the cover on the microscope