Microscopes
Microscopes. THE DISCOVERY OF THE CELL. It was not until the mid-1600’s that scientists began to use microscopes to observe cells. In 1665, Englishman Robert Hooke used an early compound microscope to look at a slice of cork, plant material. CORK CELLS.

Microscopes
E N D
Presentation Transcript
THE DISCOVERY OF THE CELL It was not until the mid-1600’s that scientists began to use microscopes to observe cells. In 1665, Englishman Robert Hooke used an early compound microscope to look at a slice of cork, plant material.
Hooke saw thousands of empty chambers which he called cells. They reminded him of a monastery’s tiny rooms, which were called cells. In Holland around the same time, Antonvan Leeuwenhoek used a single-lens microscope to observe pond water and other things. He discovered that living things seemed to be everywhere, even in the water he was drinking.
DUST MITE EUGLENA FLAGELLA
Paramecium Spirogyra
Transmission electron microscope electrons pass through thin slices of cell parts Cells must be dead and in a vacuum 2D picture (flat) TEM is used to study the internal structure of cells.
CONFOCAL LIGHT TEM CHLOROPLAST
Scanning electron microscope Do not have to cut cells into slices Cells must be dead and in a vacuum produces three-dimensional images of cells SEM is used to study details of the surface of the specimen. TEM is more powerful than SEM
MARINE DIATOM SEM SCANNIING ELECTRON MICROSCOPE pea weevil egg
White pine sheath mite on eastern white pine Scanning electron microscope image of white pine sheath mite
Red Blood Cells • most common type of blood cell in the human body • These biconcave-shaped cells have the tall task of carrying oxygen to our entire body; in women there are about 4 to 5 million RBCs per micro liter (cubic millimeter) of blood and about 5 to 6 million in men. • People who live at higher altitudes have even more RBCs because of the low oxygen levels in their environment.
Purkinje Neurons Of the 100 billion neurons in your brain. Purkinje (pronounced purr-kin-jee) neurons are some of the largest. Among other things, these cells are the masters of motor coordination in the cerebellar cortex. Toxic exposure such as alcohol and lithium, autoimmune diseases, genetic mutations including autism and neurodegenerative diseases, can negatively affect human Purkinje cells.
Hair Cell in the EarHere's what it looks like to see a close-up of human hair cell stereo cilia inside the ear. These detect mechanical movement in response to sound vibrations.
Blood Vessels Emerging from the Optic NerveIn this image, stained retinal blood vessels are shown to emerge from the black-colored optic disc. The optic disc is a blind spot because no light receptor cells are present in this area of the retina where the optic nerve and retinal blood vessels leave the back of the eye.
Tongue with Taste BudThis color-enhanced image depicts a taste bud on the tongue. The human tongue has about 10,000 taste buds that are involved with detecting salty, sour, bitter, sweet and savory taste perceptions. Thai people have very few -- most killed by eating spicy food.
Tooth PlaqueBrush your teeth often because this is what the surface of a tooth with a form of plaque looks like.
Blood ClotRemember that picture of the nice, uniform shapes of red blood cells you just looked at? Well, here's what it looks like when those same cells get caught up in the sticky web of a blood clot. The cell in the middle is a white blood cell.
Alveoli in the LungThis is what a color-enhanced image of the inner surface of your lung looks like. The hollow cavities are alveoli; this is where gas exchange occurs with the blood.
Villi of Small IntestineVilli in the small intestine increase the surface area of the gut, which helps in the absorption of food. Look closely and you will see some food stuck in one of the crevices.
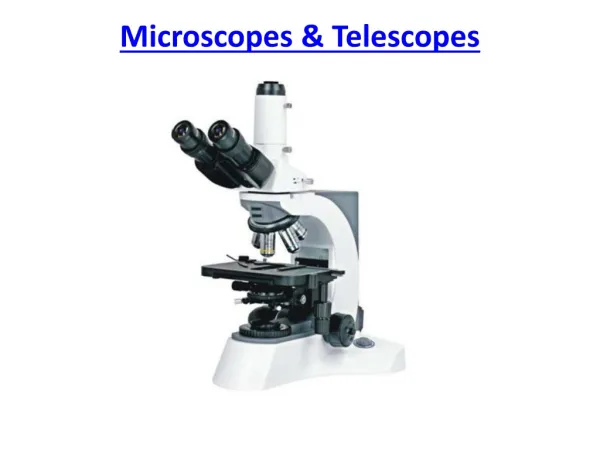
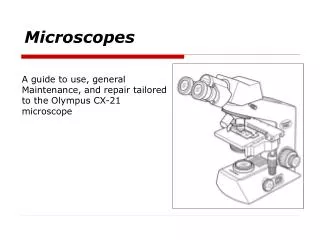
Types of light microscopes: • Compound light microscope: clear resolution to about 1,000 times the size of the actual specimen. • Allows visible light to pass through the specimen and use two lenses to form an image. • The two lenses of a compound light microscope: • ocular lens (eyepiece): located at the top portion of the microscope; usually has a magnification of 10X. • objective lens: located on the revolving nose piece, varies in magnification. • The shortest objective lens is a low power magnifier (usually 10X), the longer ones are high power (usually up to 40X or 43X) The magnification is marked on each objective lens.
Total magnification of an image = magnifying power of ocular lens X magnifying power of the objective lens. • For example, with a 10X ocular lens and a 40X objective lens: • total magnification of the image is 10 X 40 = 400X • You must always identify the magnification used when observing a specimen. • The advantage of the light microscope is that they make it possible to study small living organisms. Chemical dyes help to show specific structures in a cell.
The Parts of the Microscope and Their Function Maintains proper distance between lenses Magnification Hold objectives- rotates to change magnification Support body tube Magnification Supports slide Holds slide In place Focuses image Regulates amount of light Sharpens the image Reflects light towards eyepiece Supports microscope
Proper Procedures • Carry the microscope with one hand under the base while grasping the arm with the other hand • Place microscope ~5 inches from the edge of the table Be careful of the cord when moving around the lab tables!!
Proper Procedures 3. Rotate the nosepiece to obtain the proper objective lens Make sure the lens clicks into place!! 4. Look through the eyepiece and switch on the lamp This is your field of view!
Proper Procedures 5. Place slide on stage, center specimen over stage 6. Locate specimen on low power using coarse adjustment 7. Carefully switch to medium or high power 8. Focus image with fine adjustment Avoid damaging slide! Do not use coarse adjustment with high power!
Storing the Microscope Four steps prepare the microscope for storage: • the 10X objective is in place • the stage is all the way down • the power is off • the cord is wrapped around the base
Let’s Review! 9. 1. 2. 10. 3. 4. 11. 5. 6. 7. 8. 14. Eyepiece Body tube Nosepiece Arm Low power Medium power Stage High power 12. Stage clips Coarse adjustment Diaphragm 13. Fine adjustment Light source Base