Download
1 / 22
230 likes | 408 Views
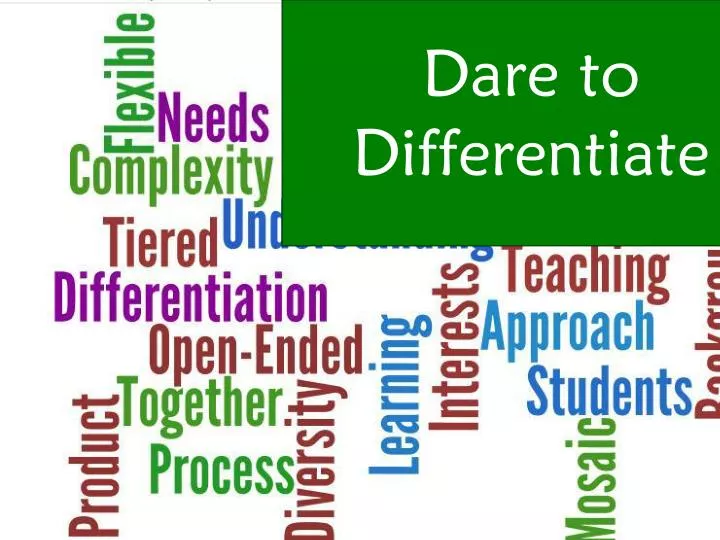
Dare to Differentiate. Animal School. Understanding by Design. Stage 1- Desired Results. Should NOT be differentiated. Standard(s): Understandings Essential questions Knowledge Skills. May be differentiated. Stage 2- Assessment Evidence. Performance-based Task + Rubric

E N D
Understanding by Design Stage 1- Desired Results Should NOT be differentiated Standard(s): Understandings Essential questions Knowledge Skills May be differentiated Stage 2- Assessment Evidence Performance-based Task + Rubric Other Evidence (quiz, write up, report, etc.) Self assessment/self monitoring May be differentiated Stage 3- Learning Plan Should be differentiated if assessment data tells you there is a need Daily lesson plans
Elements and Characteristics of and Strategies for Differentiating Instruction Learning Environment (the context in which learning occurs) • Safe, challenging, and collaborative community • Access to resource-rich classrooms • Flexible movement and use of space • Multiple settings and environments • Flexible scheduling Content (strategies for delivering content) Process (strategies for engaged learning and sense-making) Assessing the Learner Assessing the Learners’ - readiness - interests - learning styles/ preferences • Planning for differentiation • Tiering • Compacting • Accelerating • Enhancing content for depth, complexity, and novelty • Flexible Grouping • Questioning for Critical Thinking • Problem-Based Learning • Contracting • Learning Centers A s s e s s i n g t h e L e a r n i n g A s s e s s i n g t h e L e a r n i n g Product/Performance (the means by which students will communicate understanding) • Open-ended tasks • Authentic/real world solutions • Extension, innovation, creation of new ideas and products • Multiple forms and formats using varied techniques and materials A s s e s s i n g t h e L e a r n i n g
Why Pre-Assess? • To make instructional decisions about student strengths and needs. • To determine flexible grouping patterns. • To determine which students are ready for advance instruction
Running records Entrance cards KWL Charts and other graphic organizers Standardized test information Portfolio analysis Teacher prepared/text prepared pre-tests Traditional tests Teacher observation/checklist Most difficult first Writing prompts/samples/pre-writing activity What does Pre-Assessment look like?
In Your Toolbox Pre-Assessment Ideas
A Sample from Our Amazing 2nd Grade Team… Letter to Parents Contract for Students Unit 7 Objectives and GLES Pre-Assessment Pre-Assessment Data Analysis
Where do I begin? • Pre-assessment should begin early in the year, term, or unit of study. • Pre-assessment should be on-going – not just a first step, but a constant one. • Pre-assessment should be comprehensive, examining readiness (strengths and needs), interests, and learning preferences. • Pre-assessment should be appropriate for various cultures, ages, genders, abilities or disabilities, and so on. • Pre-assessment should directly match the intended learning experiences: content, process, and product. • Pre-assessment should rely upon a variety of methods – not a singular approach.
When do I pre-assess? • 2-3 weeks before the information is to be taught • This gives the teacher time to plan for the novice to the expert and those along the way. • By administering the test early, the seeds of excitement have been planted about all the interesting things the students will be learning.
PACING: Curriculum Compacting Modify and/or streamline regular curriculum to: eliminate repetition of previously mastered material upgrade the challenge level of the regular curriculum determine student “readiness” provide time for enrichment and/or acceleration activities
Curriculum Compacting CURRICULUM 1) What’s important? 2) What do students already know or are able to do? 3) What will they grasp at a faster rate? 4) What skill or task can be accomplished quickly?
Tools for Compacting Curriculum Assessments (Pre, Ongoing, Formative, Summative) Menus of Challenging Activities Product Choices Chart Tiered Lessons Working Agreements or Learning Contracts Anchor Activities
Sample Menu Winebrenner-Differentiating Content for Gifted Learners in Grades 6-12: CD of extension menus and guides by content areas
Examples of Choice Boards Dare to Differentiate 2nd Grade’s Menu
Learning Contracts A written agreement between the student and the teacher which includes opportunities for the student to work relatively independently on primarily teacher-directed material. The student has: Some freedom in acquiring skills and understandings Responsibility for learning independently Guidelines for completing work Guidelines for appropriate behavior Expectations tailored to readiness level
Anchoring Activities Self-paced, purposeful, content-driven activities that students can work on independently throughout a unit, a grading period, or longer Meaningful ongoing activities related to the curriculum A list of activities that a student can do at any time A long-term project An activity center/learning station located in the room These activities must be worthy of a student’s time and appropriate to their learning needs
Tiered Activities Tiered Instruction features: Whole group introduction and initial instruction Identification of developmental differences Ladder Analogy (bottom – up; challenge/complexity) Increase or Decrease the: Abstraction/Challenge Levels (ie. application, analysis & synthesis) Extent of Support Complexity of: outcomes resources (reading levels, types of text [on-line, magazine, etc…], based on prior-knowledge levels) processes (way in which students obtain information) products (M.I. products) Sample
Using UbD to Plan Tiered Assignments •Clarify your essential learnings, and how they will be assessed. •Create the on-level task first.Then adjust up and down as needed. Below-Level Task On-Level Task Above-Level Task “Adjusting the Task”