Astronomy Image Construction & Visualization
270 likes | 282 Views
Prepare for the second term test in PHYS 1830 by exploring how to construct a public outreach image and learn about color contrasts and harmonious color selection. Attend astro club, workshop, and computer simulations to enhance your knowledge.

Astronomy Image Construction & Visualization
E N D
Presentation Transcript
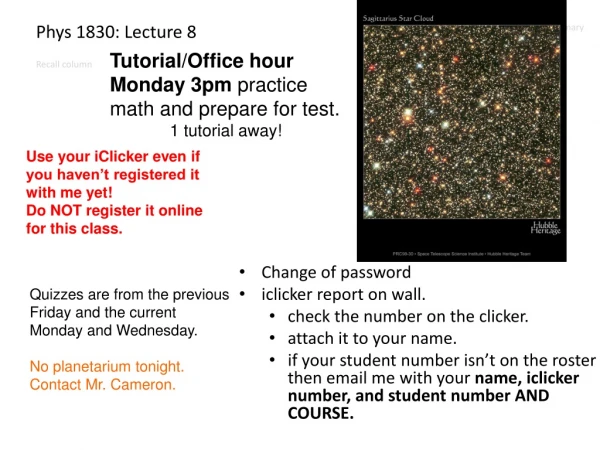
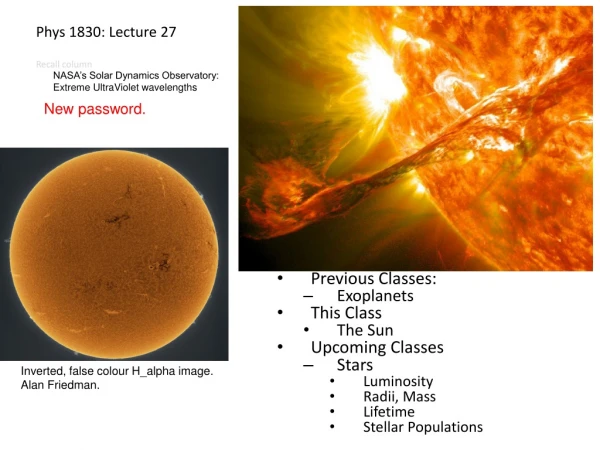
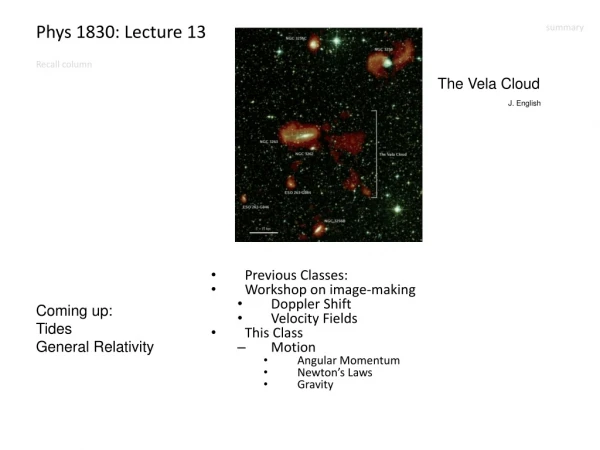
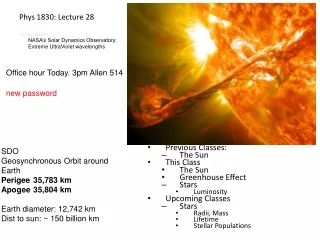
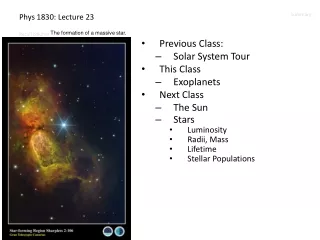
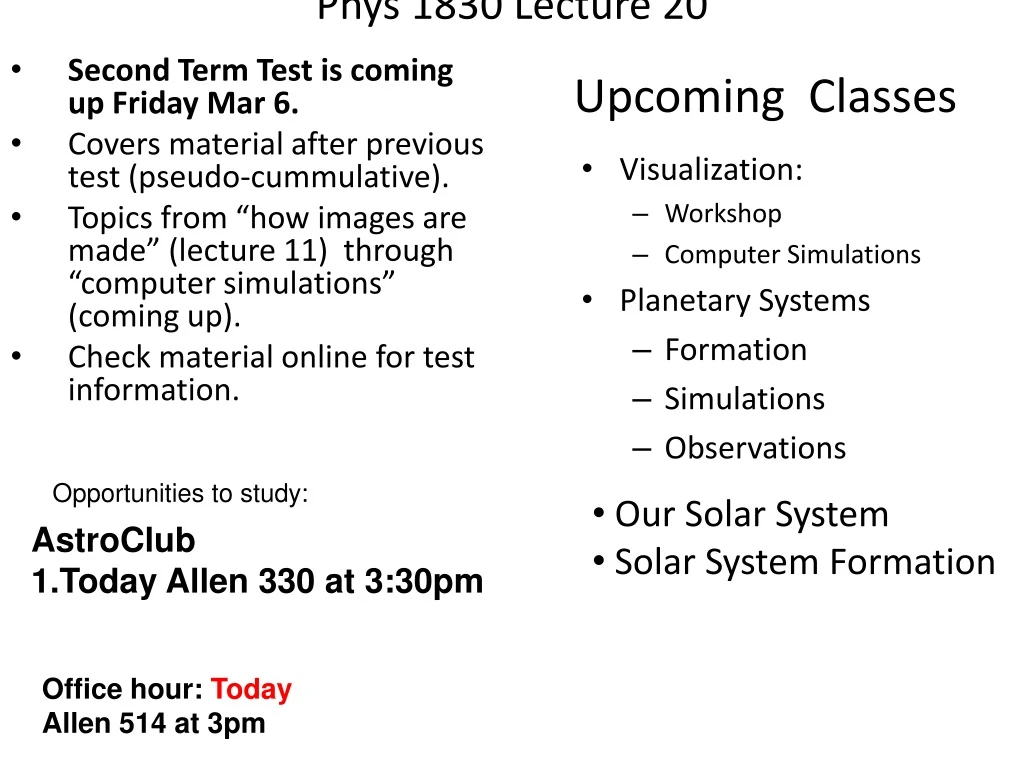
Phys 1830 Lecture 20 • Second Term Test is coming up Friday Mar 6. • Covers material after previous test (pseudo-cummulative). • Topics from “how images are made” (lecture 11) through “computer simulations” (coming up). • Check material online for test information. Upcoming Classes • Visualization: • Workshop • Computer Simulations • Planetary Systems • Formation • Simulations • Observations Opportunities to study: • Our Solar System • Solar System Formation AstroClub Today Allen 330 at 3:30pm Office hour: Today Allen 514 at 3pm
Bubble Nebula – NGC 7635 Phys 1830: Lecture 20 • Goal: Explore how to construct a public outreach image. • Within each public outreach image is the struggle between scientific meaning and visual aesthetic.
B is called blue but is purple (i.e. blue-violet) R is called red but is orange (i.e. red-orange) Goal: Select colours to make a harmonious final image. That is, generate a final image with complementary colours, greys (not browns), at least one of the 7 contrasts, etc. Simple Colour Wheels
Which of these contrasts interest you and your partners? Seven Colour Contrasts
Fire up GIMP! (Take Notes!) • Setup layer file (.xcf) • Make new file with black background • Copy thumbnails into layers with screen mode • Copy visible, paste, name, set mode = screen. • black background layer helps reduce noise. • Colourize each layer • Copy layer, turn off original • Use levels tool to select colour in active layer • colour need not be what your eye would see; consider aesthetics and visual grammar. • Adjust colours • Curve tool • helps reduce noise, increase detail and harmony.
Fire up GIMP! 4. Create single layer file (.tiff) • Make new file with black background • Copy visible from .xcf file and anchor, flatten. 5. Adjust colours • Curve tool • generate striking images 6. Orient • Crop • both 7 & 8 guide the eye. • Cosmetics (remove cosmic rays & noise) If you are ahead of the class, do a different colour rendition! See if it works better.
Cosmetics • make unresolved sources white (layer in a stretched B&W image) • remove CRs and chip seams in optical images (clone tool)
Critique --Today When finished on MONDAY send an email with 3 items • Send your jpg images to jayanne_english@umanitoba.ca for the website and for grading. • Include the full names and student numbers of everyone on your team • state their attendance for each day (if in attendance it will be assumed that they participated). • BRIEFLY state the following in your email: • what were your final colours • what were your final contrasts • did your image have an appropriate vertical or diagonal element to retain the viewer’s attention • how do your results compare to your goals?
Critique – constructive criticism • Look at the images of your neighbours. • Discuss with them their original colour and composition goals. Were they successful? • Offer suggestions for improvement. • Did any interesting issues come up?
Lesson 1 • The process of making astronomy images is iterative. Sometimes one has to go right back to the stretching.
Lesson 2 • More than one colourization, orientation, etc is valid. Compare with other versions: http://www.physics.umanitoba.ca/~english/vizimagesUVic/ http://www.physics.umanitoba.ca/~english/2013fallphys1830/bwimaging/imagesindex.html Also who are you representing? Different versions accordingly.
Our team’s final colour scheme matched our original selection. • yes • no • sort of
Our team’s image showed the supernova remnant as a distinct object. • yes • no • sort of
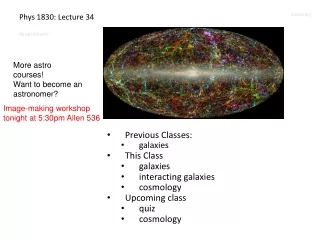
Visualization: Simulations • Image-making is part of a larger activity called Visualization • Other activities include “computer simulations”. • Some of the following slides are modified versions of those from Dr Chris Fluke at the Centre for Computing and Astrophysics at Swinburne University of Technology (Melbourne, Australia) • Example of a cosmological simulation
Why We Need Computers • Great for complex problems • Help improve theoretical models • Enable comparison with observations • "What happens if?” questions
Experimentation in Astronomy • Observers: • A sample of one • Computational Astronomy: • As many versions as we want! • Make predictions/compare with observations • Statistical results • Search more of parameter space
How DO You Create a Universe? Assumptions Cosmological Model + Parameters Simulation Method Astronomical Society of Victoria: Computational Cosmology 2006
Assumptions • The Universe is a single, very large, gravitational system • Properties and dynamics explained by Einstein’s General Theory of Relativity • Cosmological Principle: there is nothing special about our location in the Universe (Milne 1933) • Homogeneous (looks same to all observers) • Isotropic (looks same in all directions)
From this… As universe expands and cools, small primordialdensity fluctuationsare amplified by gravity
… to this Treat dark matter & atoms as collection of points. Abell Cluster 2744 (HST)
Cosmological Simulation 1) Parameters: • Choose cosmological parameters • Dark Matter, etc. • Choose simulation parameters: • Number of “particles”(N) • Size of simulation box (B) • Number of time-steps • Set up initial configuration
Cosmological Simulation 2) Model: Apply Newton’s law of Gravity 3) Simulation Method: the N-Body Simulation
N = 2 (N is the number of bodies) 2 F= GmM/r 2 v = GM/r
N = 3 No exactsolution!
N-Body Solution i (N-1) = 12 FORCE PAIRS j N*(N-1) = 13*12 = 156 FORCE CALCULATIONS N =13 particles
Resolution is the Name of the Game • Ideal: • N = 100 billion stars in a galaxy • At least one simulation particle per star • Current: • Millennium Simulation (MS) • http://www.mpa-garching.mpg.de/galform/virgo/millennium/ • N = 10 billion particles in a box • MS-II focuses on smaller volume