Download
1 / 17
170 likes | 306 Views
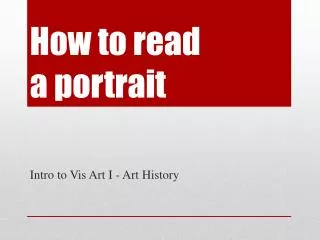
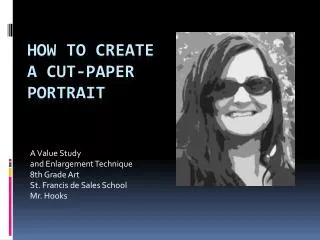
A Value Study and Enlargement Technique 8th Grade Art St. Francis de Sales School Mr. Hooks. How To Create a Cut-Paper Portrait. Cut-Paper Portrait. Start with a photograph Photo should have a good amount of contrast. Cut-Paper Portrait. Import photo into Photoshop

E N D
A Value Study and Enlargement Technique 8th Grade Art St. Francis de Sales School Mr. Hooks How To Create a Cut-PaperPortrait
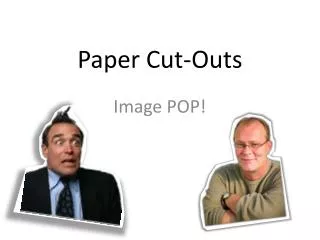
Cut-Paper Portrait • Start with a photograph • Photo should have a good amount of contrast
Cut-Paper Portrait • Import photo • into Photoshop • If color- Go to image: mode: greyscale • save a copy as greyscale image • Go to image: adjustments: posterize. When prompted, save photo with 4 - 5 different values
Cut-Paper Portrait • Decide for yourself if the photo looks more simplified with 4 or 5 levels of value. • Save your image and print on an 8.5 x 11” sheet of paper
Cut-Paper Portrait • Trace with pencil around the edges for each shape in photo (remember to simplify edges) • Number different areas of value from 1 through 4 (or 5) • Now’s lets enlarge:
Cut-Paper Portrait • Enlarge by creating a one-inch grid across entire surface of 8.5 x 11” paper • Number and letter axes of your grid (letters on one edge -numbers on perpendicular edge -think BATTLESHIP!!) • When complete set aside
Cut-Paper Portrait • On a 12 x 18” sheet of white drawing paper, • Create a grid with the corresponding number of grid lines. ( for this size the grid will be roughly 1.5”) for a 1:1.5 ratio. • Number and letter axes of your grid as you did with smaller sheet.
Cut-Paper Portrait • Transfer shapes to larger sheet from smaller sheet one square at a time, row by row, or column by column • Go over all lines with black bold marker • Remember to number values as you did with smaller sheet
Cut-Paper Portrait • Choose 4 - 5 colors of construction paper to represent values that you numbered earlier
Cut-Paper Portrait • With masking tape, attach enlarged portrait to light source such as window or light table • Identify all areas of #1 value – choose color to represent value and trace shapes onto construction paper
Cut-Paper Portrait • Repeat procedure with all values chosen ** You Should Be Able To Layer Smaller Shapes Above Larger Shapes**
Cut-Paper Portrait • Repeat procedure with all values chosen ** You Should Be Able To Layer Smaller Shapes Above Larger Shapes**
Cut-Paper Portrait • Repeat procedure with all values chosen ** You Should Be Able To Layer Smaller Shapes Above Larger Shapes**
Cut-Paper Portrait • Repeat procedure with all values chosen ** You Should Be Able To Layer Smaller Shapes Above Larger Shapes**
Cut-Paper Portrait • When all shapes have been traced use scissors or an xactoknife to cut out each shape PLEASE BE CAREFUL WITH XACTO KNIVES, USE ONLY WITH ADULT SUPERVISION.
Cut-Paper Portrait • Arrange cut pieces of construction paper to rebuild portrait • Remember that smaller shapes can be layered over larger shapes • Use your original enlargement with black lines as a reference
Cut-Paper Portrait • Glue shapes together CONGRATS!! You now have a finished cut-paper portrait.