Download
1 / 10
100 likes | 425 Views
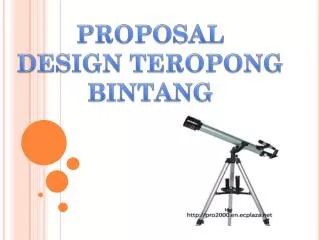
Desain rancangan teropong. disusun oleh: Farda M (12) Hery Wahyu .P (17) Menis Saputri (18) Mita Handayani (19) Nina Esti Windi .A (20). Tujuan :. mengetahui cara membuat teropong sederhana dengan benar. Alat :. Lensa kecil 1 buah Lensa besar 1 buah

E N D
Desainrancangan teropong disusun oleh: Farda M (12) Hery Wahyu .P (17) Menis Saputri (18) Mita Handayani (19) Nina Esti Windi .A (20)
Tujuan : mengetahui cara membuat teropong sederhana dengan benar
Alat : • Lensa kecil 1 buah • Lensa besar 1 buah • Kertas karton • Lem/selotip • Gunting • Lilin • Layar • Koreg api
Langkah awal • Tentukan terlebih dahulu panjang teropong dgn mencari fokusnya dgn cara : • Susun lilin,lensa & layar satu garis lurus. • Geser geserlah letak layar hingga bayangan lilin terlihat jelas • Ukurlah jarak lilin ke lensa sebagai jarak benda(s),& ukurlah jarak layar ke lensa sebagai jarak bayangan(s’) • Hitung fokus dgn s & s’ yg sudah km ukur td dgn rumus yg sdh ada
KeteranganPenting • Diameter kedua lensa okuler dan obyektif adalah 5 cm • Fokus lensa okuler = 1/f =1/s + 1/s’ • = 1/16 + 1/18 • = 9+8 = 17 = 8.4cm • 144 144 • Fokus lensa objectif = 1/f = 1/s + 1/s’ • = 1/66 + 1/105 • = 105 + 66 = 171 • 6930 6930 • = 40,5 cm • Jadi,Panjang teropong = fob+fok • =8.4 + 40,5 = 48,9 (49) cm = 4,9 m
Cara kerja: • Buat 2 gulungan karton bentuk pipa dengan ukuran berbeda (sesuai dgn hasil hitung sebelunya) dengan bantuan lem/selotip
Gabungkan ke 2 karton tersebut hingga bisa ditarik dan didorong
Thankyou all n’ see you
Cara menggunakannya • Tarik dan dorong gulungan karton untuk mengatur perbesaran