Download
1 / 35
350 likes | 448 Views
Learn to import well log data, create cross sections, and revise formation top picks in this interactive geology session. Explore real-time updated picks in 2D and 3D interpretation windows.

E N D
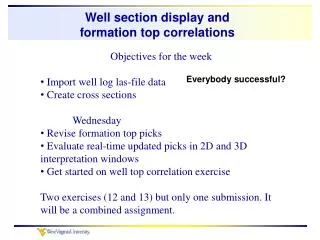
Well section display and formation top correlations • Objectives for the week • Import well log las-file data • Create cross sections • Wednesday • Revise formation top picks • Evaluate real-time updated picks in 2D and 3D interpretation windows • Get started on well top correlation exercise • Two exercises (12 and 13) but only one submission. It will be a combined assignment. Everybody successful?
You can also check to ensure that the logs were imported from the correct file
There are a couple ways to create a new well section window - Stratigraphic modeling> Well correlation
You can pick a template from a list or specify a new one: e.g. Stratton ..
Partition wells to sections as shown belowthis parallels the GeoGraphix effort Using this option you would compile a list of wells to be used for cross section display. To illustrate, we’ll use the same sections we did in GeoGraphix East NS: Wells 7,8,10,14 and 19
List wells on the three additional sections Northern EW: 1,16,9,20,2,8 Central EW:12,18,11,5,10 Southern EW: 17,21,6,13,4,15,3,19,14
Check on wells in section view. Check on in the order they appear in map view.
Then turn on the logs you want to display from your Global well logs drop
Toggle synchronized well scrolling Place mouse in the depth track. A hand will appear and you can shift all logs up and down together.
RC > Open template settings > Stratton& update current template
Open Curve filling tab Add new curve filling
Zoom in/out Be sure to synchronize scrolling and scaling To zoom in click and drag the line on the depth track separating the gray and white areas
A second approach is to create a well section directly from the 3D (or 2D) display window Be sure existing well sections are turned off (not bold) Click on the well icon and begin clicking on wells to select. A well section view will automatically open and become populated by wells you pick
If you do it this way, make sure existing sections are not highlighted (bold in window list)
Get into the section settings and select wells from your input well tree in the order they should appear (west to east) on the section line
With template selected and well list specified > OK to display
Flatten on well top: RC > Well Section > Settings > select flatten on well top and select the well top you want to use.
Flattened on B46 Remember the drill? What do you think of the BEG picks?
For the remainder of the day • Finish creation of your well sections and get them ready for use in class on Wednesday. • Work through Exercise 12. This needs to be completed to pursue Wednesday’s efforts in Exercise 13. • On Wednesday we’ll explore formation top picking functionality and revise picks in a manner parallel to that undertaken in GeoGraphix.