Download
1 / 12
120 likes | 146 Views
Discover the fascinating history and parts of microscopes, learn how to prepare a lab notebook, explore the biodiversity of life, and practice using microscopes in a hands-on lab setting. Get ready to uncover the world of cells and living organisms through the lens of a microscope.

E N D
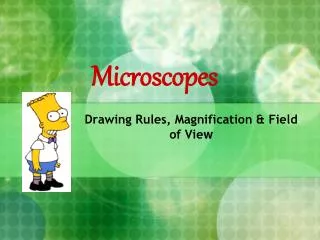
Agenda • Read and Record Objectives • History of Microscopes • Parts of a Microscope • Preparing Lab Notebook • Biodiversity of Life • Microscopes Lab • HW: Finish part 3 and the conclusion questions by next class.
This is one of his microscopes. This is Robert Hooke. This is his drawing of cork as he saw it under the microscope. Whatcha looking at?
As Hooke was viewing the cork, he was reminded of… ..the rooms that monks lived in, called cells.
Thanks to Robert Hooke… …we call the cool things we see under microscopes cells!
Whatcha looking at? This is Anton van Leeuwenhoek. He made significant improvements to the microscope, including developing lenses with magnifications of up to 300x. He was the first to see living organisms under a microscope. Say it with me (with feeling)! Anton van Leeuwenhoek
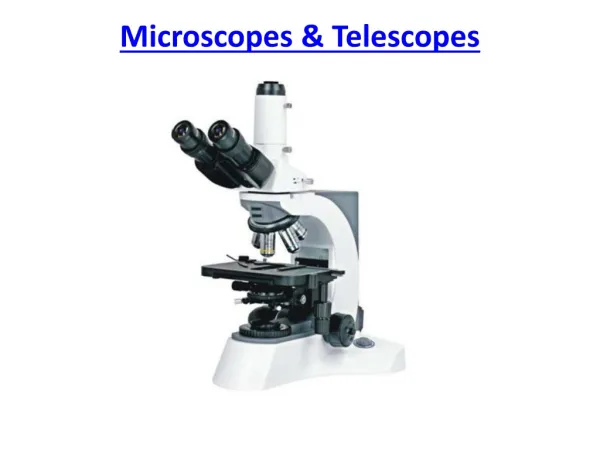
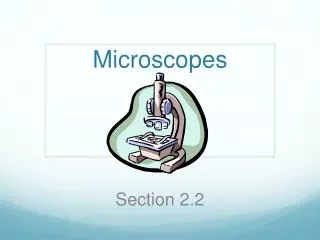
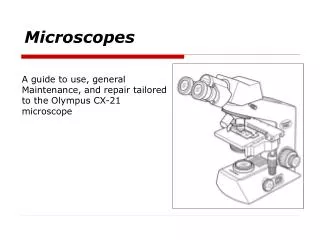
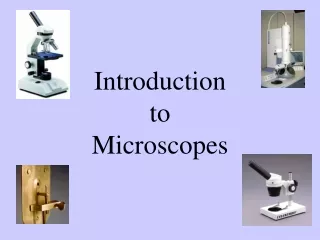
So, what are the parts of a microscope? Let’s take a peek at the components of a light microscope.
Label the Parts of the Microscope and their Function • 1) Body Tube- Has 10X magnification. • 2) Revolving Nosepiece- Used to switch the objectives • 3) Objectives- Magnifies the specimen 4X • 4) Objectives-Magnifies the specimen 10X • 5) Objectives-Magnifies the specimen 40X • 6) Stage Clips- Used to secure the microscope slide • 7) Diaphram- Used to adjust the light • 8) Light Source- Used to see the image of the specimen • 9) Ocular Lens- Used to view the specimen • 10) Arm- Used to support the microscope while carrying • 11) Stage- Used to hold the microscope slide • 12) Coarse Focus- Used to resolve the image • 13) Fine Focus- Used to resolve the image • 14) Base- Used to support the microscope while carrying
Preparing the Lab Notebook • The first two pages should be your table of contents. • The title of the lab and page numbers the lab is on will be listed on these pages. • The front of each page after the table of contents should be numbered at the to right hand corner of the page. • DO NOT WRITE ON THE BACK OF THE PAGE! • Order of Sections • Title • Problem (or Purpose) • Hypothesis • Materials • Procedures • Data/ Observations • Analysis • Calculations (if applicable) • Conclusion
Earth is home to an incredible diversity of life. The biosphere includes all living things and all the places they are found. biosphere = everywhere life exists
Biodiversity generally increases from the poles to the equator. Biodiversity is greater in areas with consistently warm temperatures. • Biodiversity is the variety of life. Biodiversity is greater closer to the equator.
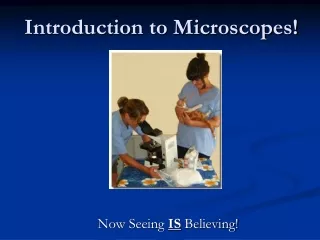
Operating a Microscope • Return to your lab groups. • You must complete parts I and II by the end of class. • Place 1 prepared slide under your microscope. • Follow the instructions on your microscope lab sheet.